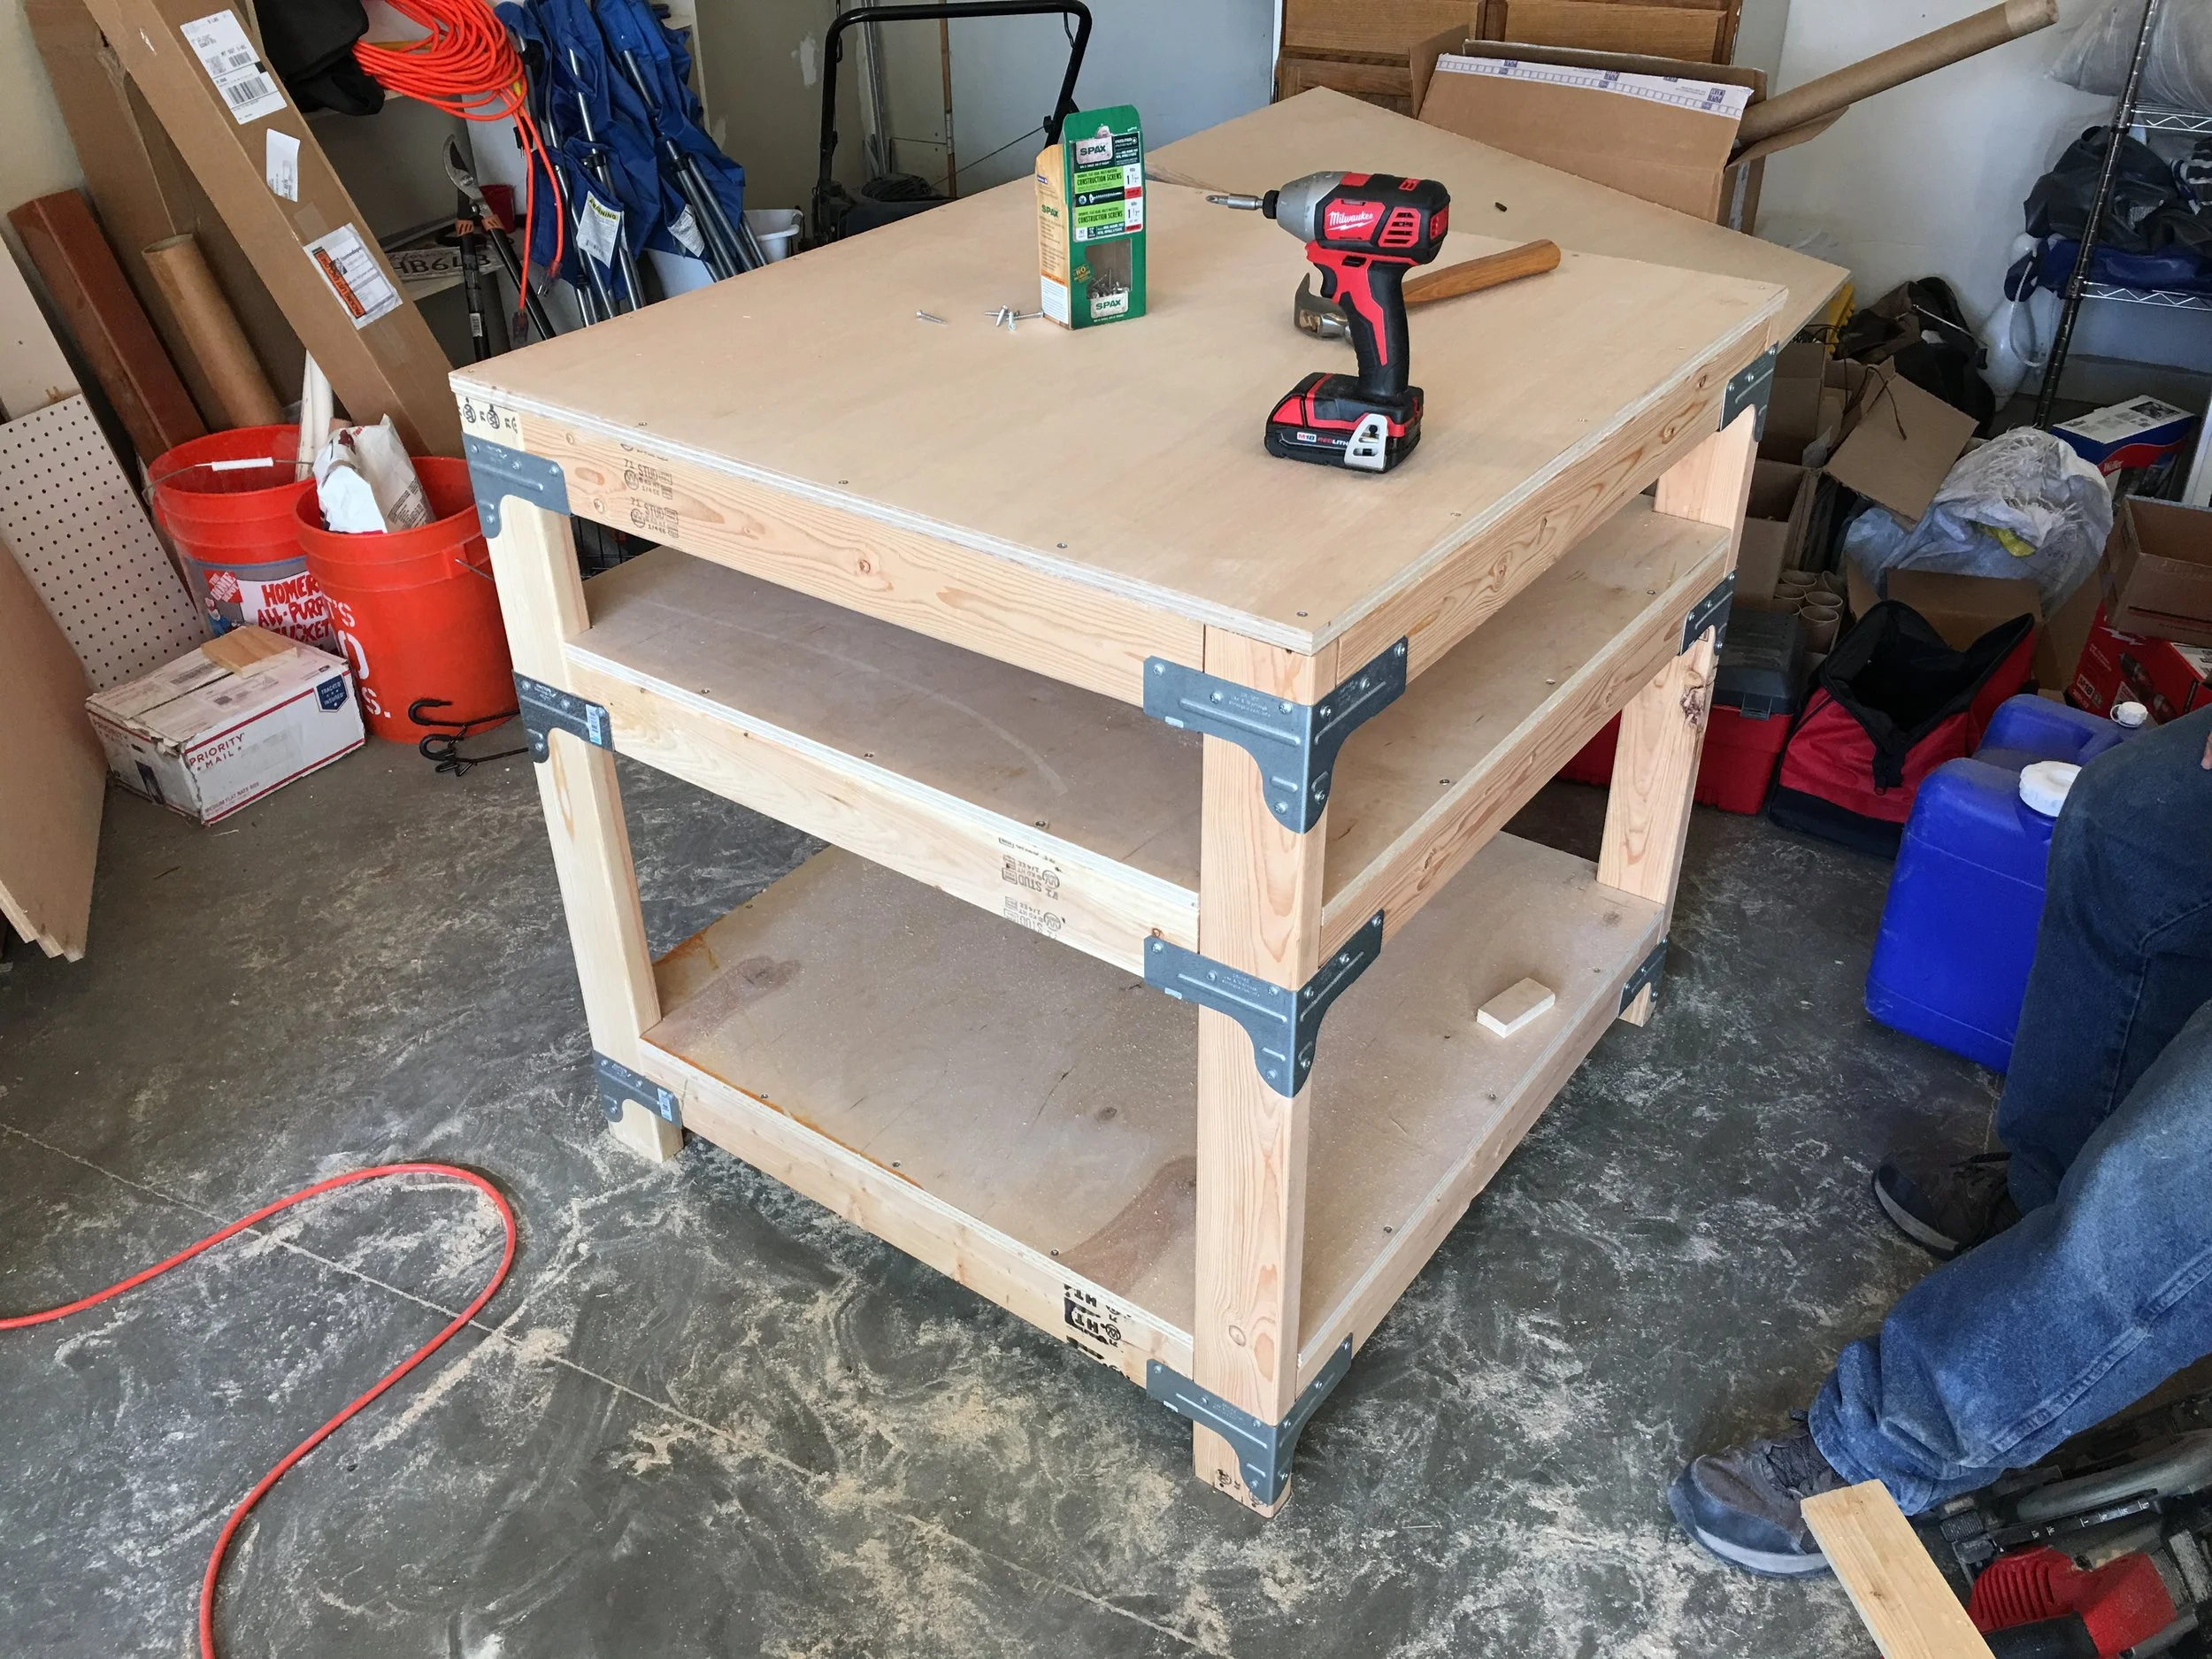
Work Table
Introduction
I've entered this tutorial into an Instructables contest. Please consider voting for it! To do so you just need to sign up for a free Instructables account, go to my Instructable, and vote in the upper right (or at the very bottom on mobile).
For a while now, I've needed a place where I can work on miscellaneous projects. I plan to do anything from soldering up a PCB, to building a table, to 3D printing a prototype. I've been eager to get started on organizing and setting up a workspace in my garage and the last time my dad was in town was the perfect opportunity to start making saw dust and actually build something. My dad found a tutorial online (linked at the bottom) that demonstrated how to make a nice long work bench with strong ties, 2x4s and plywood. I had something else in mind for my work bench, but I'd been meaning to build a table for a small table saw that a friend gave me, so we got started with that in mind. We ended up going with a 36" wide x 36" deep x 36" tall table. We planned for a shelf that the table saw could sit on and the top of the saw would be flush with the top of the table. I still haven't cut the hole out of the top because I like it the way it is for now. The table design is simple, but functional and easily adapted to your specific needs. Below is an interactive work table design widget, set initially to the dimensions that I built my table to, but you can easily adjust the parameters to suit your needs and it will generate personalized dimensions for you. If you go with a long work bench and want to avoid any sagging over time, I recommend checking out the link at the end for a good way to reinforce the joists with a length of iron bar.
Interactive Widget
Want a different size table? Want a solid shelf instead? A bench? Adjust the parameters below, see the table update and use the provided dimensions. Note that my configuration requires 2 sheets of plywood because I wanted 3 shelf surfaces required 9ft. Since the plywood sheets are in 8ft lengths, there's a lot of waste. You can adjust the parameters below to find a more optimal configuration.
Have a configuration that has very little waste? That worked particularly well for you? Let me know in the comments!
You can click and drag in the widget below to rotate your view. Hold the shift key and click and drag to shift the camera around (on mobile tap and hold for more than half a second to shift the camera around). Use the mouse wheel to zoom in and out.
Materials
Please consider using the links to lumber and other materials below to support Allwine Designs! Even if you plan to pick up your materials from Home Depot, you can buy online and choose to pick up in store.
You will need 6 - 96" 2x4s
Cut each 2x4 to the following lengths.
A kerf (saw blade thickness) of 1/8" is assumed. Note that the listed lengths are correct, but the outlines displayed around them are only approximate and may not be proportional to the actual dimensions as they adapt to screen size and font size.
You will need 2 - 96" x 48" x 3/4" Plywood Sheets
Cut each sheet to the following dimensions.
A kerf (saw blade thickness) of 1/8" is assumed.
You will need 36 - #8 x 1-1/4" Self Drilling Flat Head Wood Screws
You will need 144 - #8 x 1-1/4" Strong Tie Screws
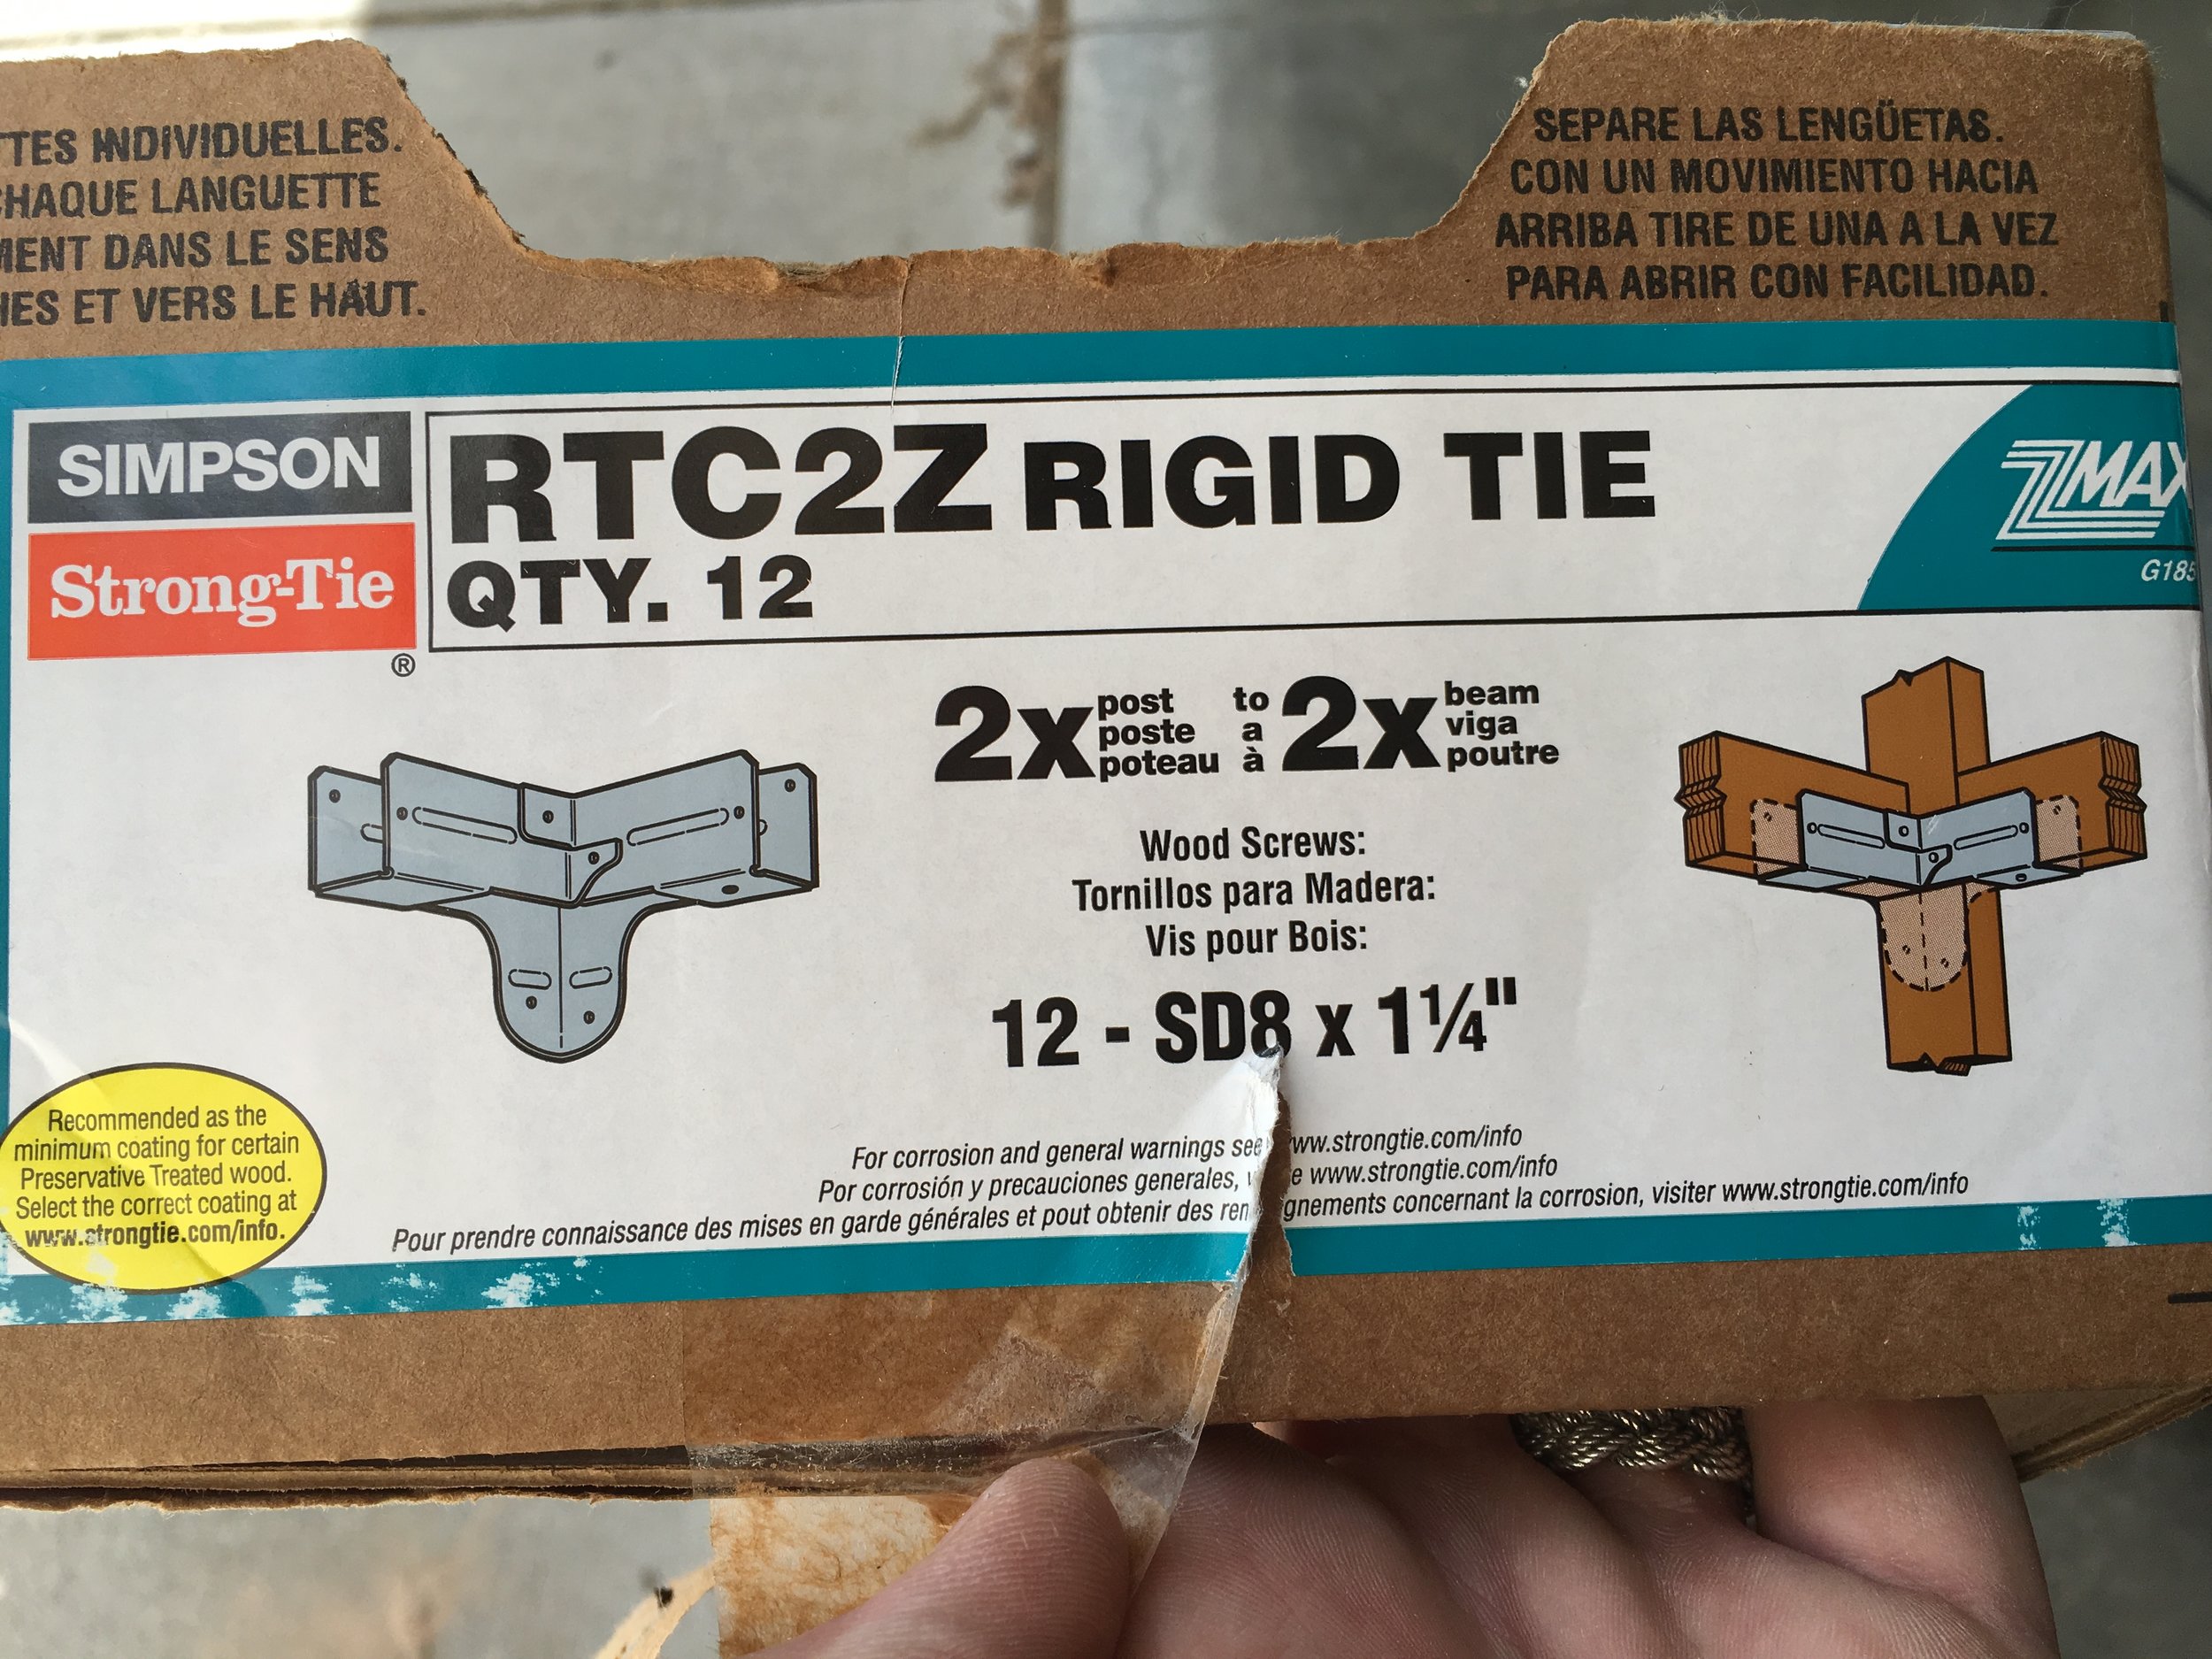
You will need 12 - RTC2Z Simpson Strong Ties
- Simpson Strong Tie Hardware Kit - This kit provides 8 strong ties and the necessary screws
- 20 pack of Simpson Strong Ties - If you plan to make multiple tables or a shelf.
- 2 pack of Simpson Strong Ties - To get the extra couple you may need.
- 100 pack of Simpson Strong Tie screws - For attaching the strong ties.
- 1 lb box of flat head screws - For attaching the plywood.
Dimensions
The following dimensions are referenced in the walkthrough below.
H-D
- 6.5" - Align the strong ties for shelf 1 so that the top of each 2x4 is at this height.
H-E
- 25.5" - Align the strong ties for shelf 2 so that the top of each 2x4 is at this height.
H-F
- 35.25" - Align the strong ties for the table top so that the top of each 2x4 is at this height.
Want to be notified about projects like these? Sign up for our newsletter to get free projects sent to your inbox.
Tools
These are the tools that I used on this project. There are many suitable options that you could use instead. Please consider using these links when purchasing your tools, as a small percentage of your purchase goes to us which helps us continue producing free, quality content!
Miter saw - Used to cut our 2x4s.
Circular Saw - Used to cut our plywood.
Impact Driver - Used to screw everything together.
Jigsaw - With this, we cut out notches in the corner of the plywood shelves.
Saw horses - Saw horses were key to being able to cut the plywood.
Clamps - Clamps are always useful when woodworking. We used these to clamp down straight edges when cutting the plywood and for holding joists in place temporarily.
Hammer (optional) - This was for some "gentle" adjusting to get things square.
Walkthrough
The first step is getting your materials and tools. You'll need several 2x4's and some 3/4" plywood. The number of each is specified above, given the dimensions you specified in the widget above. I used twelve Simpson Strong Ties, six 2x4's and two sheets of 4'x8'x3/4" plywood and let Home Depot cut the plywood to 36". Make sure you stick to the dimensions in the Materials section when building your custom table.
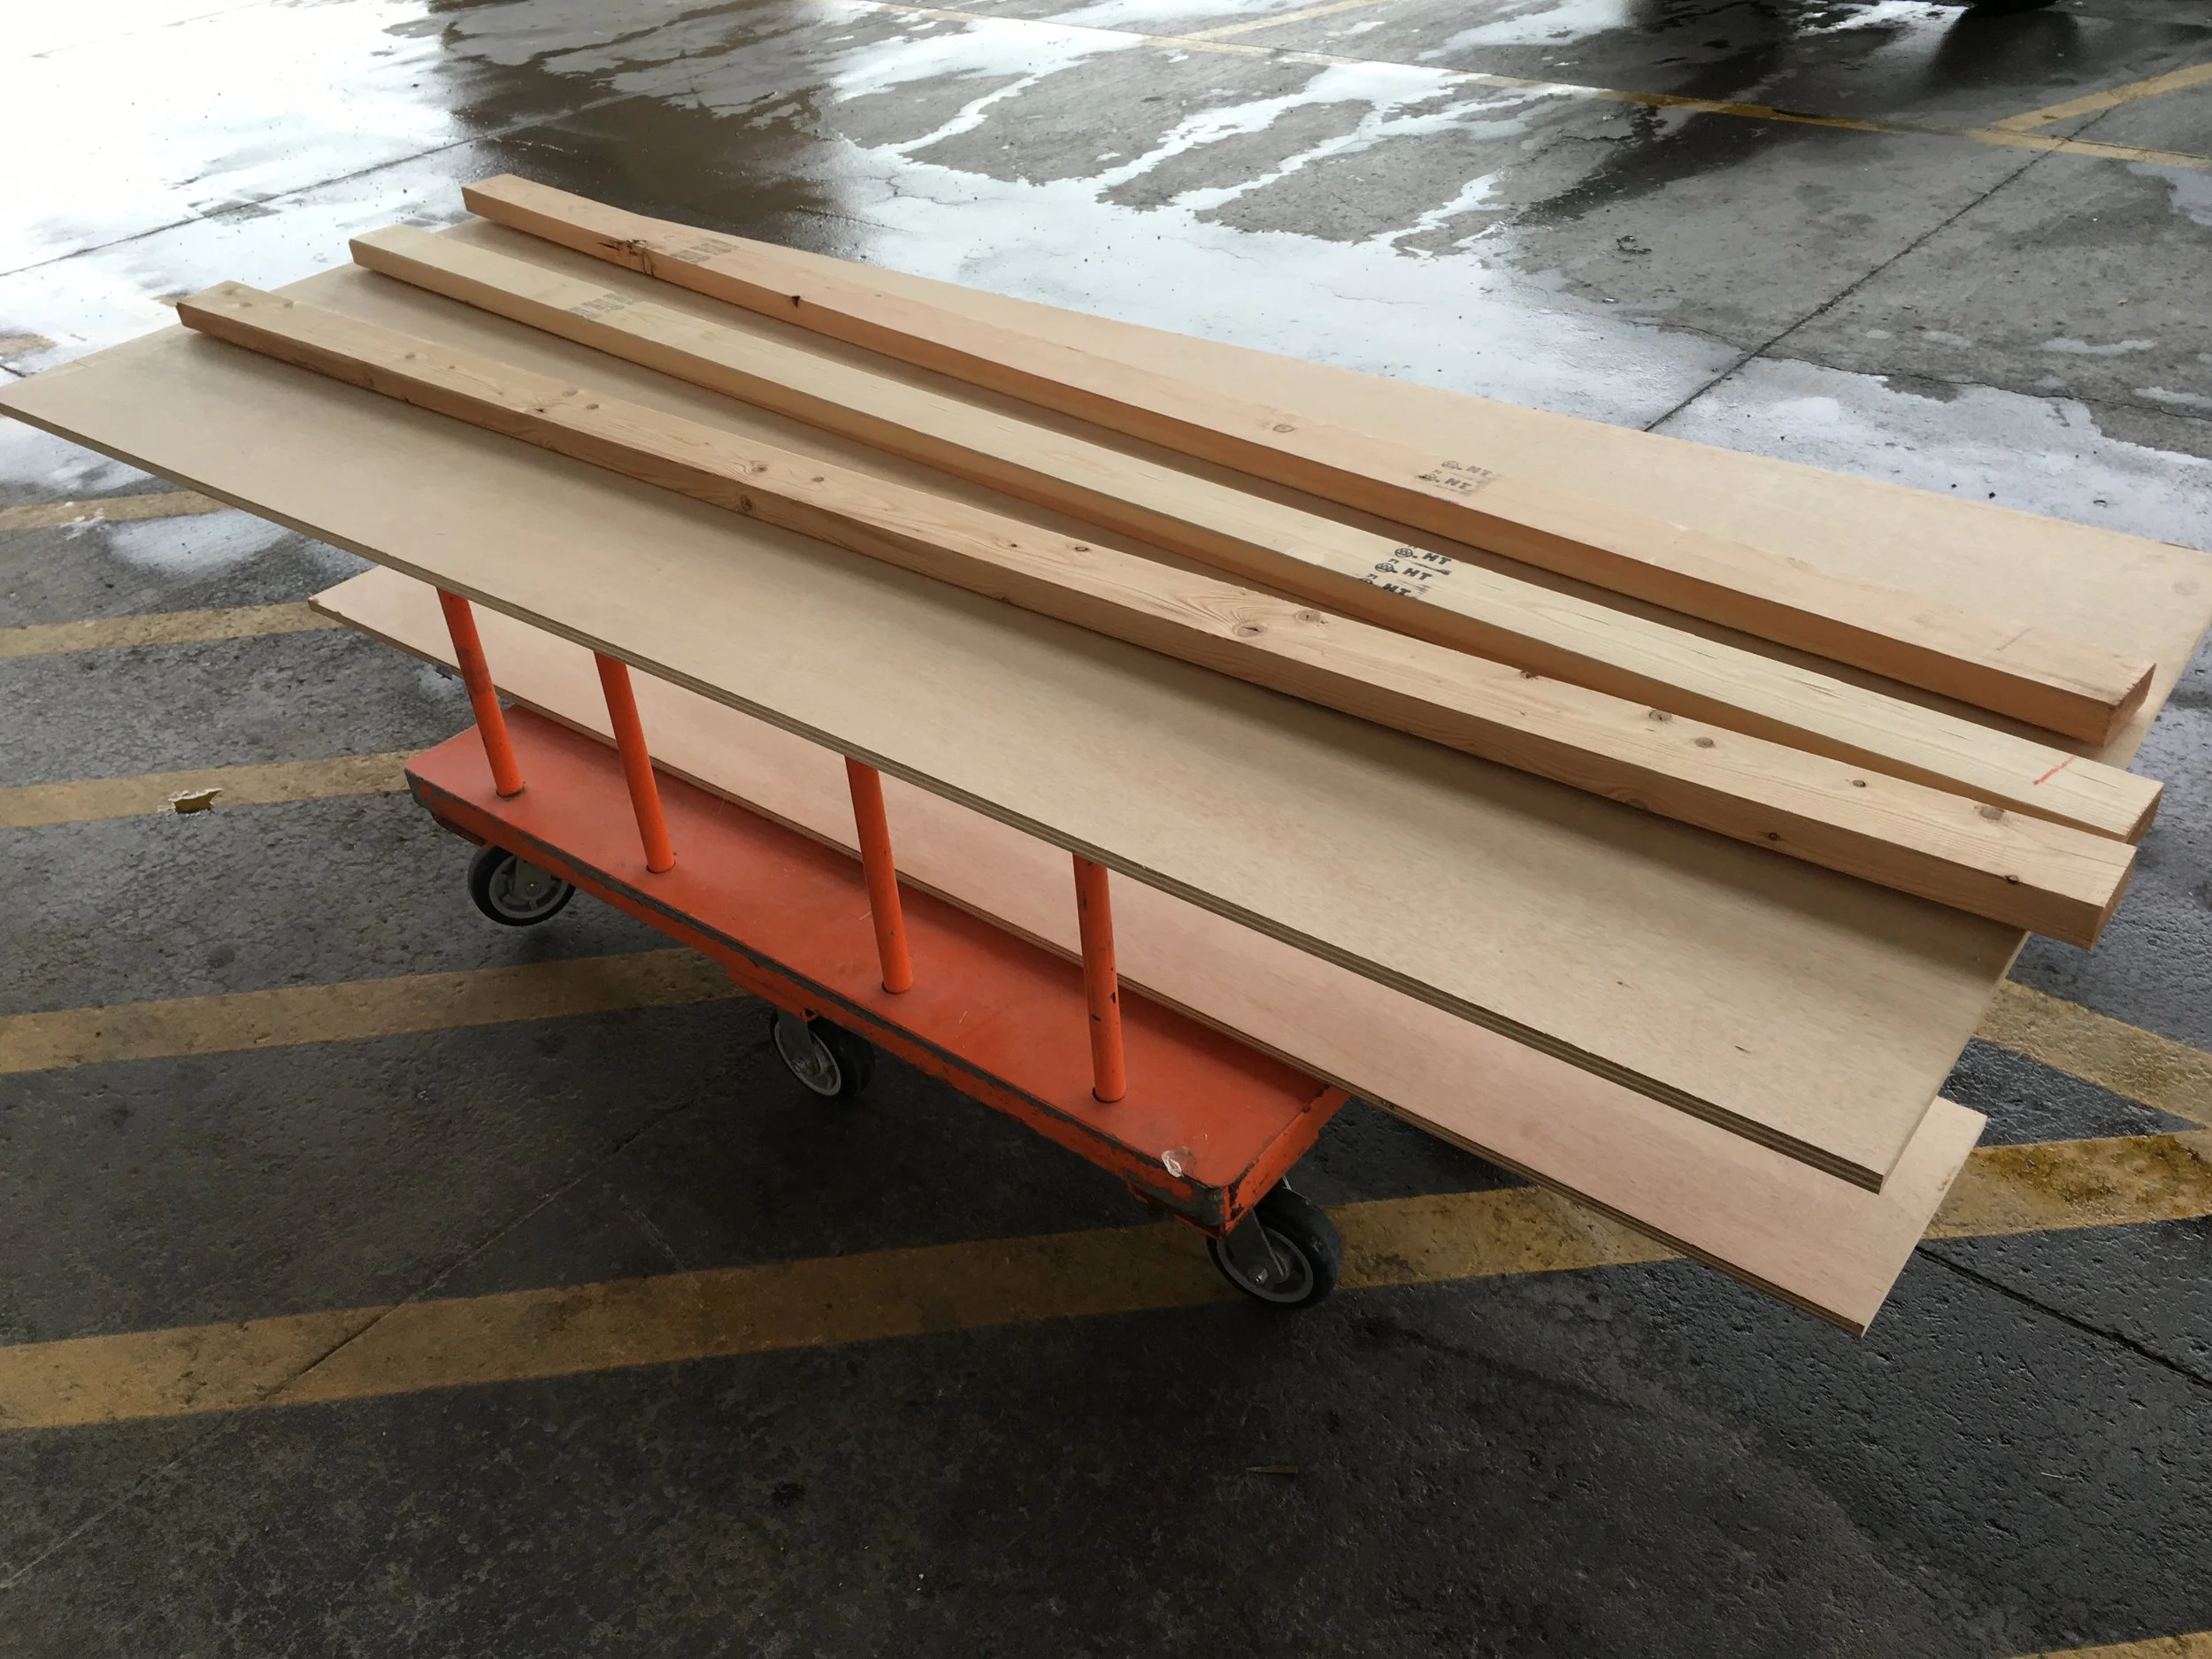
Next, we need to cut our lumber to length. The Materials section above lists how you should cut each board. I used the miter saw to cut my 2x4s and a worm drive circular saw to cut the plywood (the sawhorses were key to cutting the plywood).
My dad manning the miter saw.
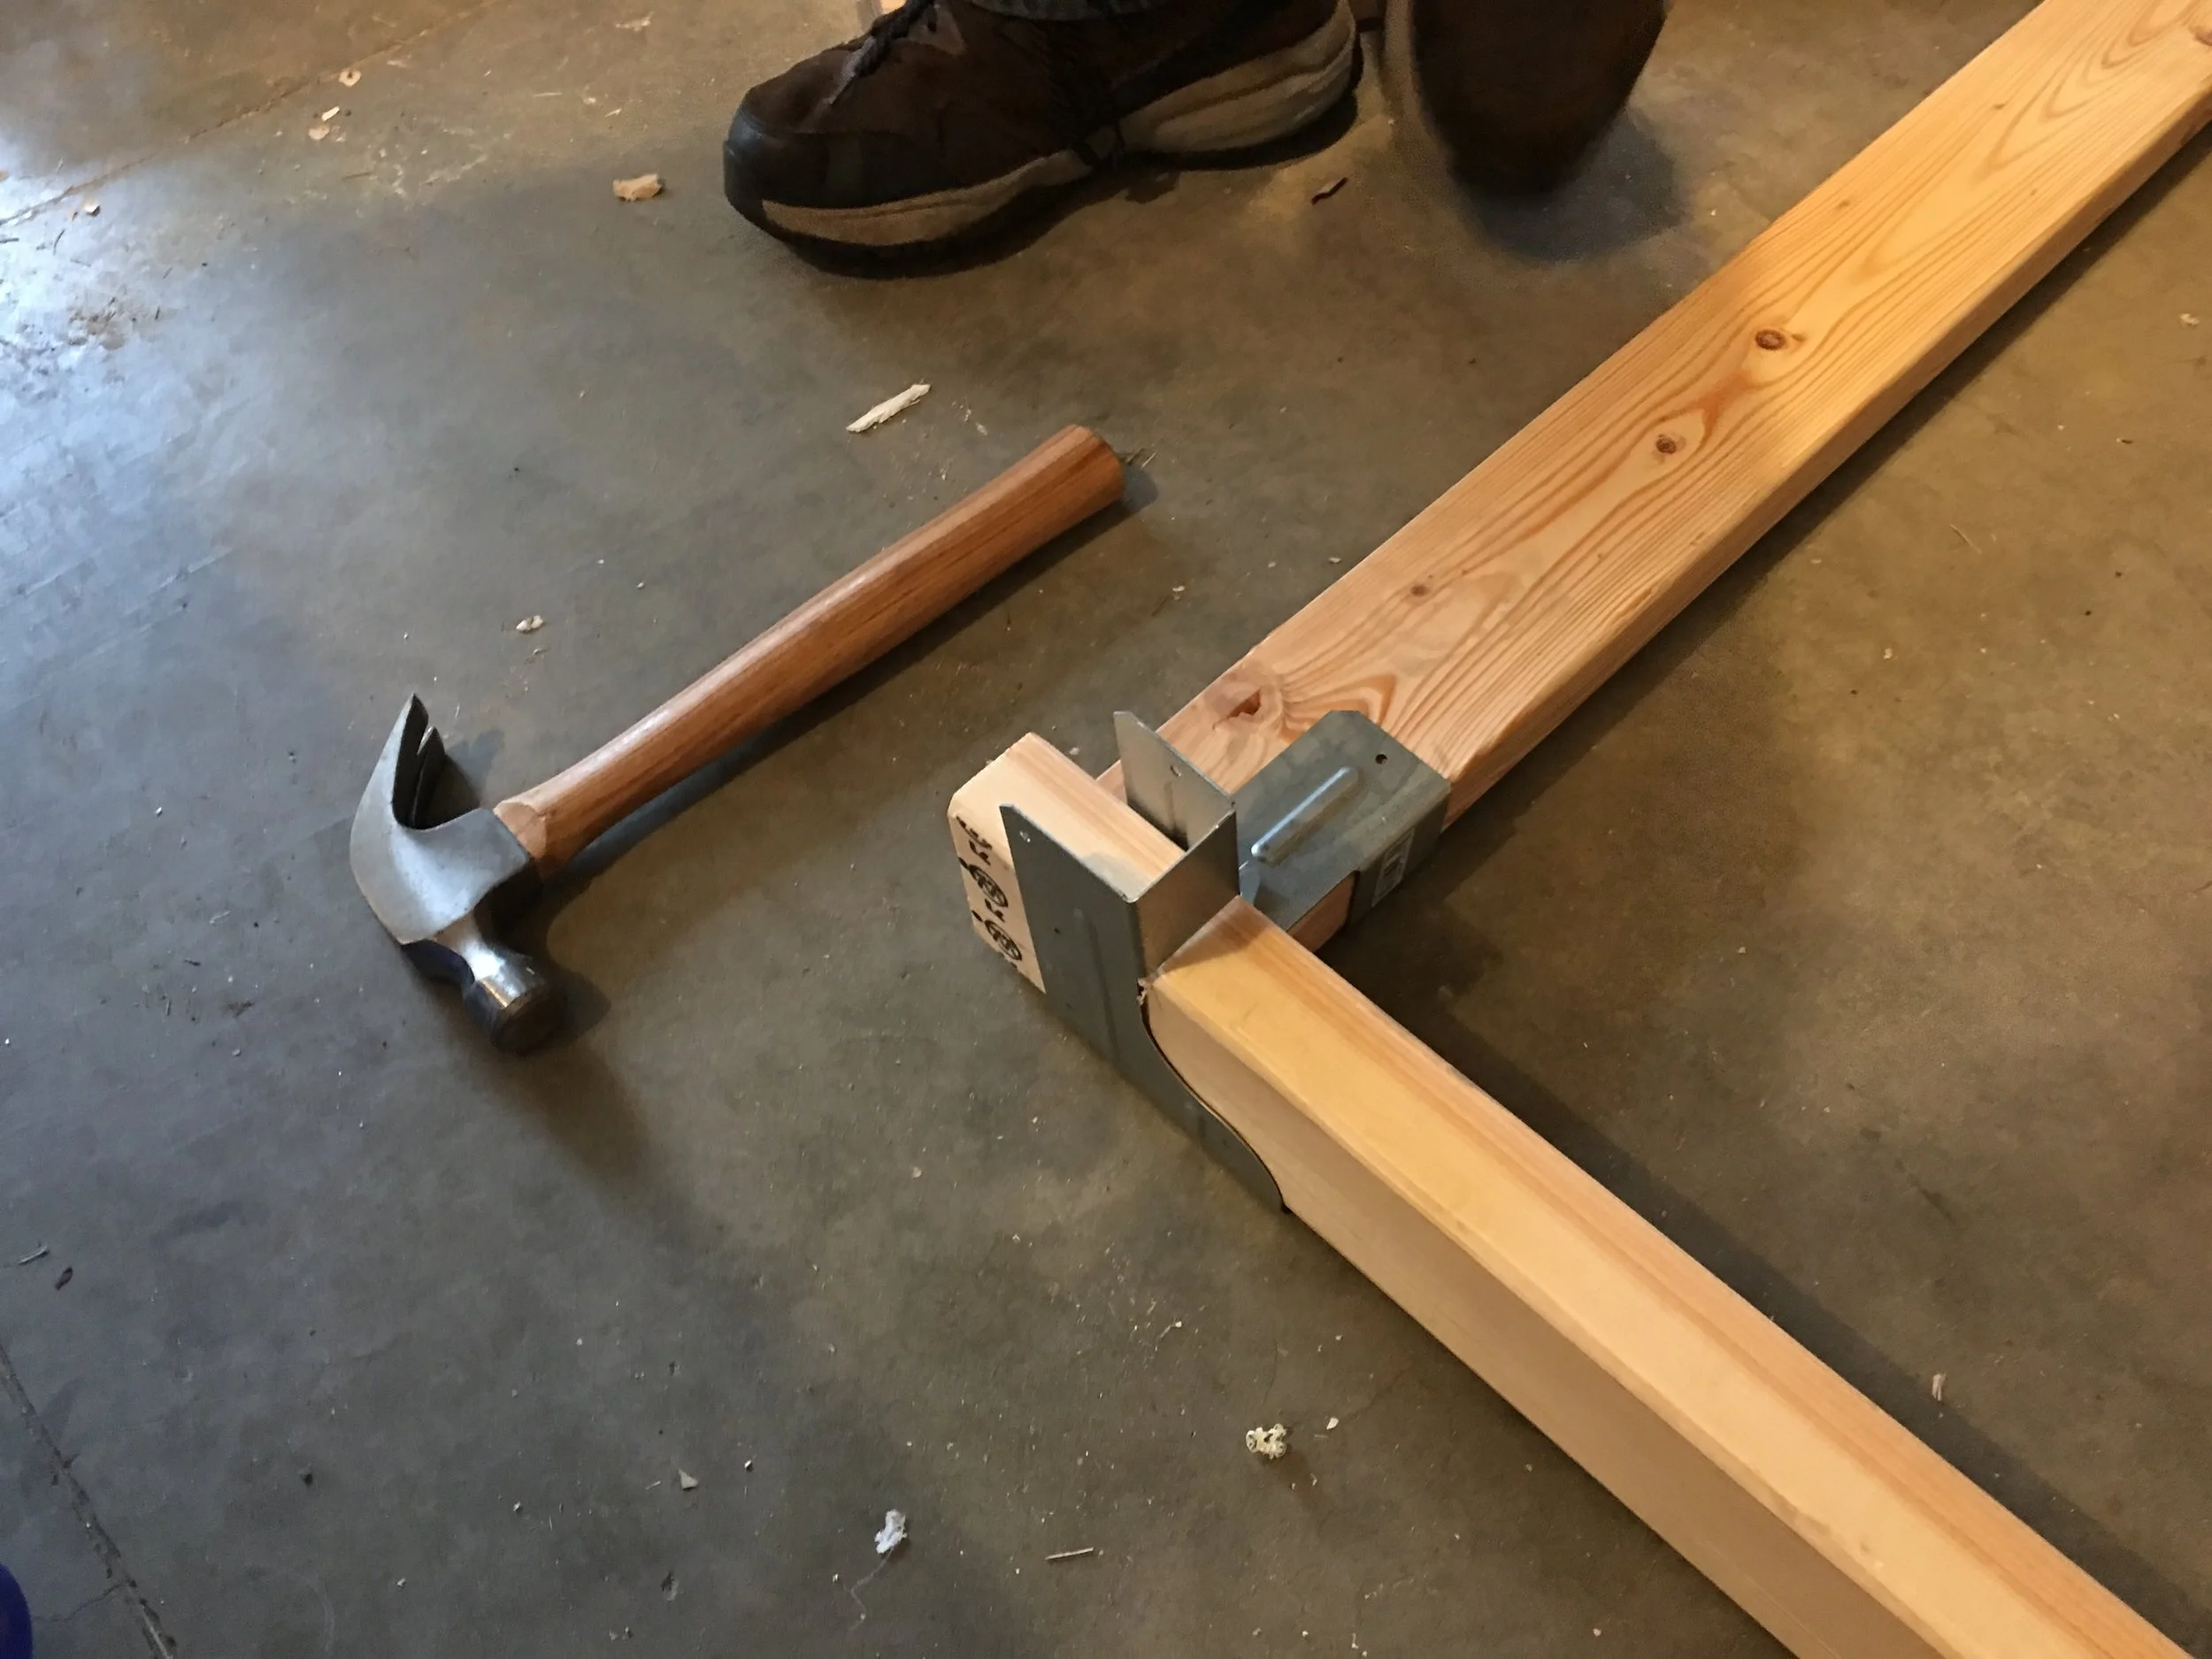
Next, start piecing your Simpson Strong Ties together with your 2x4s. Make sure you're using the correct lengths for the legs and joists. We started with the top joists and went down, but if I had to do it over again, I would have gone from the bottom up. When placing the plywood on the 2x4s, the strong ties above it were in the way. For the shelf, we ended up having to remove a couple of the top strong ties, so we could get the plywood in. Make sure the top of your joists are 3/4" below the desired shelf heights that you input in the widget above to account for the thickness of the plywood.
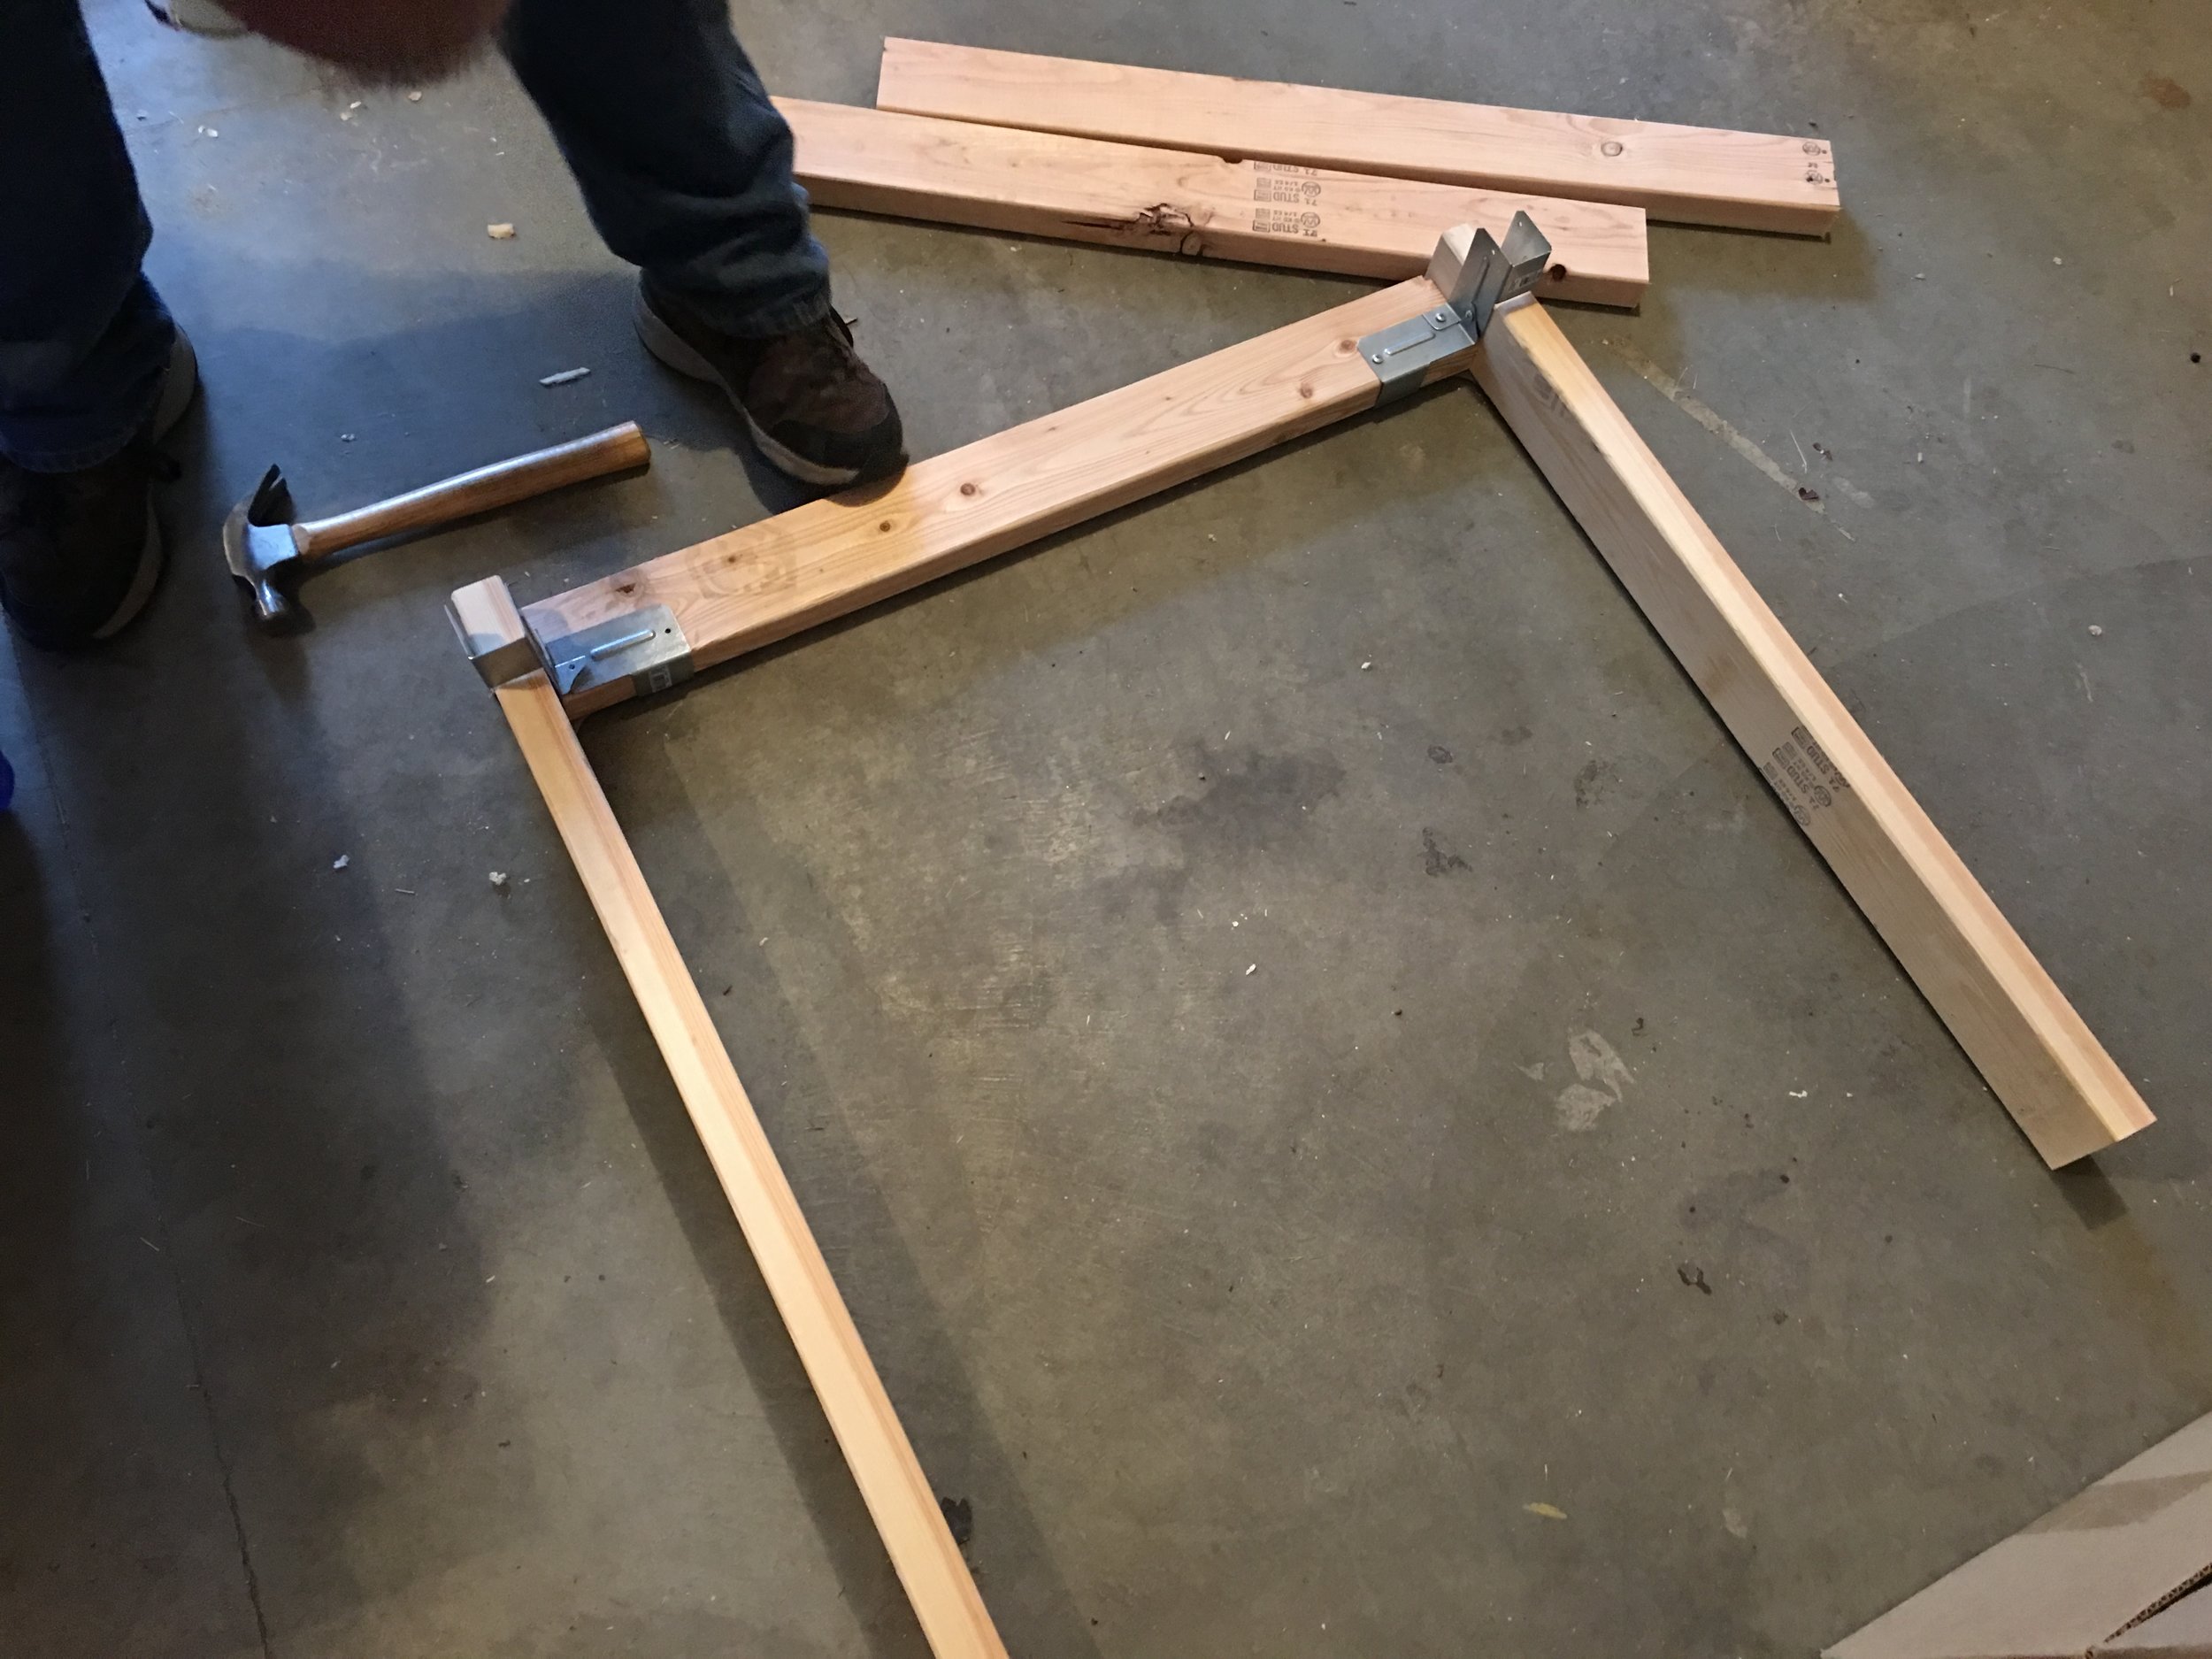

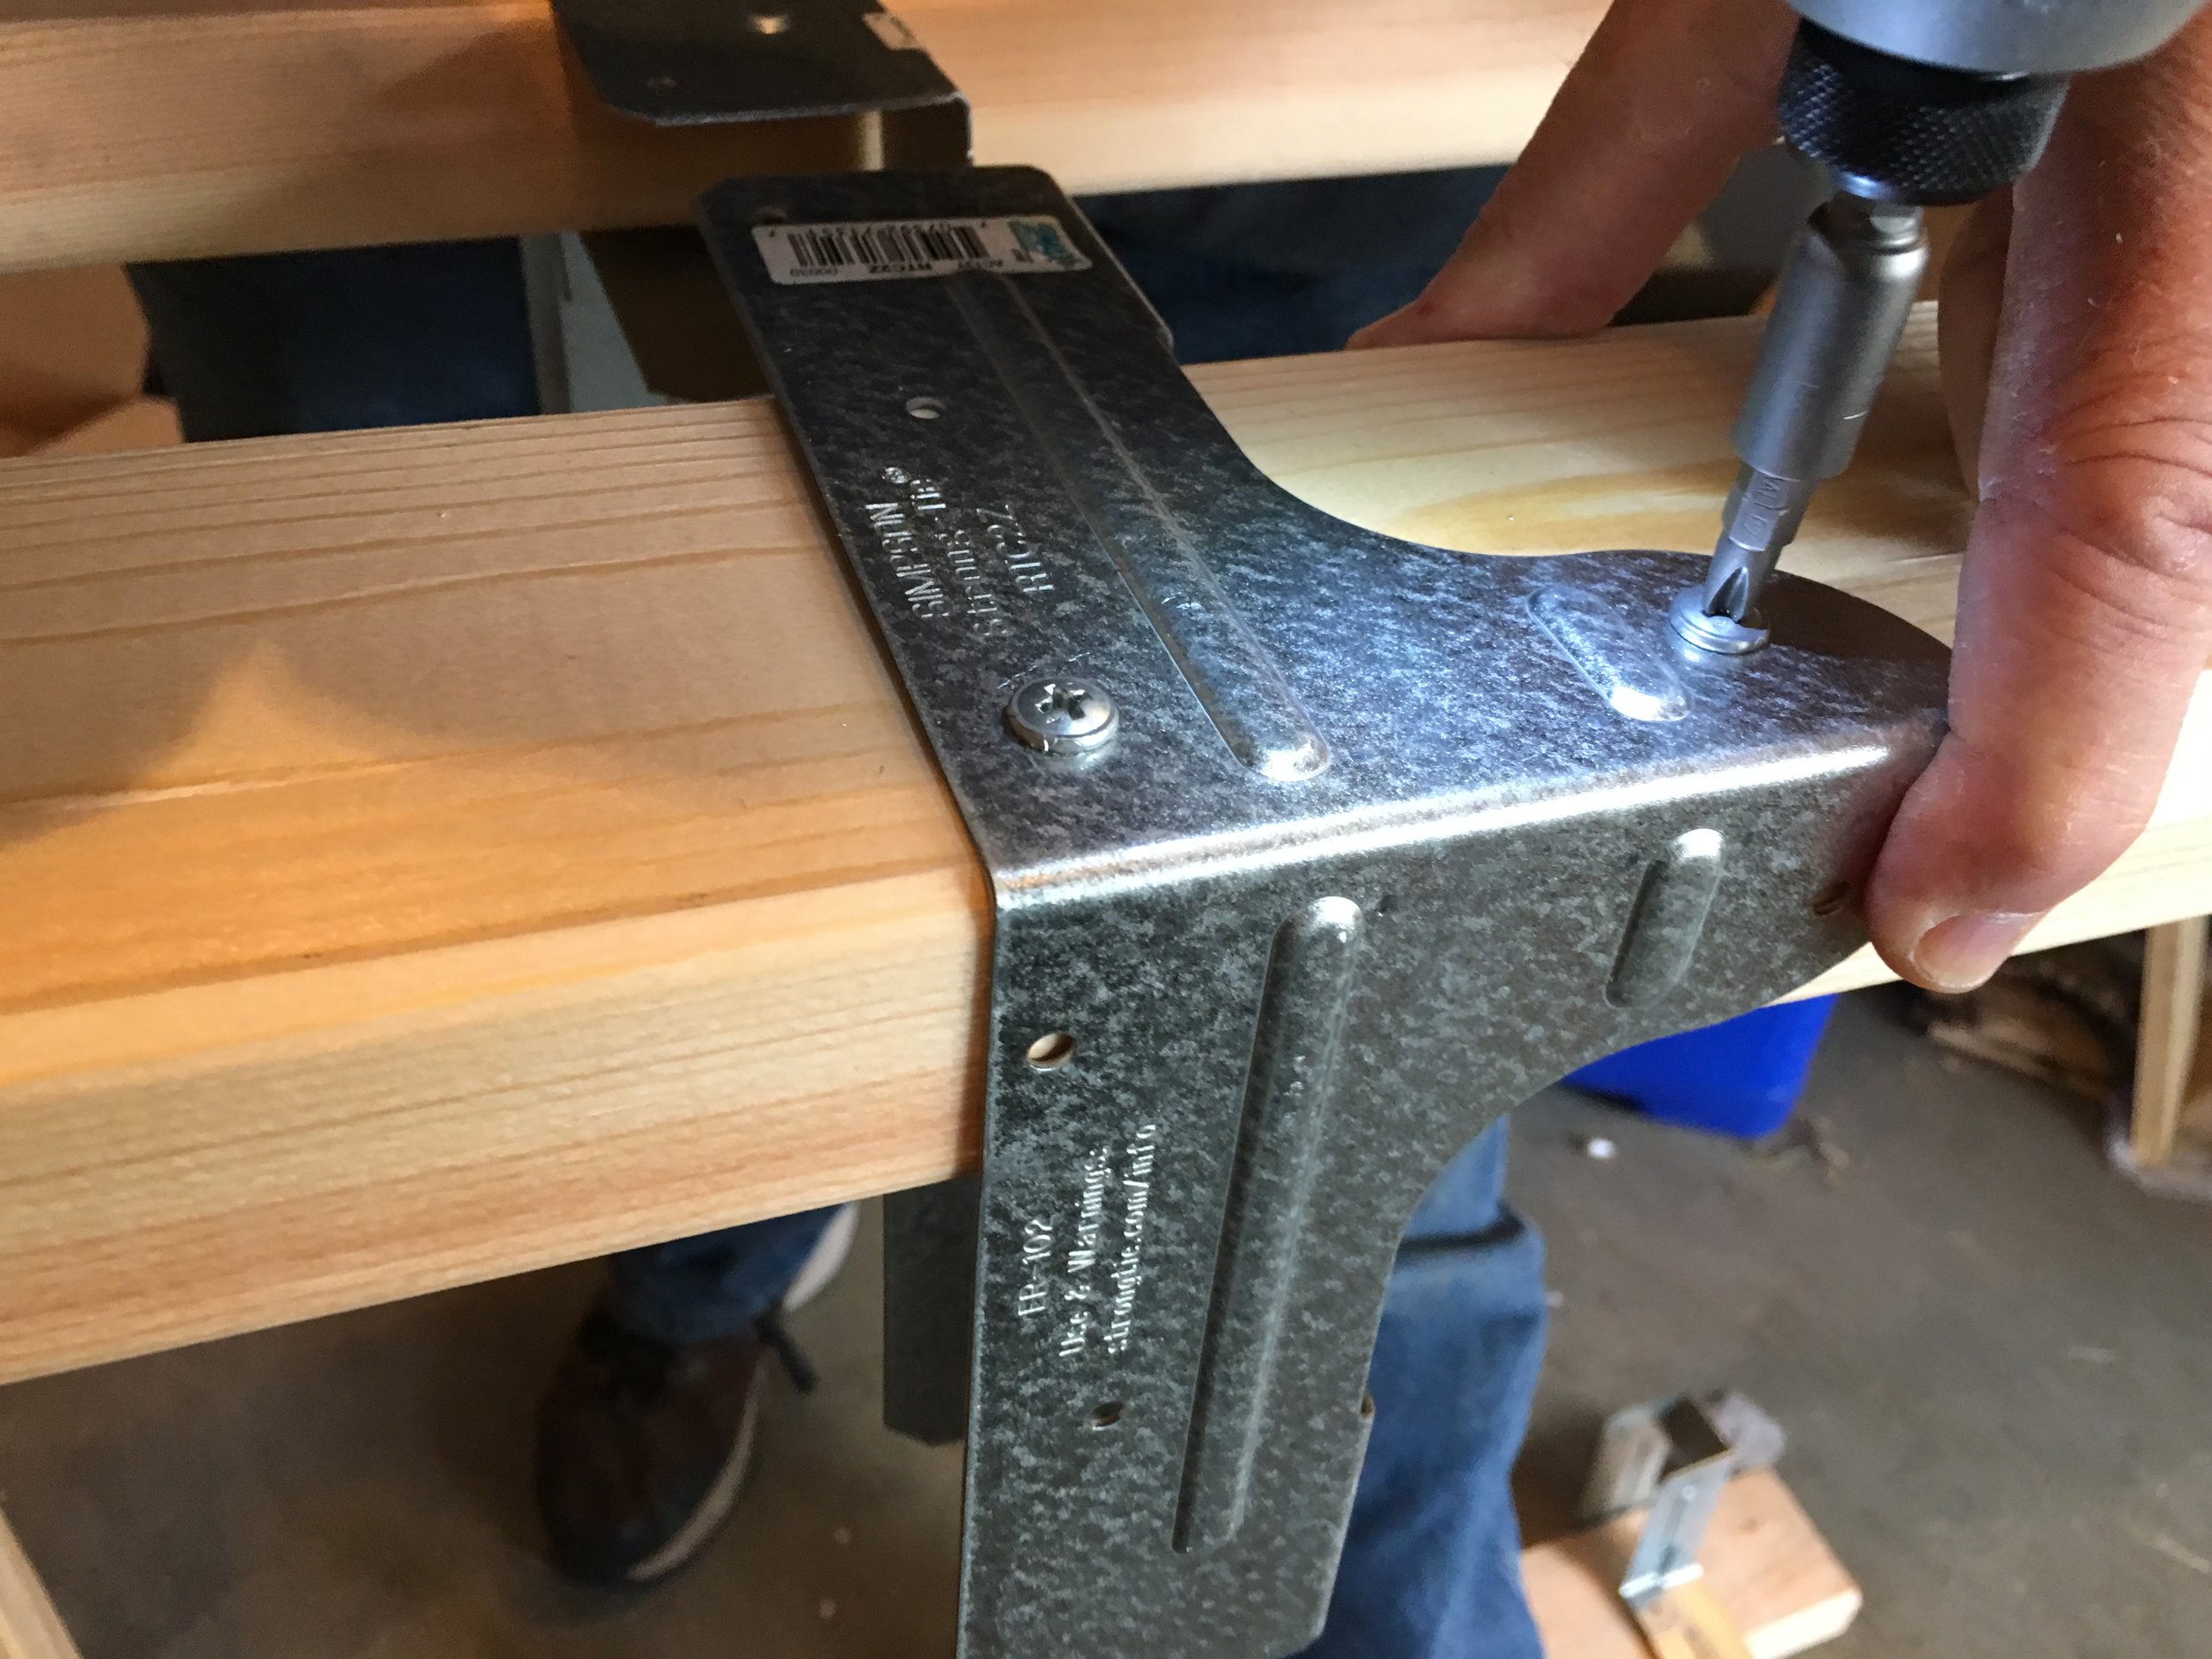
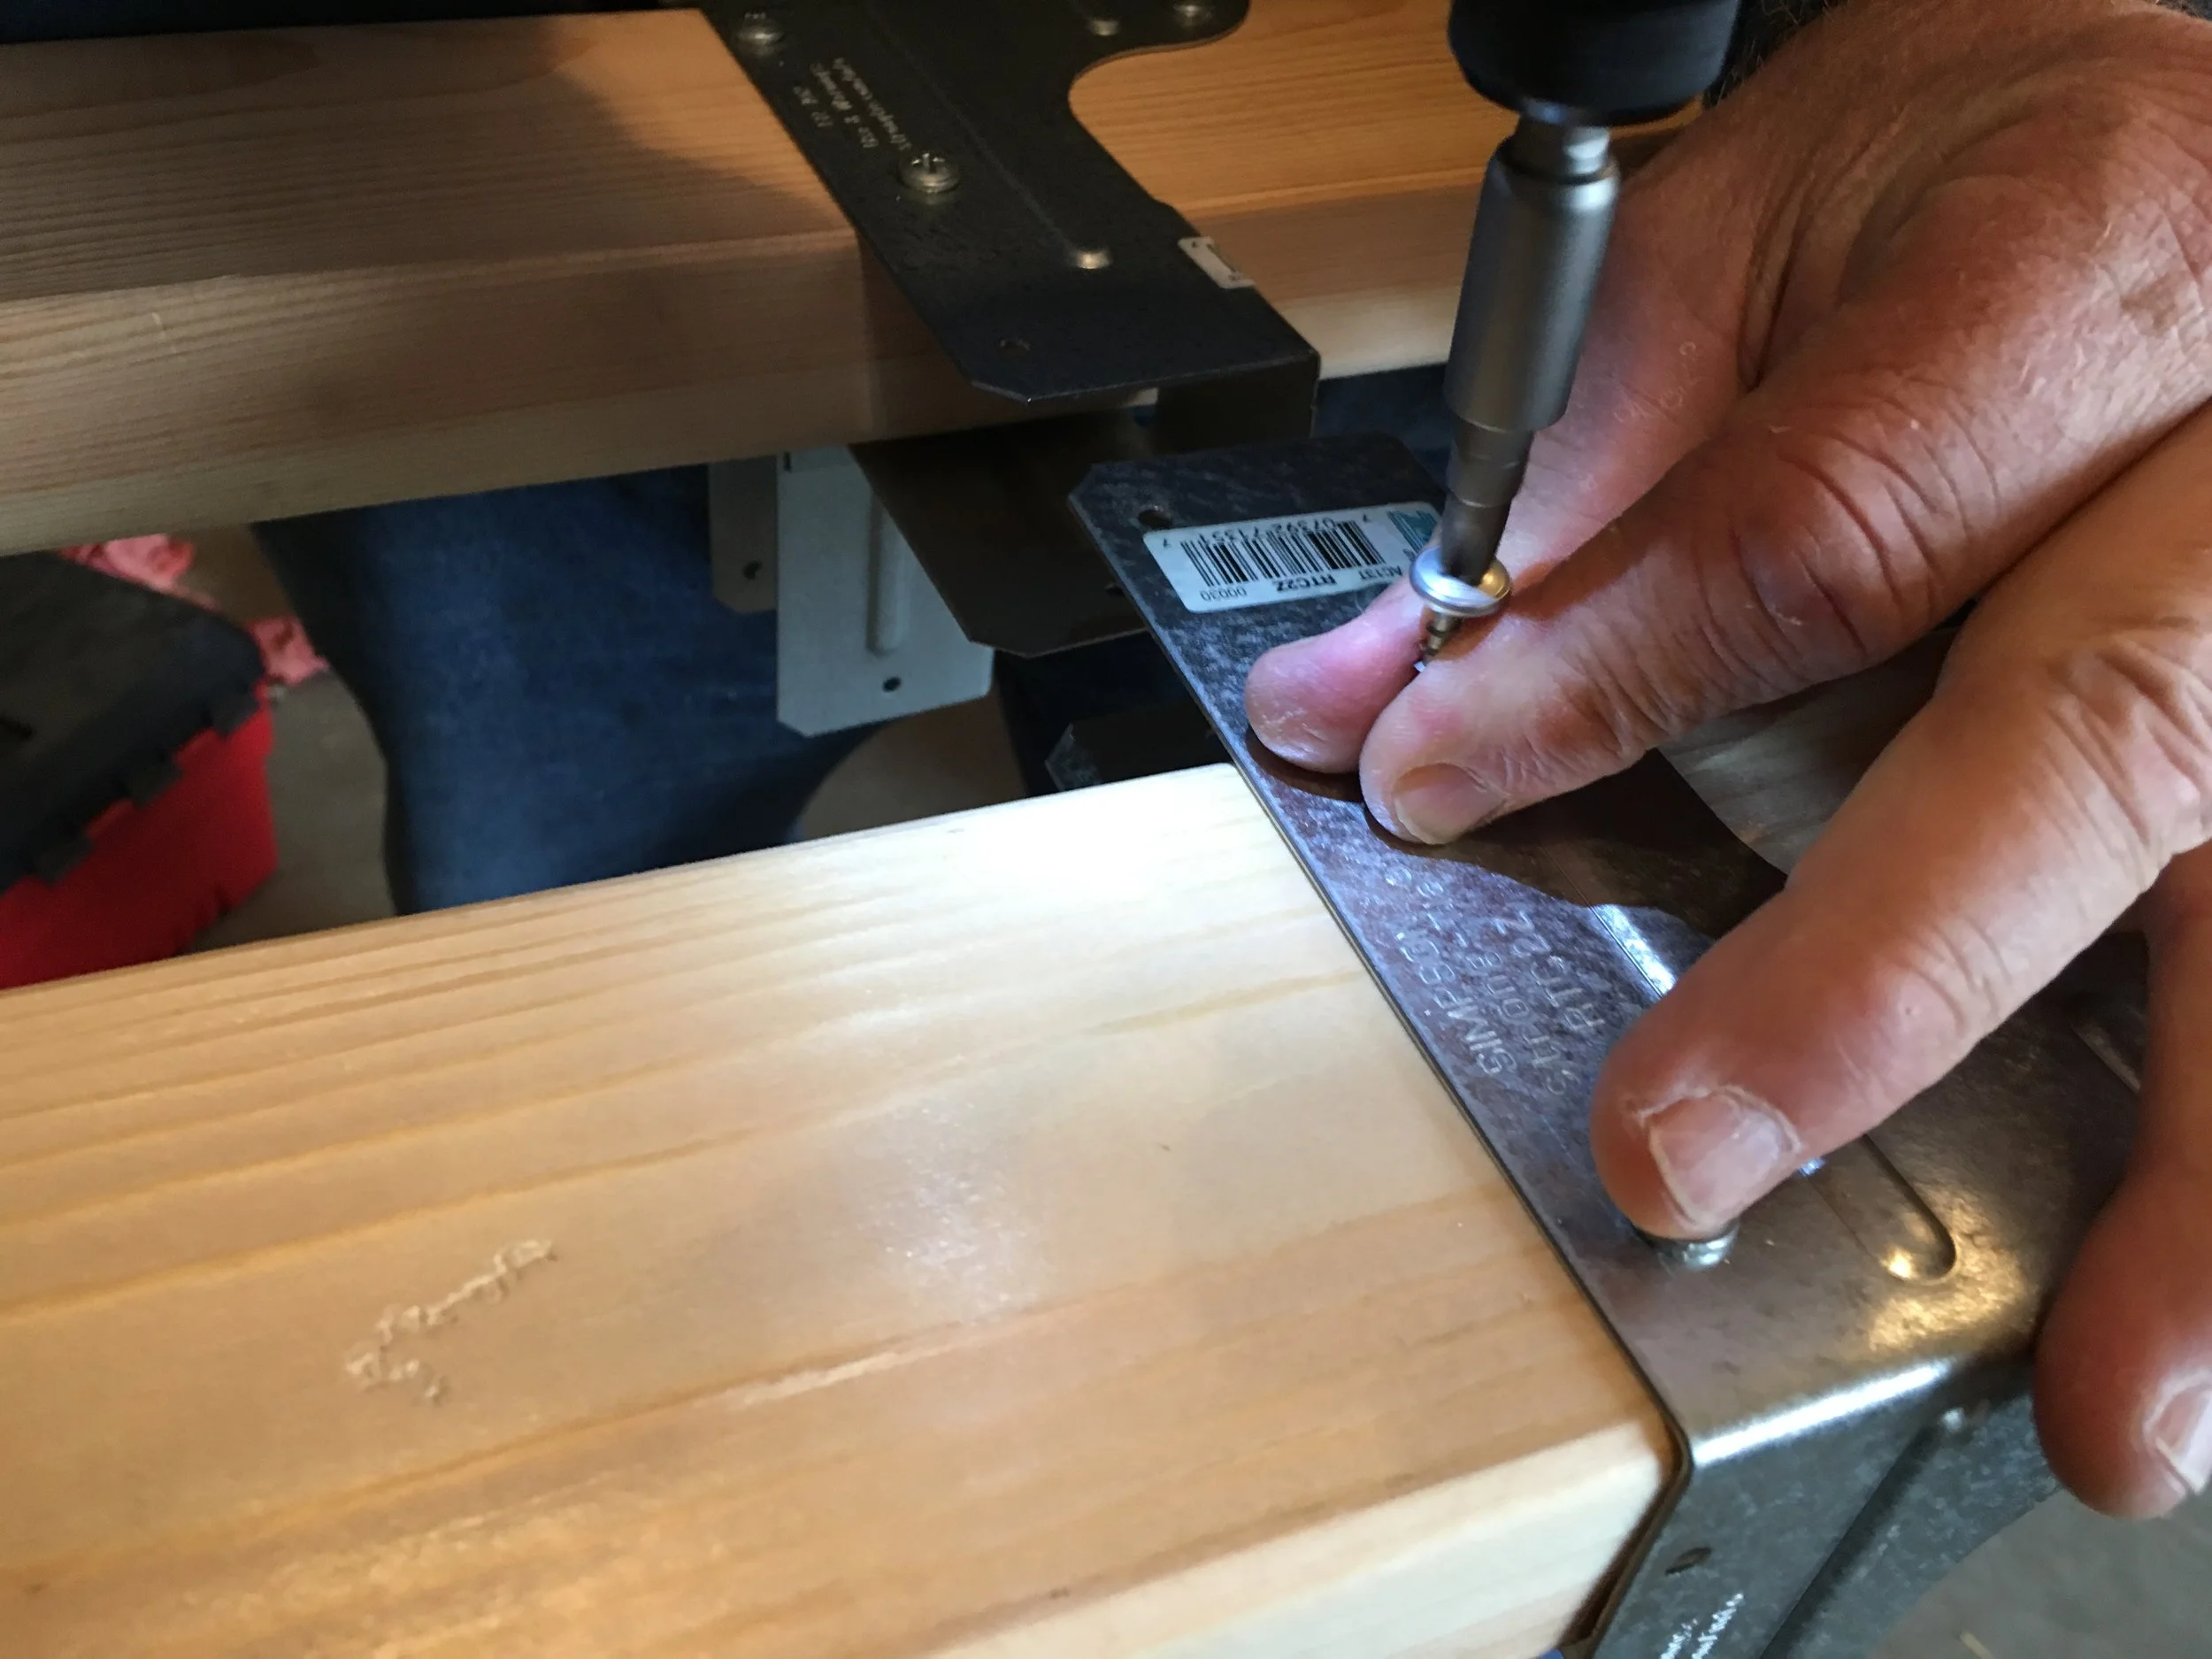
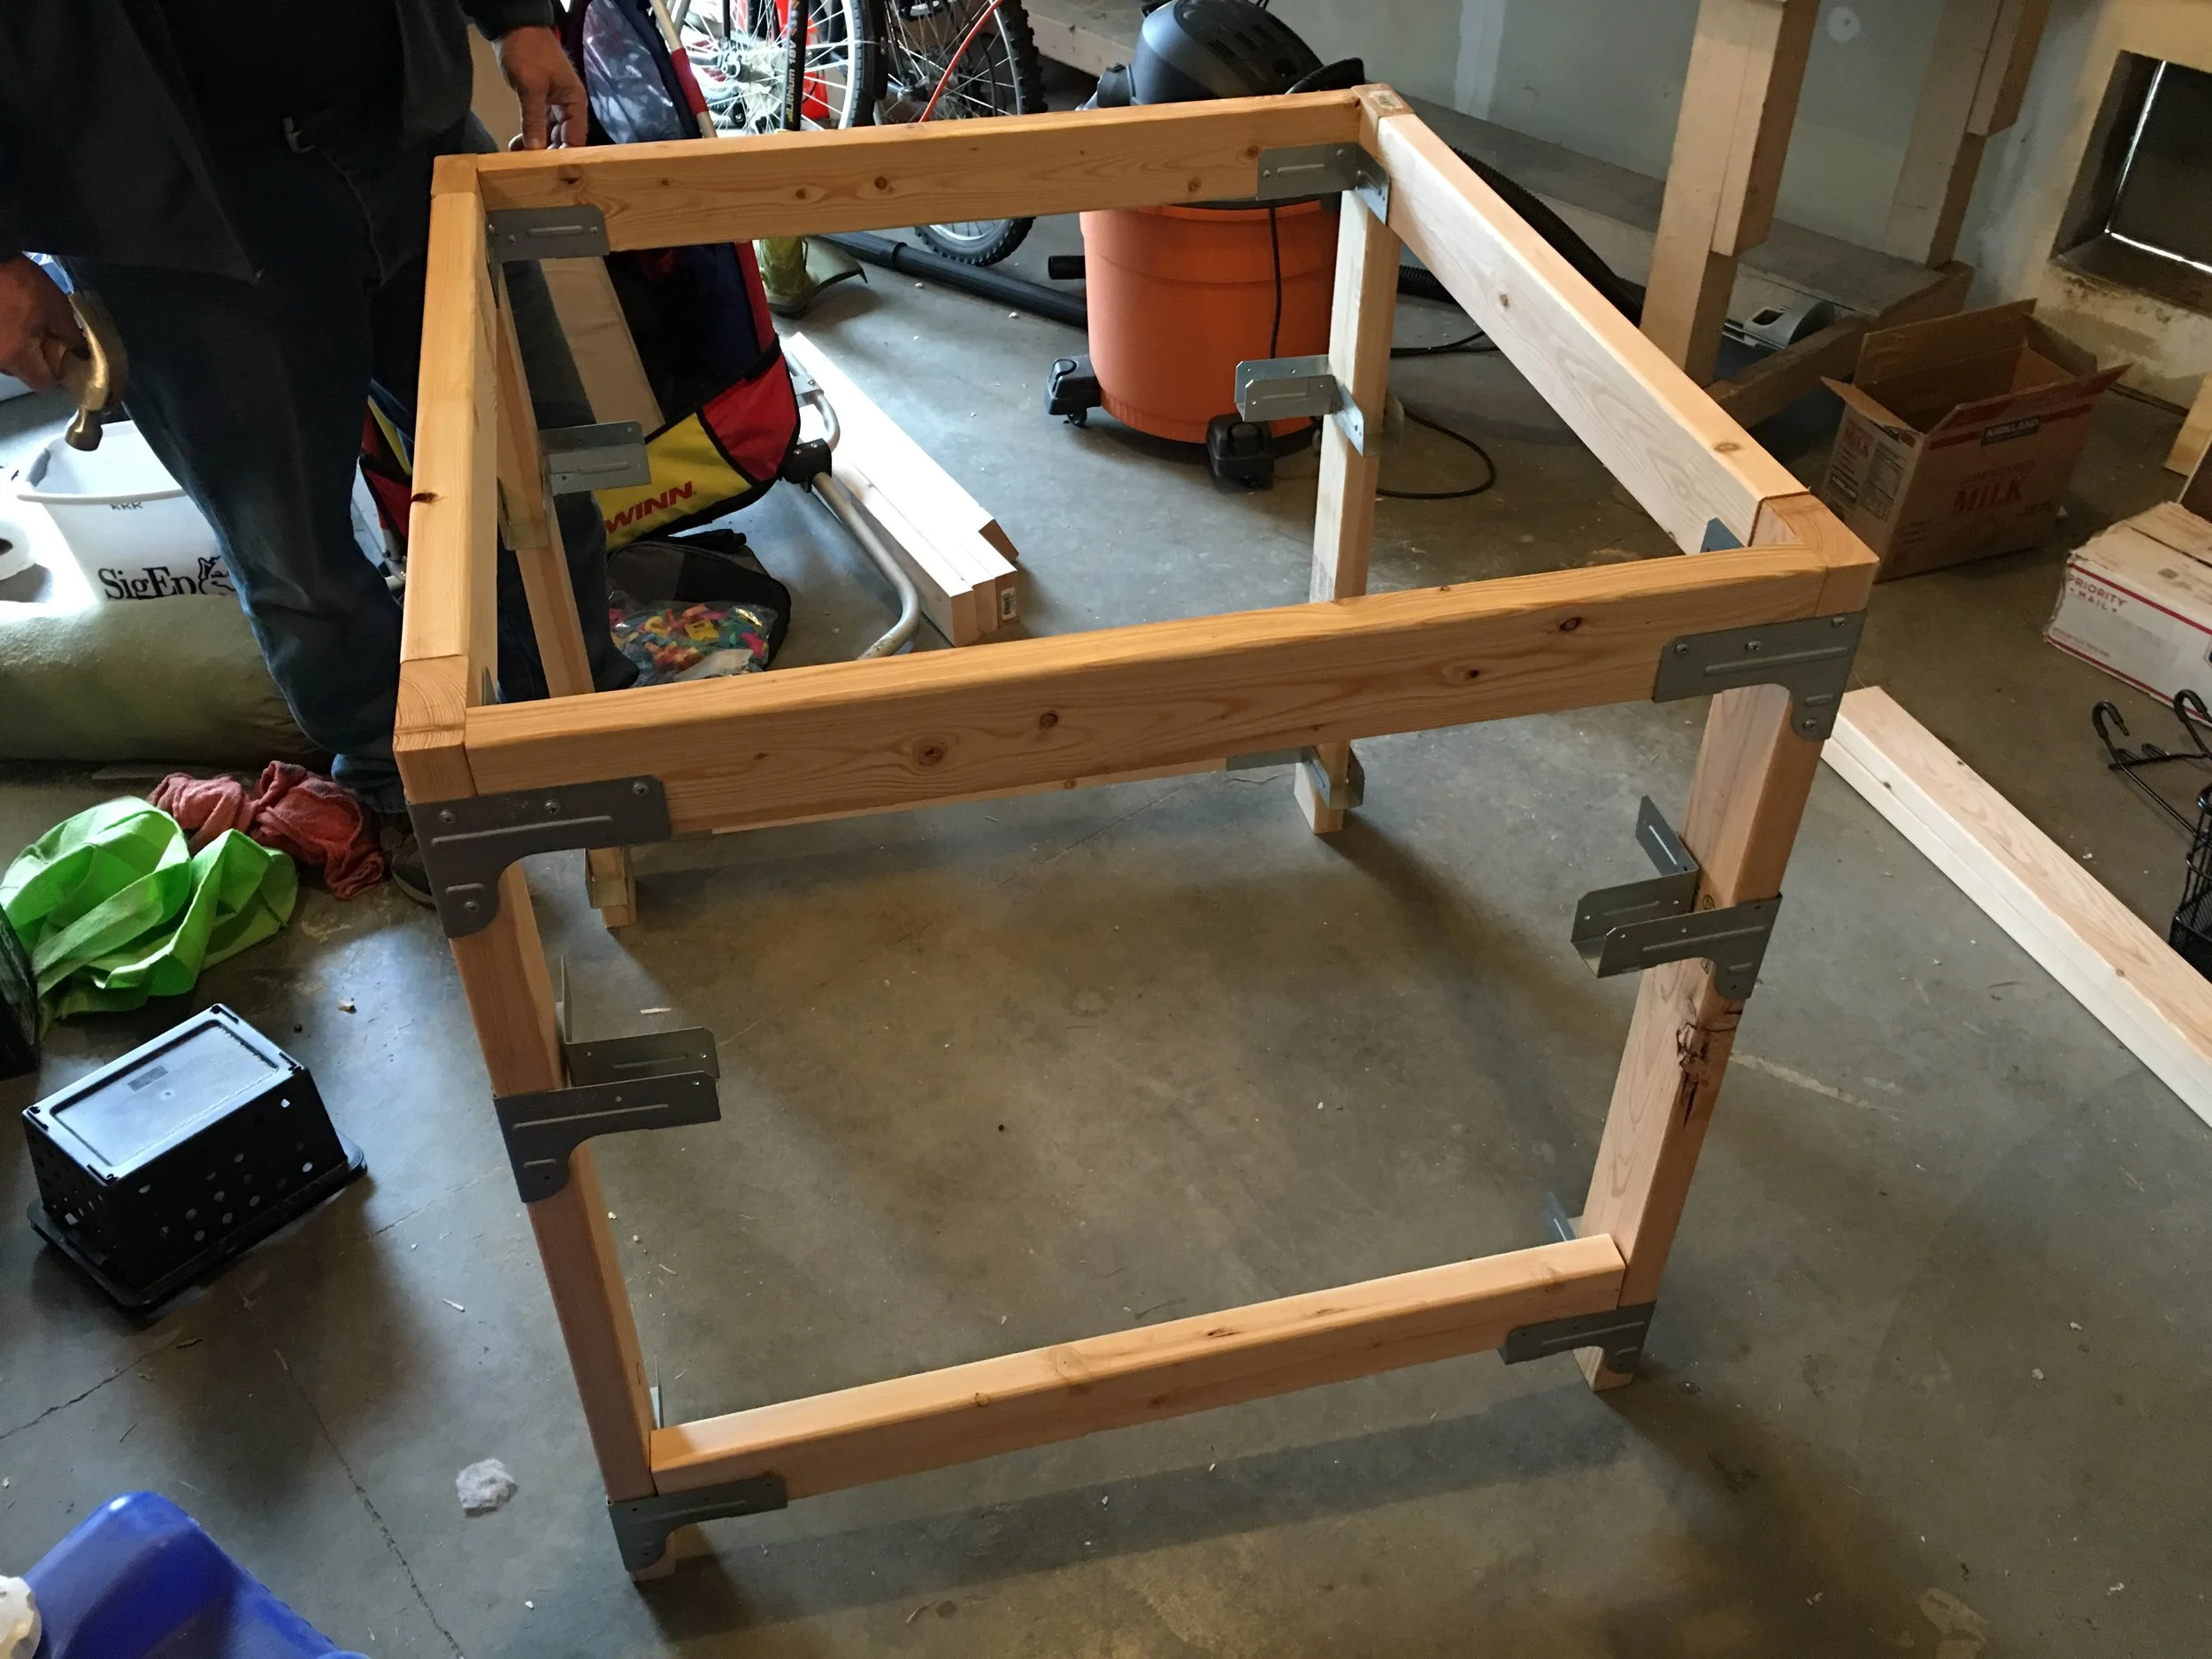
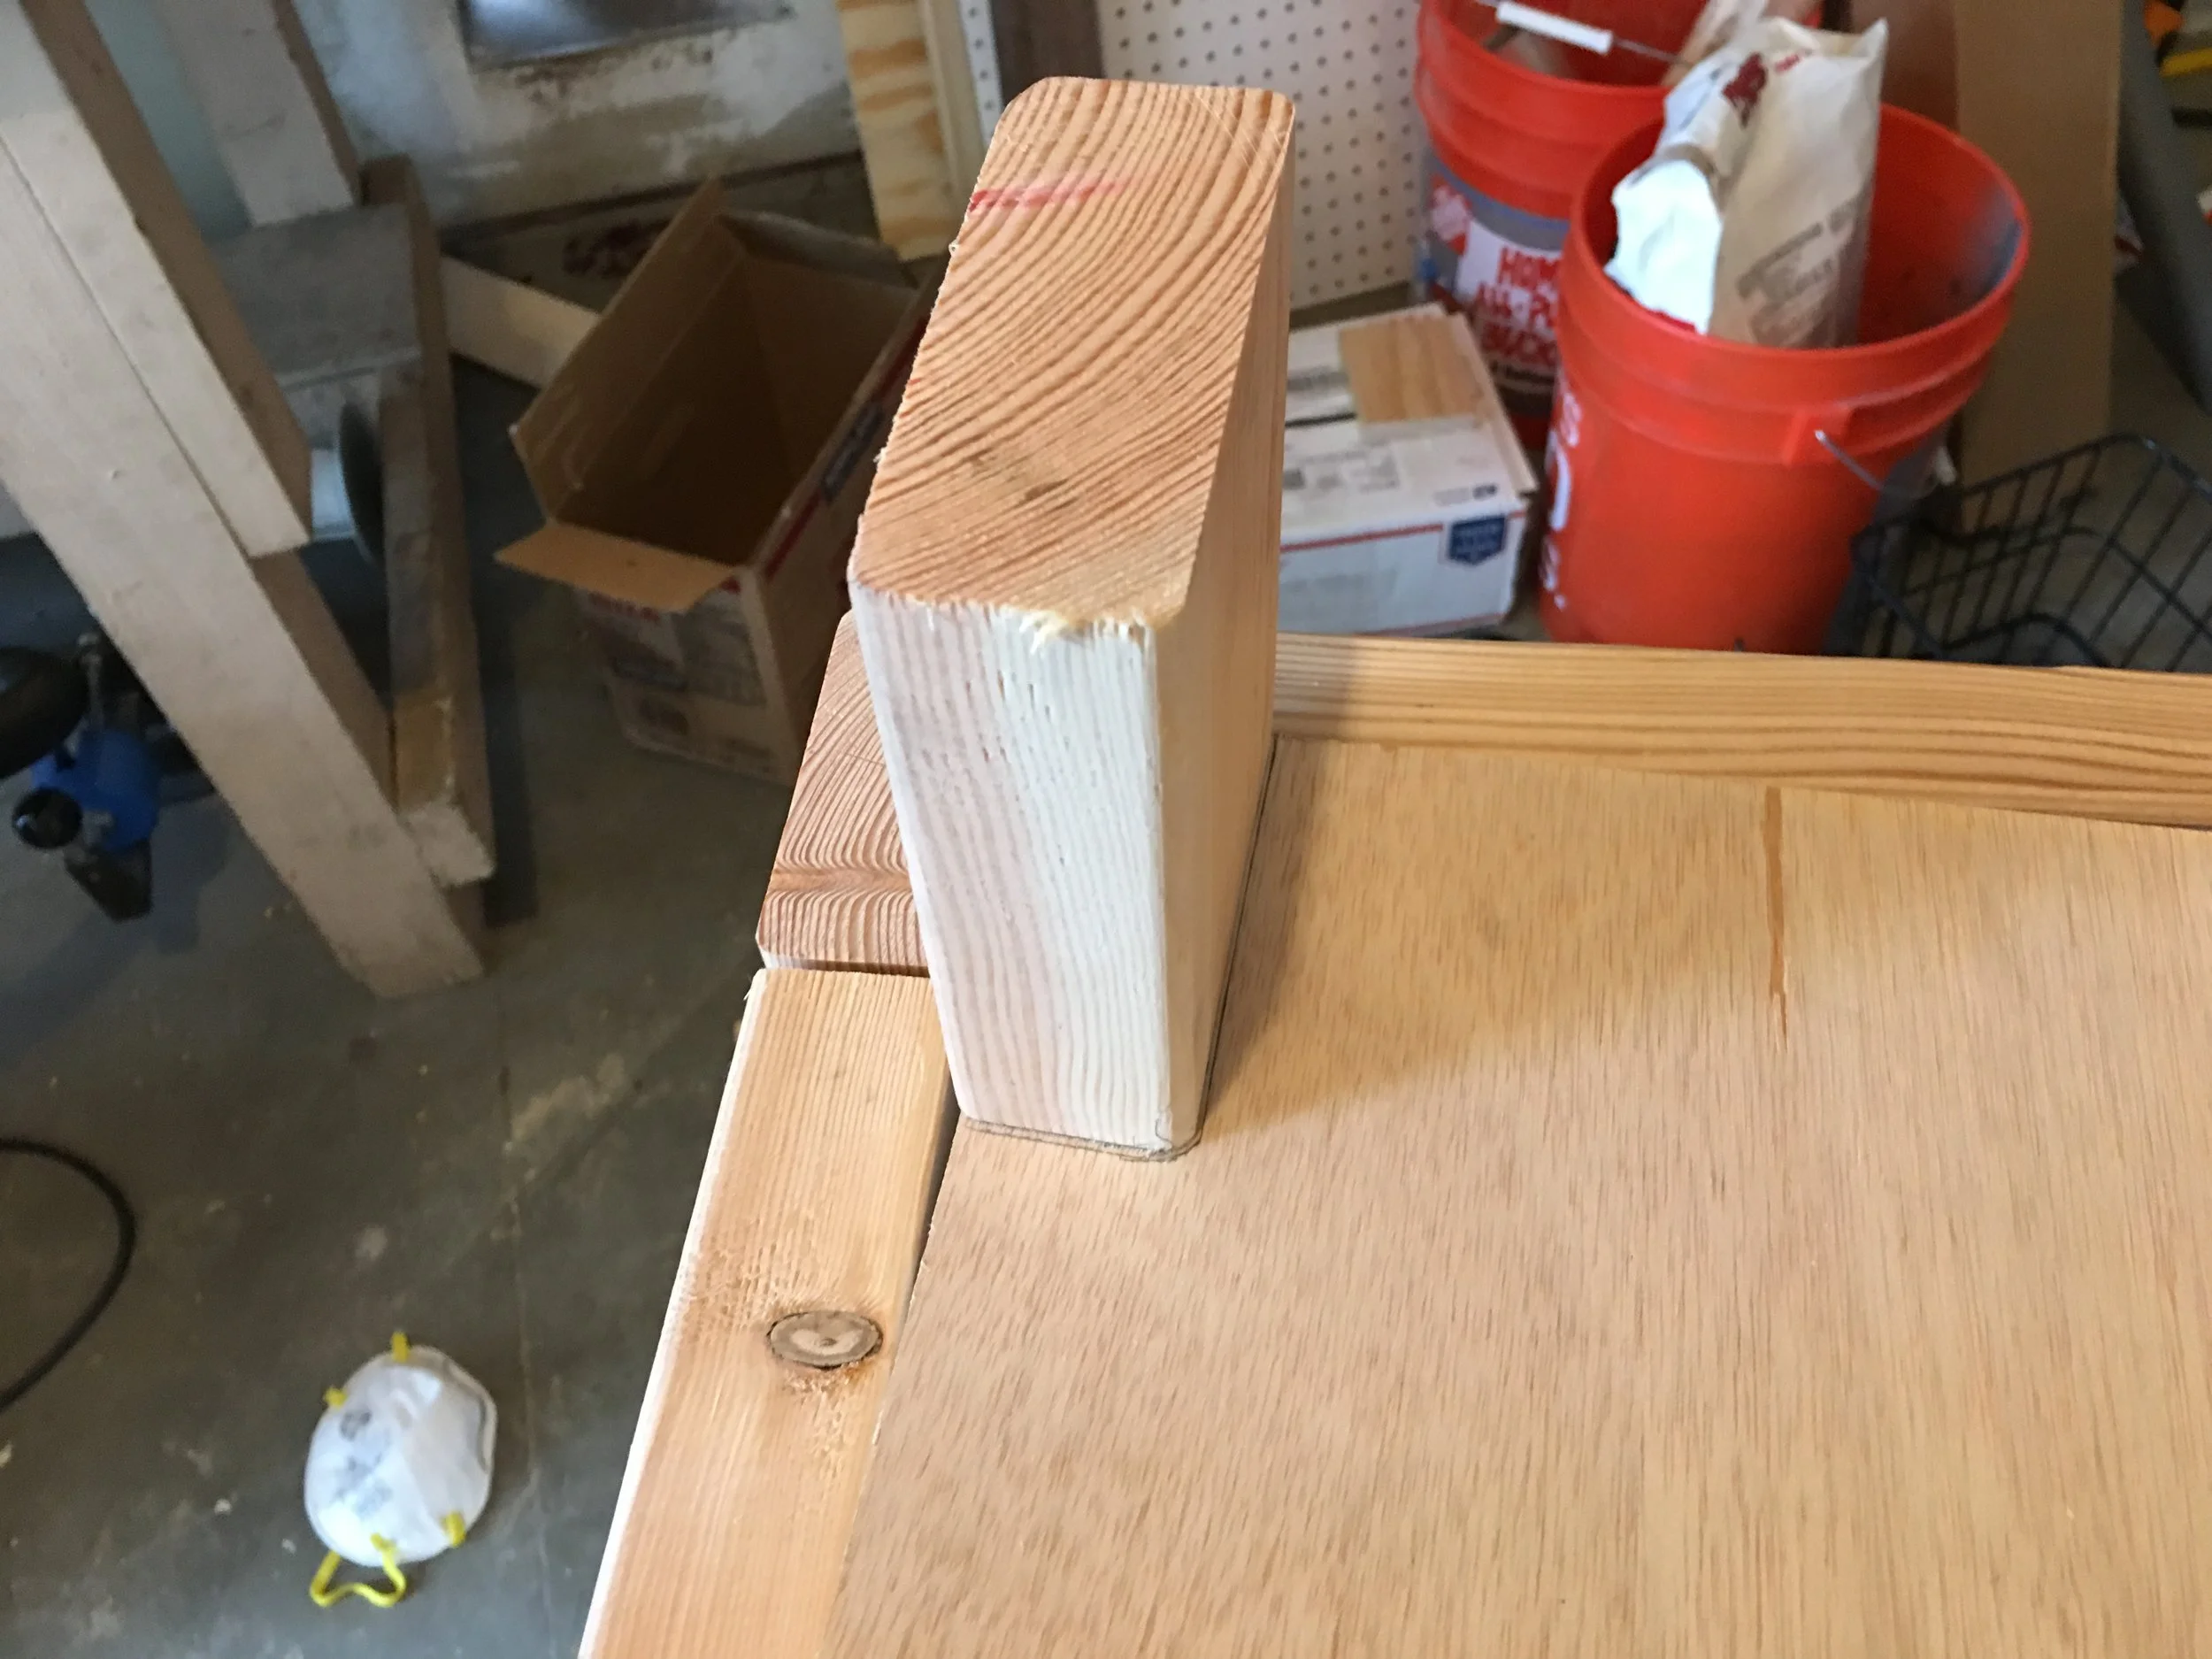
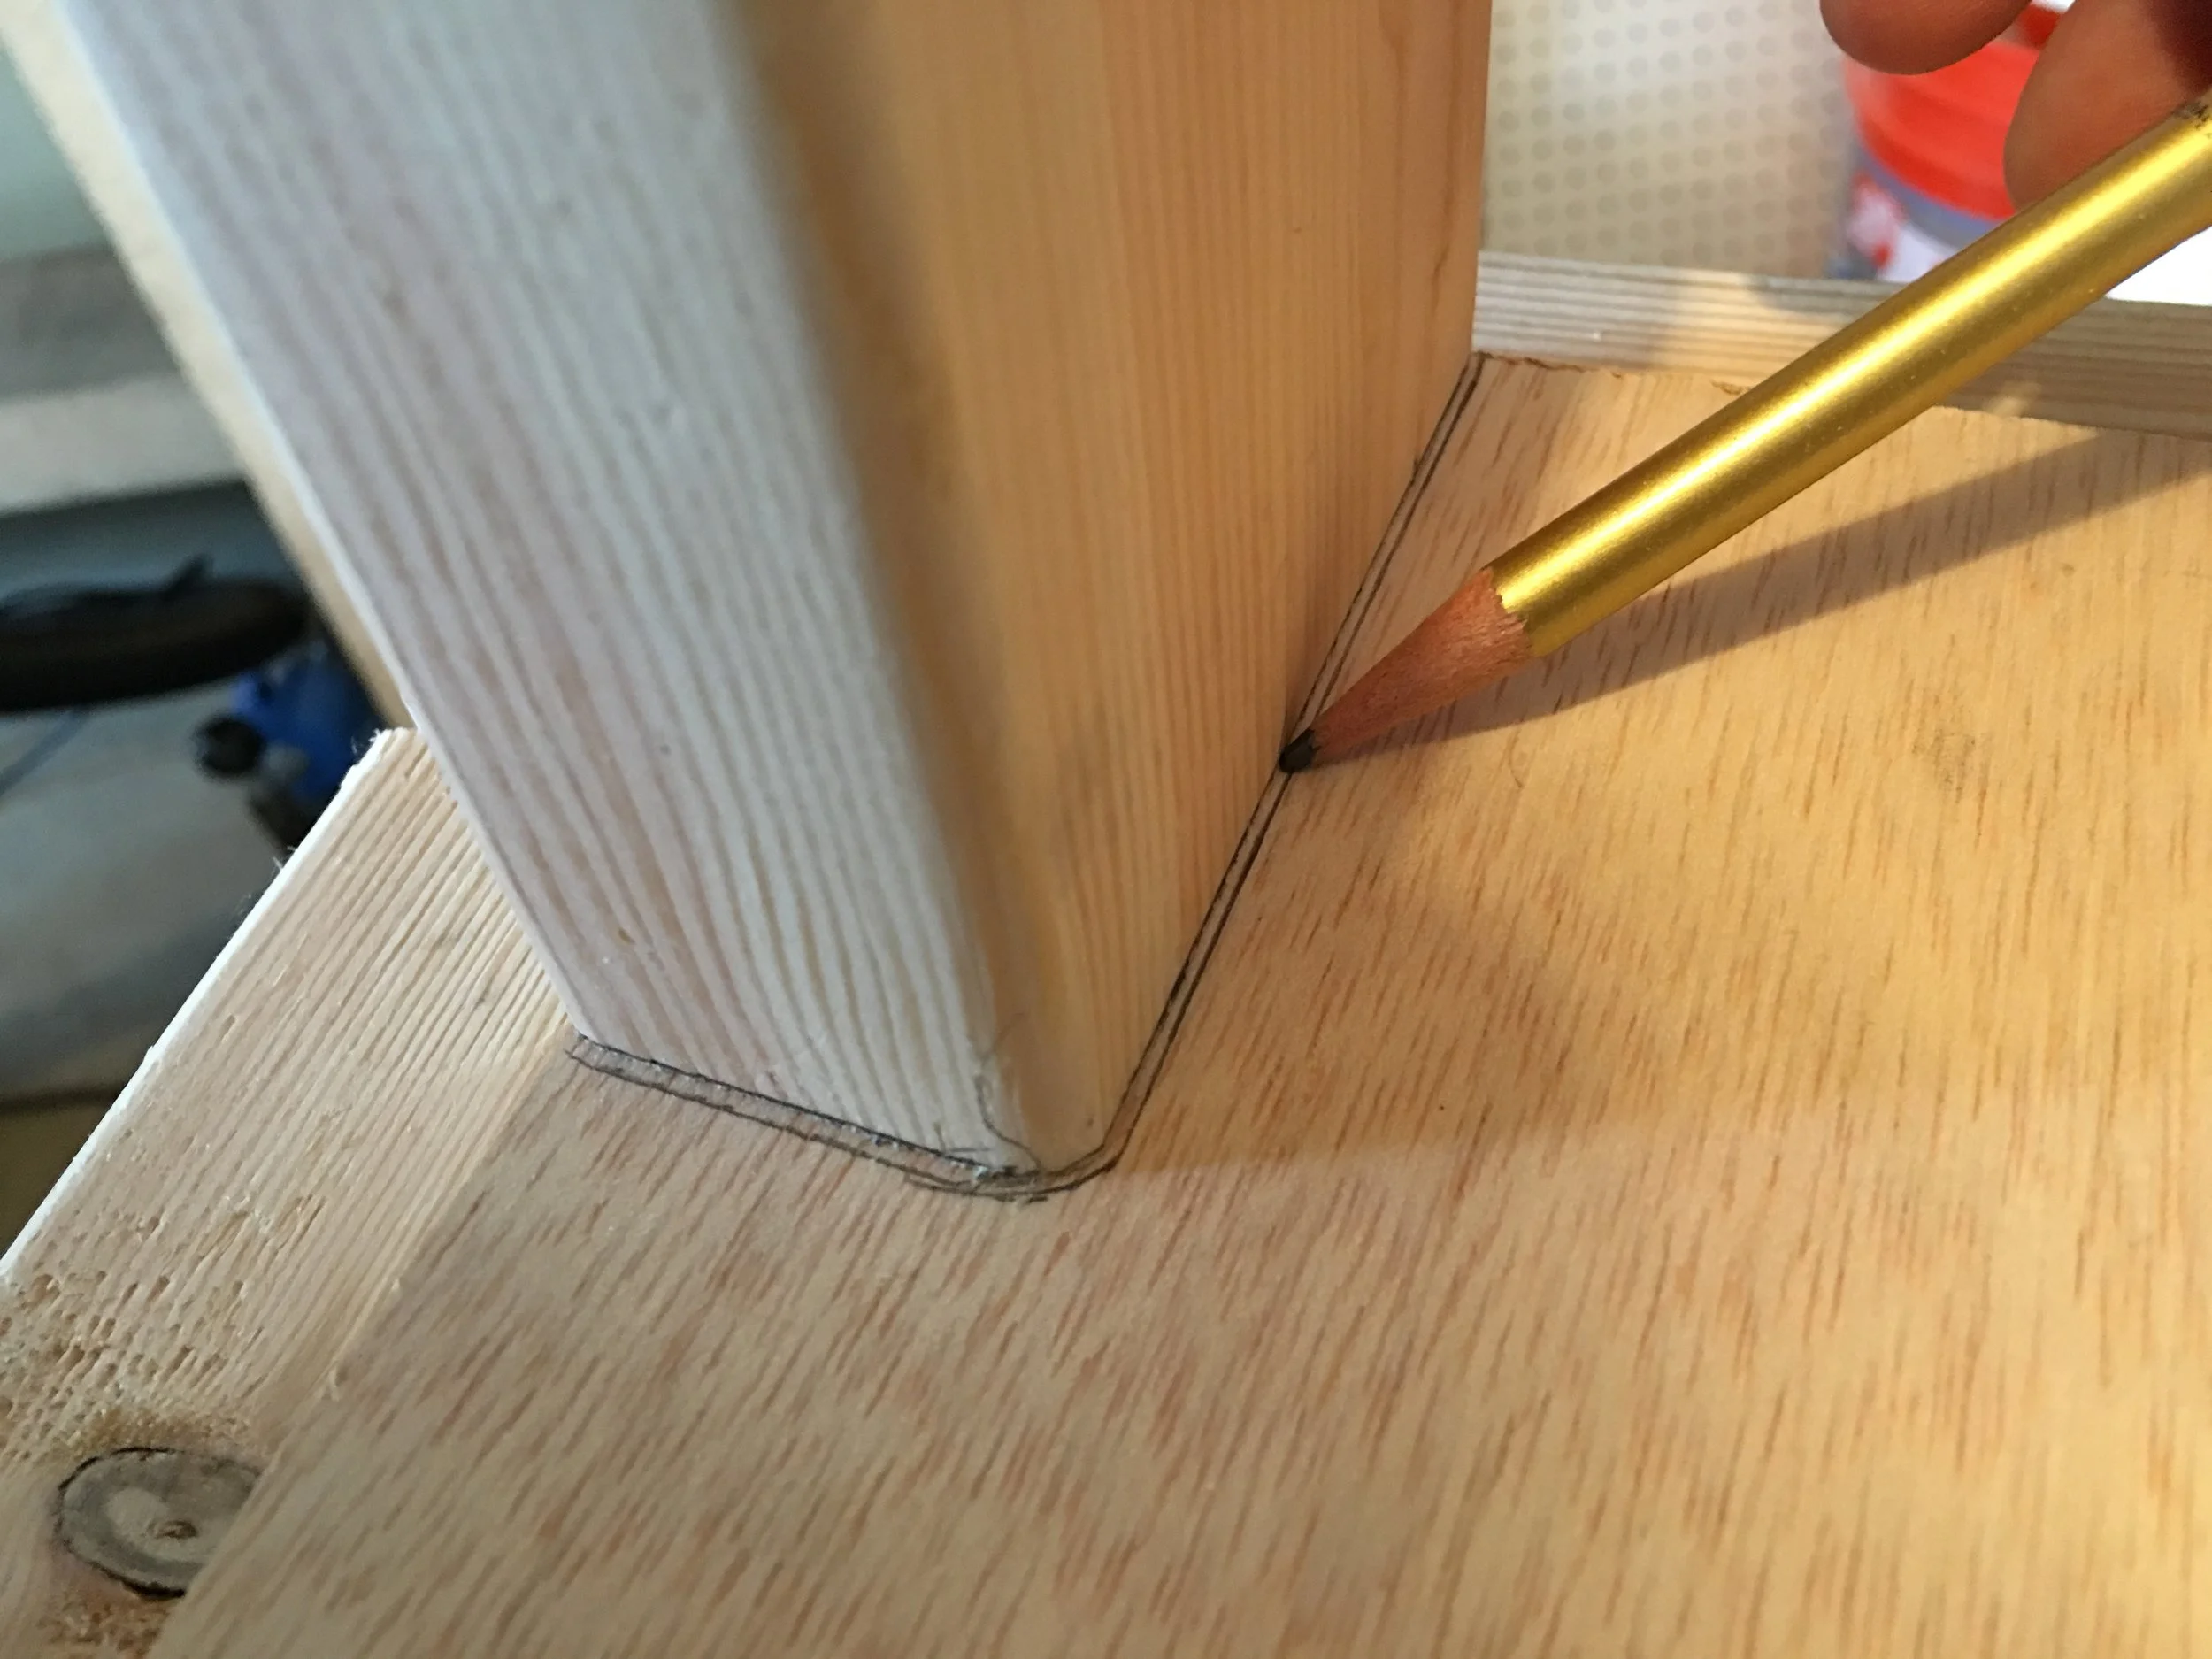
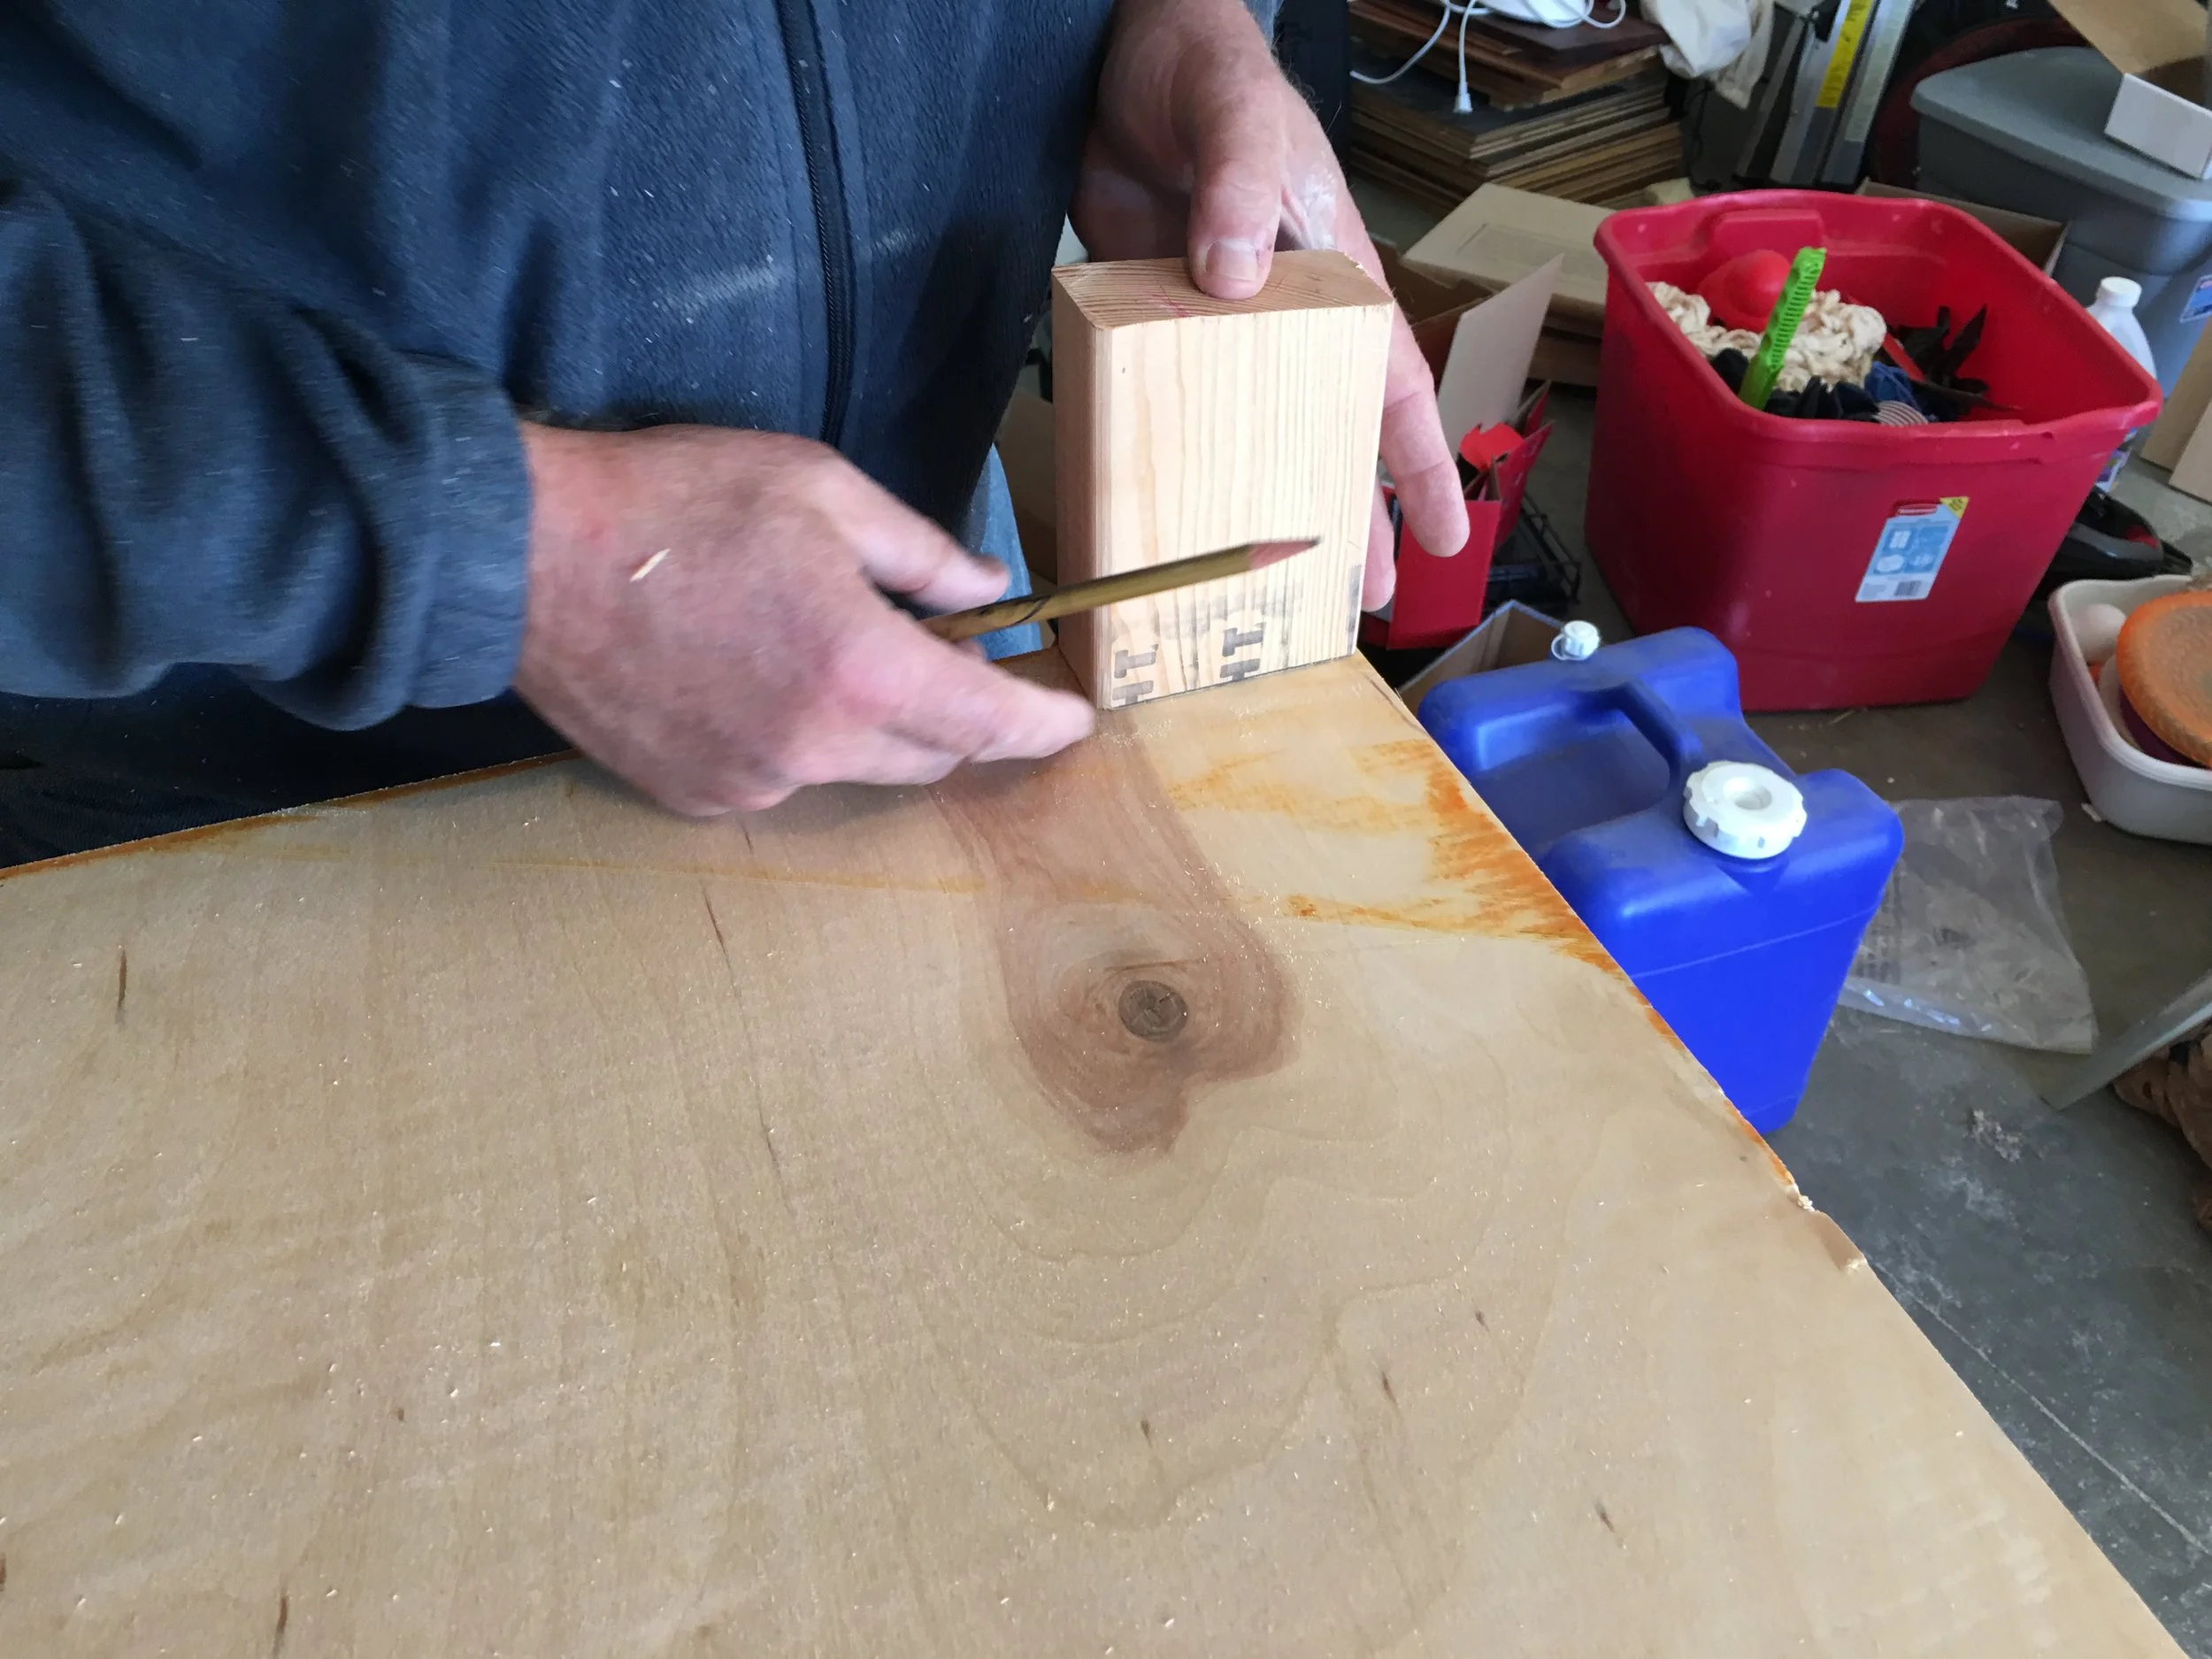
Now it's time for the plywood. For each level besides the top, we need to cut out notches so the plywood fits around the legs. We took a short length of 2x4 and traced out its shape in each corner (making sure to place the 2x4 in the same orientation as the legs). Then we used a jigsaw to cut out the notches.
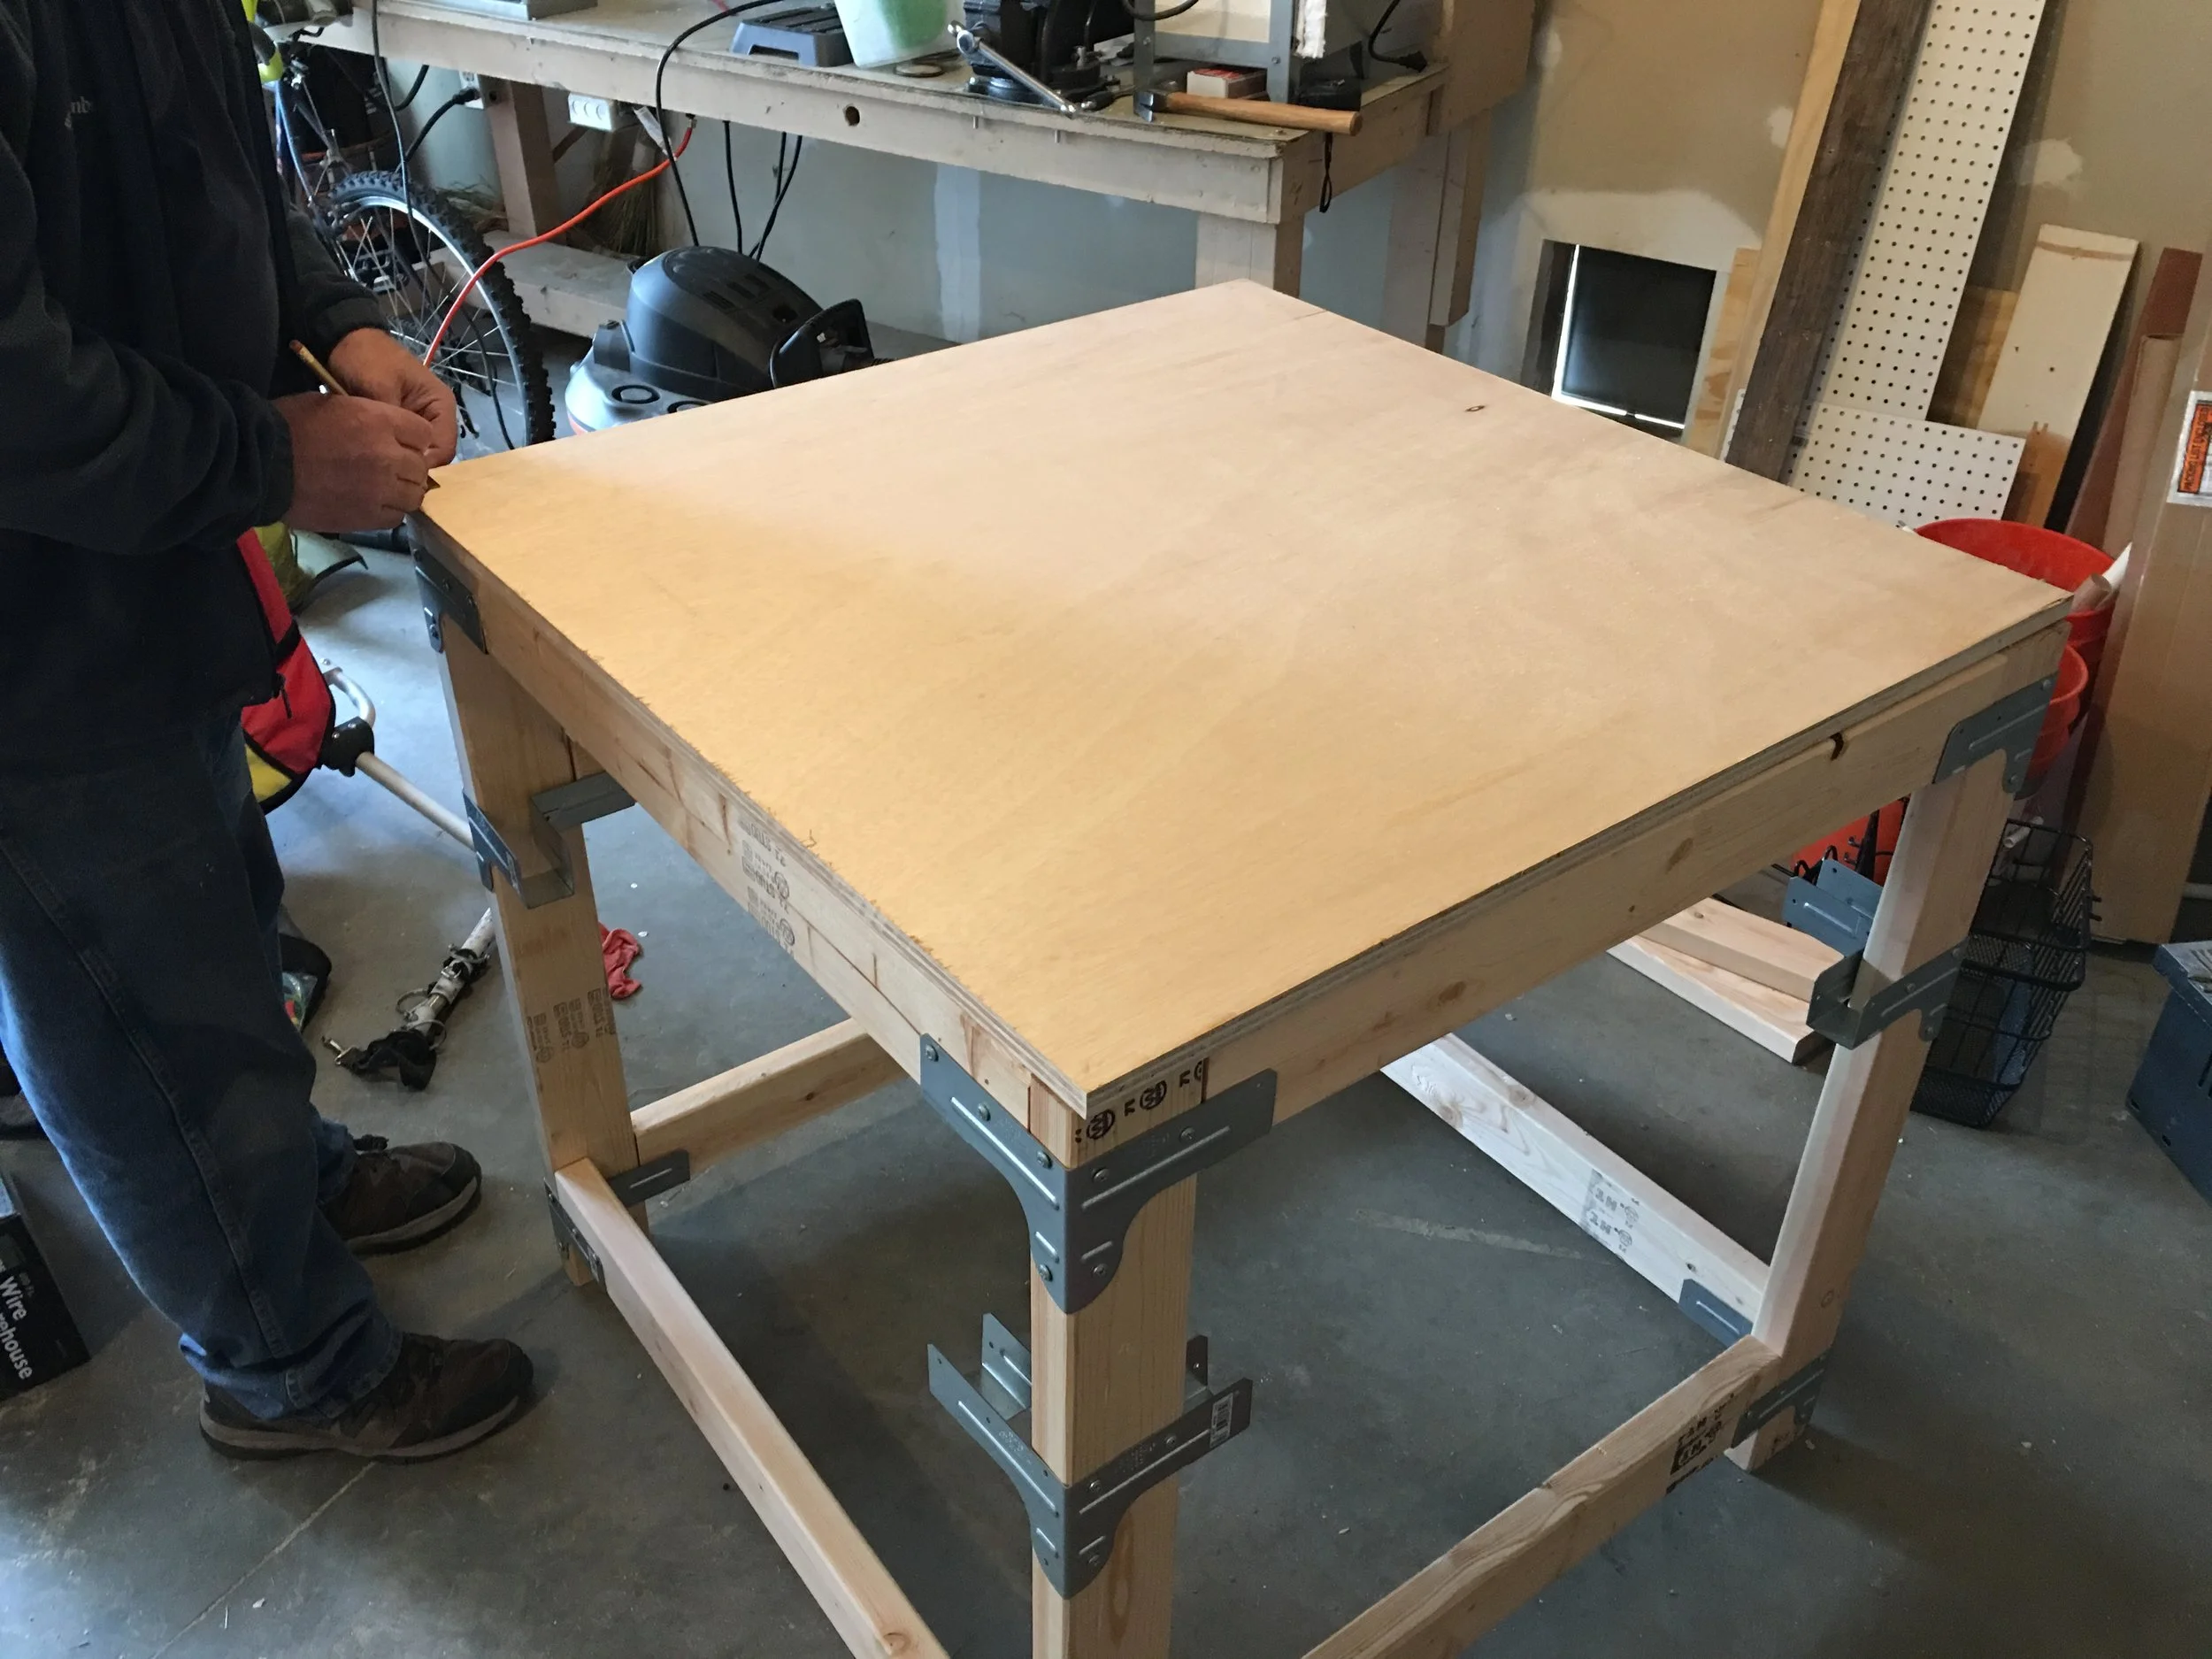


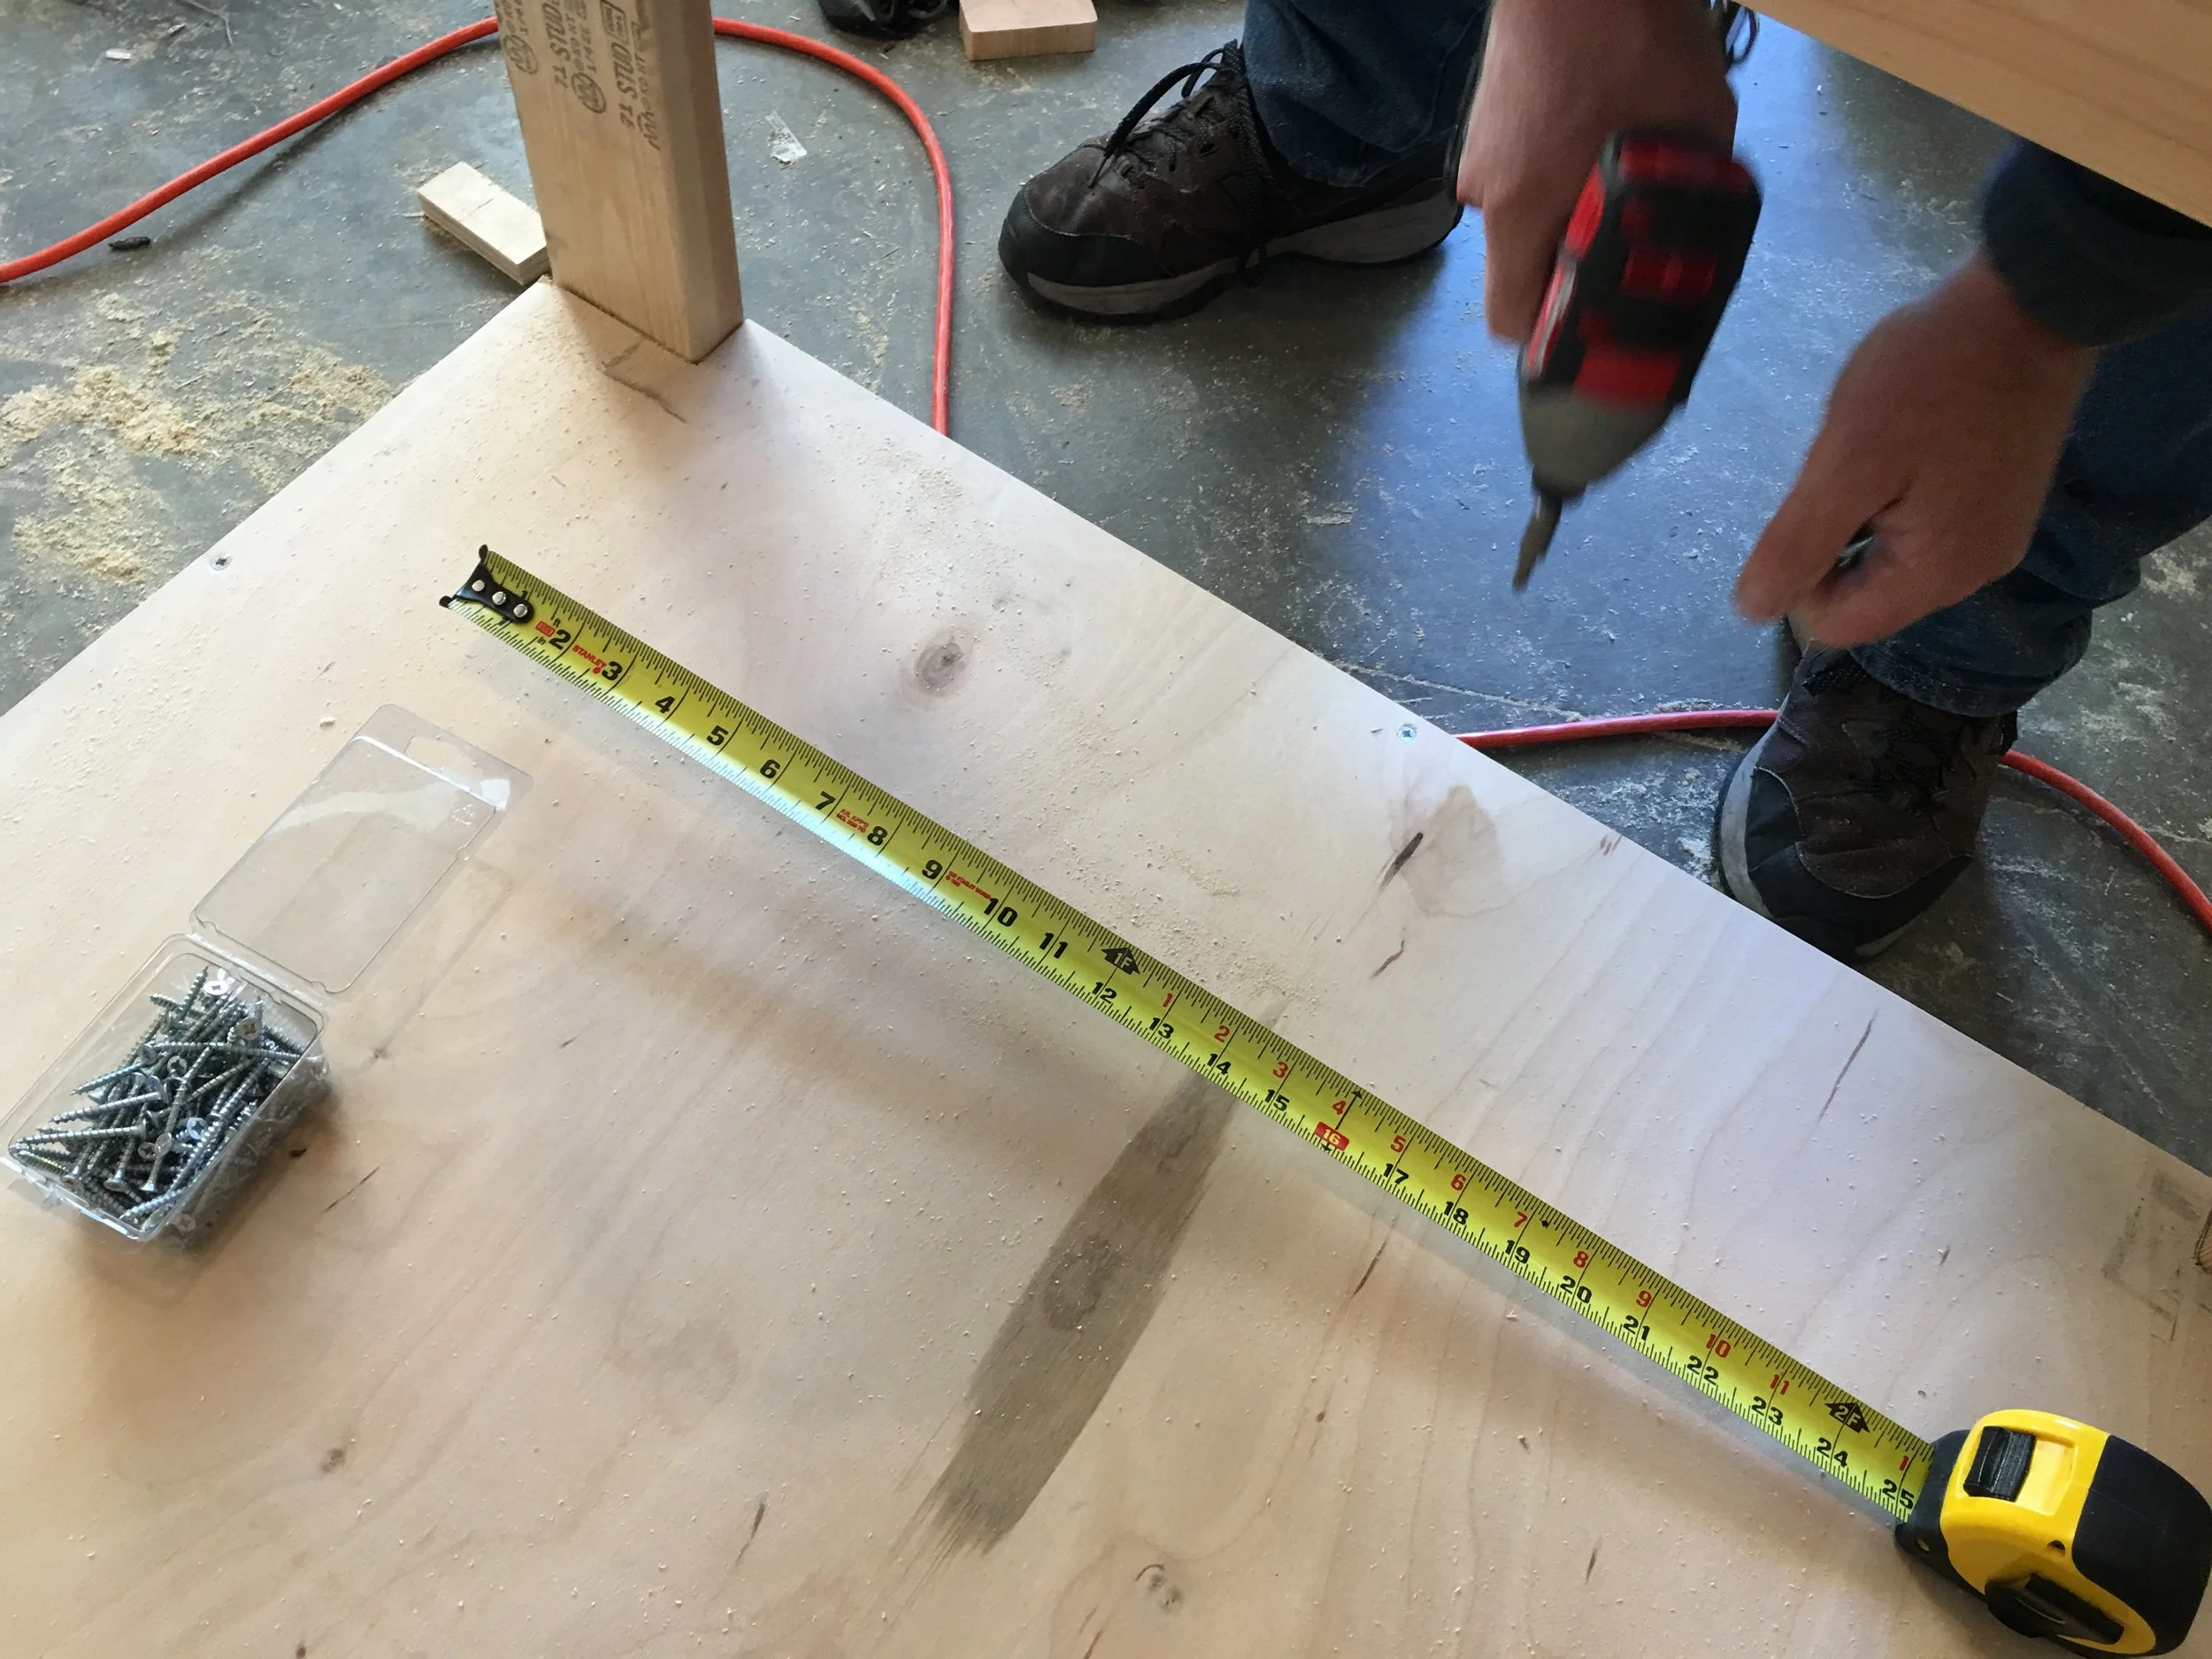
The final step is to place your plywood onto your joists and make sure everything is screwed down!
The finished work table.
Comments? Questions? Tips?
Let me know what you think in the comments section below! I appreciate all feedback such as your own tips, tricks or suggestions for what I could have done better.
References
http://www.oneprojectcloser.com/how-to-build-heavy-duty-workbench/

