Introduction
Bounce 2: Notes is an app which captivates children of all ages, full of colorful shapes and fun multitouch gestures! It was designed and implemented by John Allwine, an FX artist who worked at Dreamworks Animation on movies including How to Train Your Dragon, Megamind and Madagascar 3. Bounce 2: Notes features shapes of various colors which bounce around the screen making musical notes as they collide. Learn about musical scales, while being mesmerized by the glowing shapes!
Quick reference
- Tap on empty space to create a ball of random size.
- Flick on empty space to shoot a ball in the direction of the flick.
- Drag on empty space to create a ball of any size.
- Tap on a ball to delete it.
- Flick a ball to fling it in the direction of the flick.
- Pinch a ball to resize and rotate it.
- Drag a ball to move and spin it around.
- Hold a ball still with one finger to lock it in place.
- Tap the bottom of the screen to bring up the Bounce Window.
- Drag shapes/colors/sizes out of the window to create shapes with the corresponding features.
- Drag shapes/colors/size over existing shapes to "paint" the feature onto the shapes.
- Use the Notes tab to change what chord the bouncing shapes play.
- Do a three finger swipe from an edge of the screen to delete some or all the shapes quickly.
Basics
Bounce 2 was designed to be very easy to use. With a wide range of shapes, colors and musical notes, Bounce is as much fun to look at and play with as it is to listen to.Gestures
Note: Many of these gestures were developed before similar built-in gestures were added to iOS, so it may be difficult to use some of them where they conflict with the iOS defaults, such as flicking up from the bottom of the screen or using a three finger swipe from the top of the screen.The most basic way to interact with bounce is to start tapping and moving your fingers around the screen. Each gesture can be done with a single finger (with the exception of pinching), so use as many fingers as you want.
Tapping
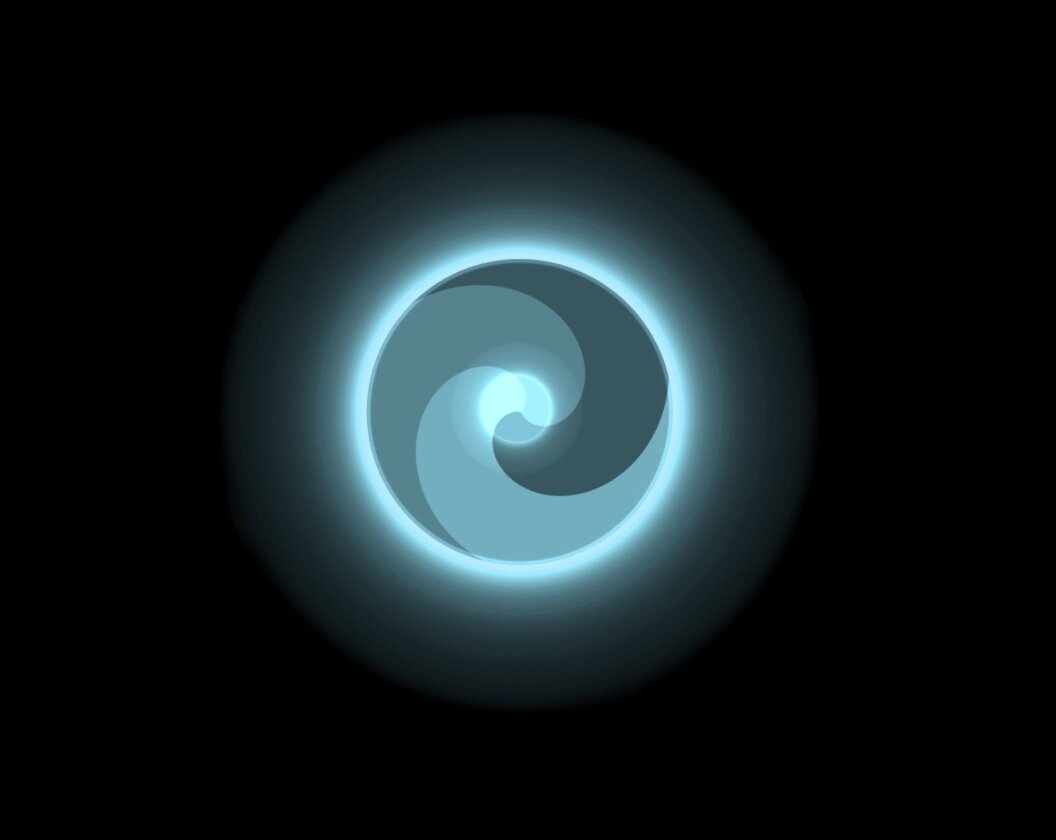
By default, tapping in an open space will create a ball of random size. Tapping the ball again, will delete it. In addition, tapping a ball that has been locked in place will unlock it (see below for how to lock a ball in place).
Flicking
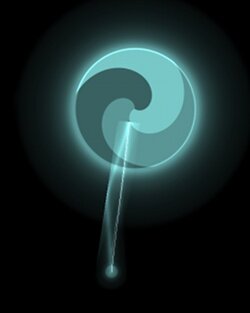
Flicking in an open space will create a ball of random size, but it will also fling it in the direction of the flick.
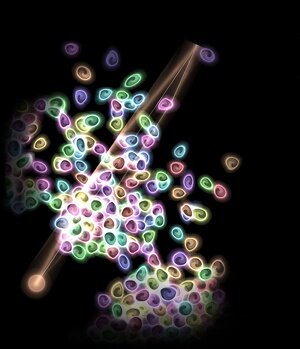
Flicking existing balls will fling a group of them in the direction of the flick. Flicking a ball that is locked in place will unlock it before flinging it.
Dragging
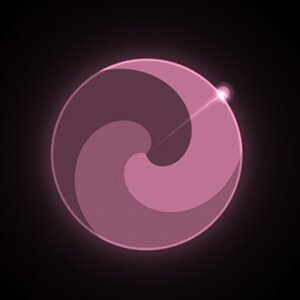
Dragging your finger through an open space without lifting it will create a ball of the size you specify.
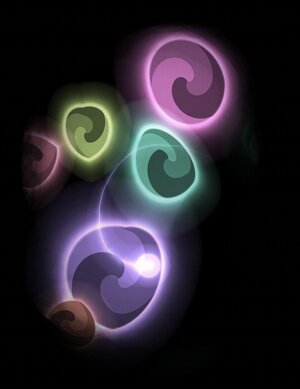
Dragging an existing ball will rotate it and move it around the screen, colliding with whatever may already be there!
Pinching
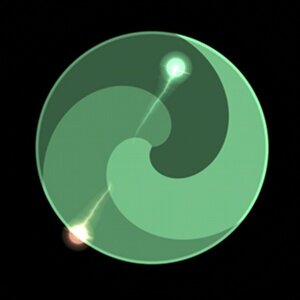
Pinching a ball that already exists will resize and rotate it.
Holding
Holding a ball still with one finger will lock it in place.
Three Finger Swipe
A three finger swipe from an edge of the screen will delete any objects between that edge and your fingers. This allows you to delete objects very quickly.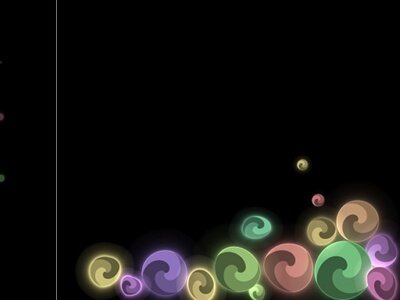
Bounce Window
The Bounce Window contains many options for customizing your simulation. You can access the Bounce Window by tapping near the bottom of the screen to reveal several tabs. Tapping one of them will bring up the entire window. Alternatively, you can flick up near the bottom of the screen to open the Bounce Window in a single gesture. The Bounce Window has many tabs which you can access by tapping on them. Here are the basic descriptions of each tab.Shapes, Patterns, Sizes and Colors
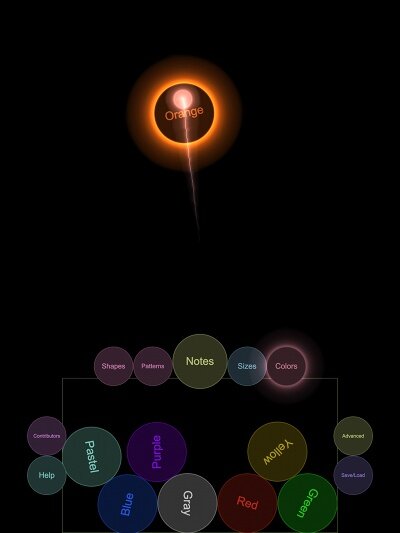
The Shapes, Patterns, Sizes and Colors tabs all behave in a similar way. Each tab has several objects with specific features which bounce around inside the window in their own mini simulation. After using a specific object's feature, for example, choosing the pentagon shape, it will become the default setting and using the creation gestures listed above (tapping, flicking and dragging in an open space) you will create pentagons. Using the gestures listed below, you can use the objects to affect the main simulation.Tapping
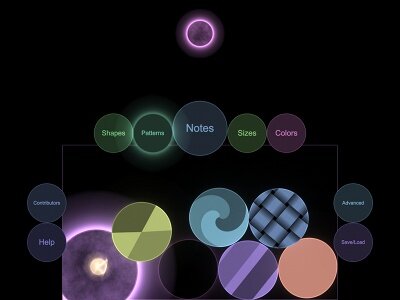
Once a tab is selected, tapping an object inside the window will create that object in the center of the screen.
Dragging
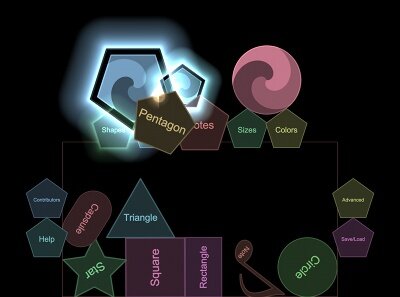
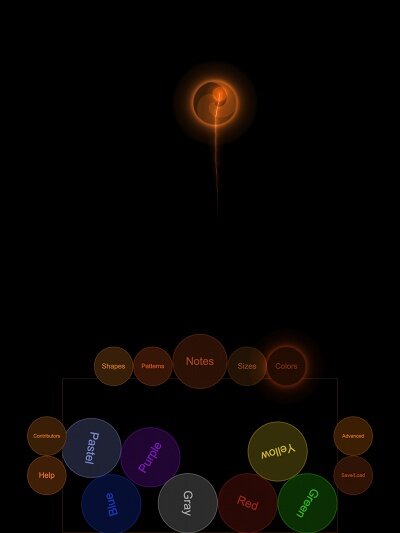
Dragging an object out of the window will "paint" the object's feature onto the objects in the main simulation.
Dragging an object out of the window and dropping it in an open space will create that object.
Holding
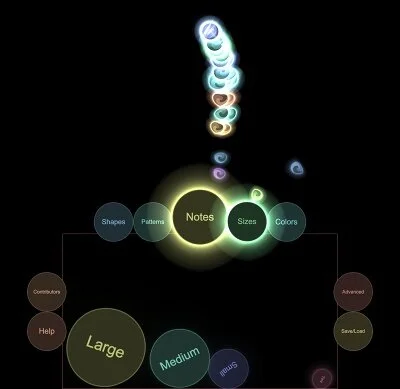
Holding an object still in the window will rapidly create many objects with that feature.
Notes
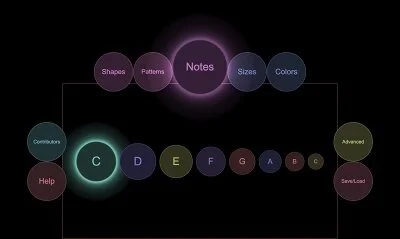
You can use the Notes tab to play songs! The Notes tab contains all the notes of the C scale (see below for how to change the scale). Tapping a note will play it and changes the chord the objects in your simulation play when they collide. Check out the how-to video here to see how to play Twinkle Twinkle Little Star.
Advanced
The Advanced tab contains many settings which will be described in the Advanced section below.Save/Load
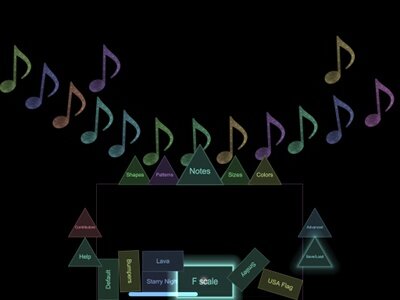
The Save/Load tab takes you to several premade simulations created for you to play with. The simulations can be loaded by tapping on them. The slider at the bottom of the window scrolls through all the saved simulations. Scroll to the right to reveal the Save button, which you can tap in order to save new simulations.
Contributors
The contributors tab contains the names of those who helped fund Bounce 2: Notes through kickstarter. You can scroll through them with the slider at the bottom of the window. You also can temporarily delete names by tapping on them if you want to focus on only certain names. They come back if you use the slider or leave the Contributors tab and then return.Help
The Help tab contains links to this page, the How-To Videos, and the FAQ.Bounce Lock
The Bounce Lock is a feature that allows you lock down many features. The Bounce Lock is accessed by tapping in the top right corner of the screen. Once revealed, press and hold the lock for 5 seconds to lock it. When locked, the Bounce Window cannot be opened, creating objects of arbitrary size is disabled, and the three finger swipe to delete objects is disabled. To unlock it, again tap the top right corner to reveal it, then press and hold it for 5 seconds.Advanced
While making Bounce 2, the goal was to keep the interface as simple as possible, while still being able to do complex things. Many advanced settings and features exist in the Advanced tab. The following sections will outline what each of them do.Shape, Pattern, Size, and Color Sliders

Bounciness

The Bounciness slider has the following options: Rigid, Squishy, Springy, and Bouncy. The slider controls how much an object in the simulation squishes as well as how much energy is lost when two objects collide. When set to Rigid, almost all the energy is lost in collisions and the objects don't squish at all. When set to Bouncy, almost all the energy is retained in collisions and the objects squish a lot!
Gravity

The Gravity slider has the following options: Weightless, Airy, Floaty, Light, Normal, and Heavy. The slider controls how much of an effect gravity has on the objects in the simulation when tilting your device. When set to Weightless, gravity has no effect, so tilting won't affect the objects in the simulation. When set to Heavy, the objects fall very quickly when tilted.
Damping

The Damping slider has the following options: Vacuum, Air, Water, and Syrup. The slider controls how fast the objects slow down over time. When set to Vacuum, the objects don't slow down at all. When set to Syrup, the objects slow down very quickly.
Velocity Limit

The Velocity Limit slider has the following options: Stopped, Slow, Fast, Very Fast, and No Limit. The Velocity Limit slider controls how fast the objects can move. When Stopped, the objects won't move at all, though they can still rotate in place. When set to No Limit, the objects can move as fast as they normally would due to the effect of gravity and any gestures used on the objects.
Friction

The Friction slider has the following options: Frictionless, Smooth, Coarse, and Rough. The slider changes the friction on the surface of the objects. It's easiest to see the effect of friction on circles. When set to Frictionless, circles will continue to spin forever, even when resting on other objects. When set to Rough, objects will stop rotating very quickly when touching other objects and will also transfer more rotational energy to other objects in collisions.
Affect All vs. Affect New
When using the Affect All setting, the objects on the screen, and any new objects you add, will conform to any changes you make using the sliders. When set to Affect New, the existing objects are left unchanged and only new objects use the current settings.
Unlocking the Bounce Window
The Bounce Window can be unlocked and moved by flipping the lock/unlock slider. When unlocked, the Bounce Window can be moved by dragging any of the tabs.
Paint Mode vs. Assign Mode
In Paint Mode, when shapes, patterns, sizes or colors are dragged out of the Bounce Window, their features are "painted" onto all existing objects that they touch. When in Assign Mode, only a single object is changed at a time and the feature is only made permanent if released on the object. In addition, after dragging a shape, pattern, size or color from the Bounce Window and holding it in place, it will only create a single locked object (rather than emitting many objects). Assign Mode can be really useful when you need more precision over the objects you want to affect.
Spin Mode vs. Move Mode
In Spin Mode, dragging objects will rotate them in addition to moving them. In Move Mode, dragging objects will only move them. Again, this can help when more precision is necessary for setting up your simulation.
Copy/Paste
The Copy/Paste objects can be used to quickly duplicate objects in your simulation. Drag the Copy object over an object you want to duplicate. The Paste object will turn into that object. Now you can tap the Paste object or drag it out of the window to create a duplicate of it.Advanced Music Settings
The last page has advanced music settings. There are 9 balls bouncing around the Bounce Window which have the 8 notes of the current scale and a rest symbol. The notes can be assigned to the shapes in the simulation by dragging them out as you would the shapes, patterns, sizes and colors. The only difference is the Affects All slider must be changed to Affects New to avoid changing all the objects' notes at once. When set to Affects All, assigning a note will assign it to all the notes. There are several sliders that affect the notes, as well as the scale displayed in the Notes tab.Octave Slider
The octave slider will shift the scale's current octave up or down.Key Slider
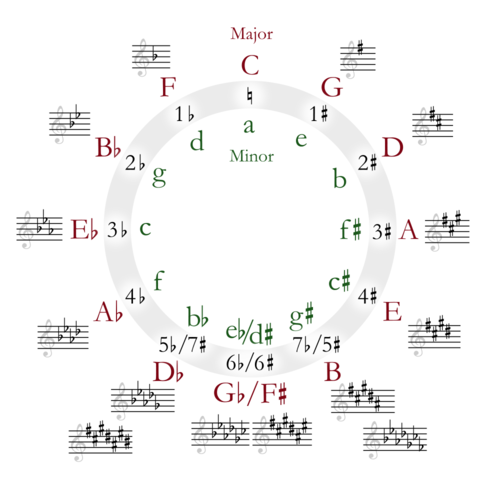
The key slider changes which scale is displayed. The default is C. The slider represents the circle of fifths. The scale goes up in the number of sharps as you scroll to the right and goes up in the number of flats as you scroll to the left.
