Introduction
My first couple wood working projects were for the garage. The pieces were more functional than aesthetic (though, I do like the way they look). I started with a work table that also had a couple shelves and my interactive 3D widget could adjust the materials list to build anything from a tall shelve, to a squat step tool. Then I made a standing work bench that could be configured to any space's dimensions, any height, and could have a backboard with pegboard, along with a shelf anywhere around head level. These have been invaluable for creating a usable work space in my garage. For my next project, though, I wanted to do something for inside the house, something that was beautiful. That said, I still didn't feel I had the chops to do anything complicated, and I didn't want to spend a ton of money on nice wood, just to mess it up.
I needed a table for our guest room above the garage and it seemed like a good place to start. I wanted to use regular old dimensional lumber that I could cheaply and readily acquire at my local hardware store. And of course, I wanted to be able to customize my build using an interactive widget, so that if it turned out well, I could use the widget to design tables with different configurations such as a matching side table to go in the guest room as well. I hope someone uses my widget to design matching tables for their entire house, including a dining room table, coffee table, entryway table, side tables and more. Let me know if you go for it!
The widget makes a few assumptions:
The legs of the table will use 4x4s (actual dimensions 3.5"x3.5") cut from a 96" board.
The apron of the table will use 2x4s (actual dimensions of 1.5"x3.5") cut from a 96" board.
The table top will use some number of 2x8s (actual dimensions of 1.5"x7.25") cut from 96" boards.
These assumptions are easily changed. If there's enough demand, I could be convinced to make another, more advanced widget, that allows you to change the dimensions of the boards you want to use. For the sake of an easy-to-use widget, I kept the options to a minimum. Let me know in the comments or on my contact form if that sounds like something you'd want.
I wanted to keep the widget as simple as possible to use, but I wanted to balance that with doing the minimal amount of work to build the table. By default, the depth that you specify may not be the actual depth of the table. Instead, it assumes you want to use 2x8s that haven't been ripped down to size (see note below), and picks the number of 2x8s that is closest to your desired dimensions. For example, if you want a table that is 30 inches deep, the closest you can get to 30 inches using whole 2x8s is 29 inches (4 boards that are 7.25 inches wide). But, if you're willing to put in the extra effort of ripping each of your boards (or even just one of your boards), you can get exactly 30 inches by adding a 5th board and doing some extra cutting. You have to opt-in to the extra work, by checking the "Use Rip Cuts" checkbox and the amount to rip off each board will be given. Similarly, if you want to use mortise and tenon joints to build the apron, you can check the "Use Tenons" checkbox and an extra 5 inches will be added to each board so you have enough material to fashion tenons on each end (note that the 3D model of the table will remain unchanged, just the board cut lengths will change). If you don't use mortise and tenon joins, you can use pocket screws or dowel pins to attach everything. I'll demonstrate how I built my table using dowel pins.
Note: A rip cut is a cut that goes with the grain of the wood. When I say "ripped down to size", I mean cutting a 2x8 board with actual dimensions of 1.5x7.25, down to 1.5x6, for example.
Interactive Widget
SETTING DESCRIPTIONS
Below is a description of the settings you can change in the widget. I list the default values and what kind of tables different values could be used for. Keep in mind, though, there are no set rules, and you can choose whatever you like for your situation.
Table Width - The total width that your table will take up. By default this is set to 72 inches, which would be suitable as a dining table. A coffee table or media table would be more like 48 inches. A side table would be somewhere around 24 inches.
Table Height - The distance from the table top to the ground. By default this is set to 30 inches, which is suitable for a dining table, desk or entryway table. A coffee table is more like 18 inches. A standing desk would be more like 40 inches.
Table Depth - The depth of the table determines how many 2x8s to use in its construction. The actual depth of the table will be listed in the dimensions below the widget and may vary from this number unless you're willing to use rip cuts (see below) or pick a number that is evenly divisible by 7.25 (the actual width of a 2x8). The default is 36.25, which will use 5 2x8s, and is suitable for a dining room table or desk. A media table is more like 20 inches and a coffee table is around 30.
Overhang - This is the amount the table top will stick out over the legs of the table. The default is 2.5 inches and is suitable for any table. This is really a matter of taste. Try different values to see what you like!
Use Rip Cuts - Check this if you're willing to use rip cuts along the length of each 2x8 to get the actual depth that you chose above, rather than using the closest value to it that is evenly divisible by 7.25 (the actual width of a 2x8).
Use Tenons - Want to use mortise and tenon joints to assemble the table's apron? Check this box and an extra 5 inches will be added to each apron board to give you enough room for the tenons on either end. If you don't check this, you can use pocket screws or dowel pins instead. I'll demonstrate how to use dowel pins.
Note: The depth that you specify for your table may NOT be the actual depth of the table. Read the description of Table Depth above for more info and see the actual depth of your table under Dimensions below.
Materials
Please consider using the links to lumber and other materials below to support Allwine Designs! Even if you plan to pick up your materials from Home Depot, you can buy online and choose to pick up in store.
- 96" 4x4s
Cut each 4x4 to the following lengths.
A kerf (saw blade thickness) of 1/8" is assumed. Note that the listed lengths are correct, but the outlines displayed around them are only approximate and may not be proportional to the actual dimensions as they adapt to screen size and font size.
- 96" 2x4s
Cut each 2x4 to the following lengths.
A kerf (saw blade thickness) of 1/8" is assumed. Note that the listed lengths are correct, but the outlines displayed around them are only approximate and may not be proportional to the actual dimensions as they adapt to screen size and font size.
- 96" 2x8s
Cut each 2x8 to the following lengths.
A kerf (saw blade thickness) of 1/8" is assumed. Note that the listed lengths are correct, but the outlines displayed around them are only approximate and may not be proportional to the actual dimensions as they adapt to screen size and font size.
Dimensions
The following dimensions are referenced in the walkthrough below.
- " -
Tools
In this tutorial, I'll be using the following tools:
Miter saw - Used to cut all your boards to length.
Circular Saw - I used this to square up the table top boards after gluing them all together, as well as cutting a groove into the apron for attaching the table top to it.
Drill - Used to drill holes for the dowel pins.
Pipe clamps - I used 4, but I wish I had at least 2 more. You'll also need lengths of 3/4" steel pipe. I used four 5 foot lengths and two 10 foot lengths. What you need will depend on the size of table you're building. Your local hardware store likely cuts steel pipe to length and can thread the ends so the pipe clamps screw on.
Dowel Jig - I bought one of these as a test, and used it to make dowel holes to attach the table top boards together. You can just glue your boards together instead, but I'll show you how I did it with dowels. I'll also show you how I 3D printed my own dowel jigs for attaching the apron to the legs.
Palm Sander - This is the sander that I used. A belt sander would certainly be faster for the rough passes, but the palm sander is great for finishing.
Sand paper - I used 80, 150 and 220 grits.
Tape Measure - All the measurements you'll need are listed above.
Combination Square - I used this for marking where dowels holes go.
Hand plane - I used a #5 hand plane (I actually used this one, but couldn't find it on Amazon). This isn't absolutely necessary, but it sure helped with my messy wood filling.
3D Printer - I used my MakerBot Replicator 2, but if I were to buy a printer today, it'd be the Prusa i3 MK3. This isn't required, but I used it to 3D print a dowel jig for the apron of the table. You could also use pocket screws to attach the apron to the legs.
Saw Horses - I used these when planing and sanding the table top.
Clamps - I used a couple quick clamps to attach the table top to the saw horses. While planing, the whole setup slides around, so I'd plant my feet next to the saw horse legs before pushing the plane.
Respirator - Make sure you wear a respirator when sanding and applying the polyurethane.
Respirator Filters - I used these and the respirator above.
Walkthrough
Begin by purchasing your lumber. Take your time finding boards that have features that you like, ideally free of cracks and holes. Using the dimensions above, cut all your boards to length. I didn't sand or plane my boards until everything was glued together, but if I were to do it over again, I would have sanded them first. You should also rip your table top boards (labeled D) if you checked the Use Rip cuts option. Dimension II is the amount you need to cut off each edge of each board to bring the overall depth of your table to the right dimension. Doing it this way keeps each of your boards the same size and evenly removes the rounded edges from the boards. To save some time cutting, you could make a single bigger cut from one board using Dimension III, but then you'll have a single differently sized board in your table.
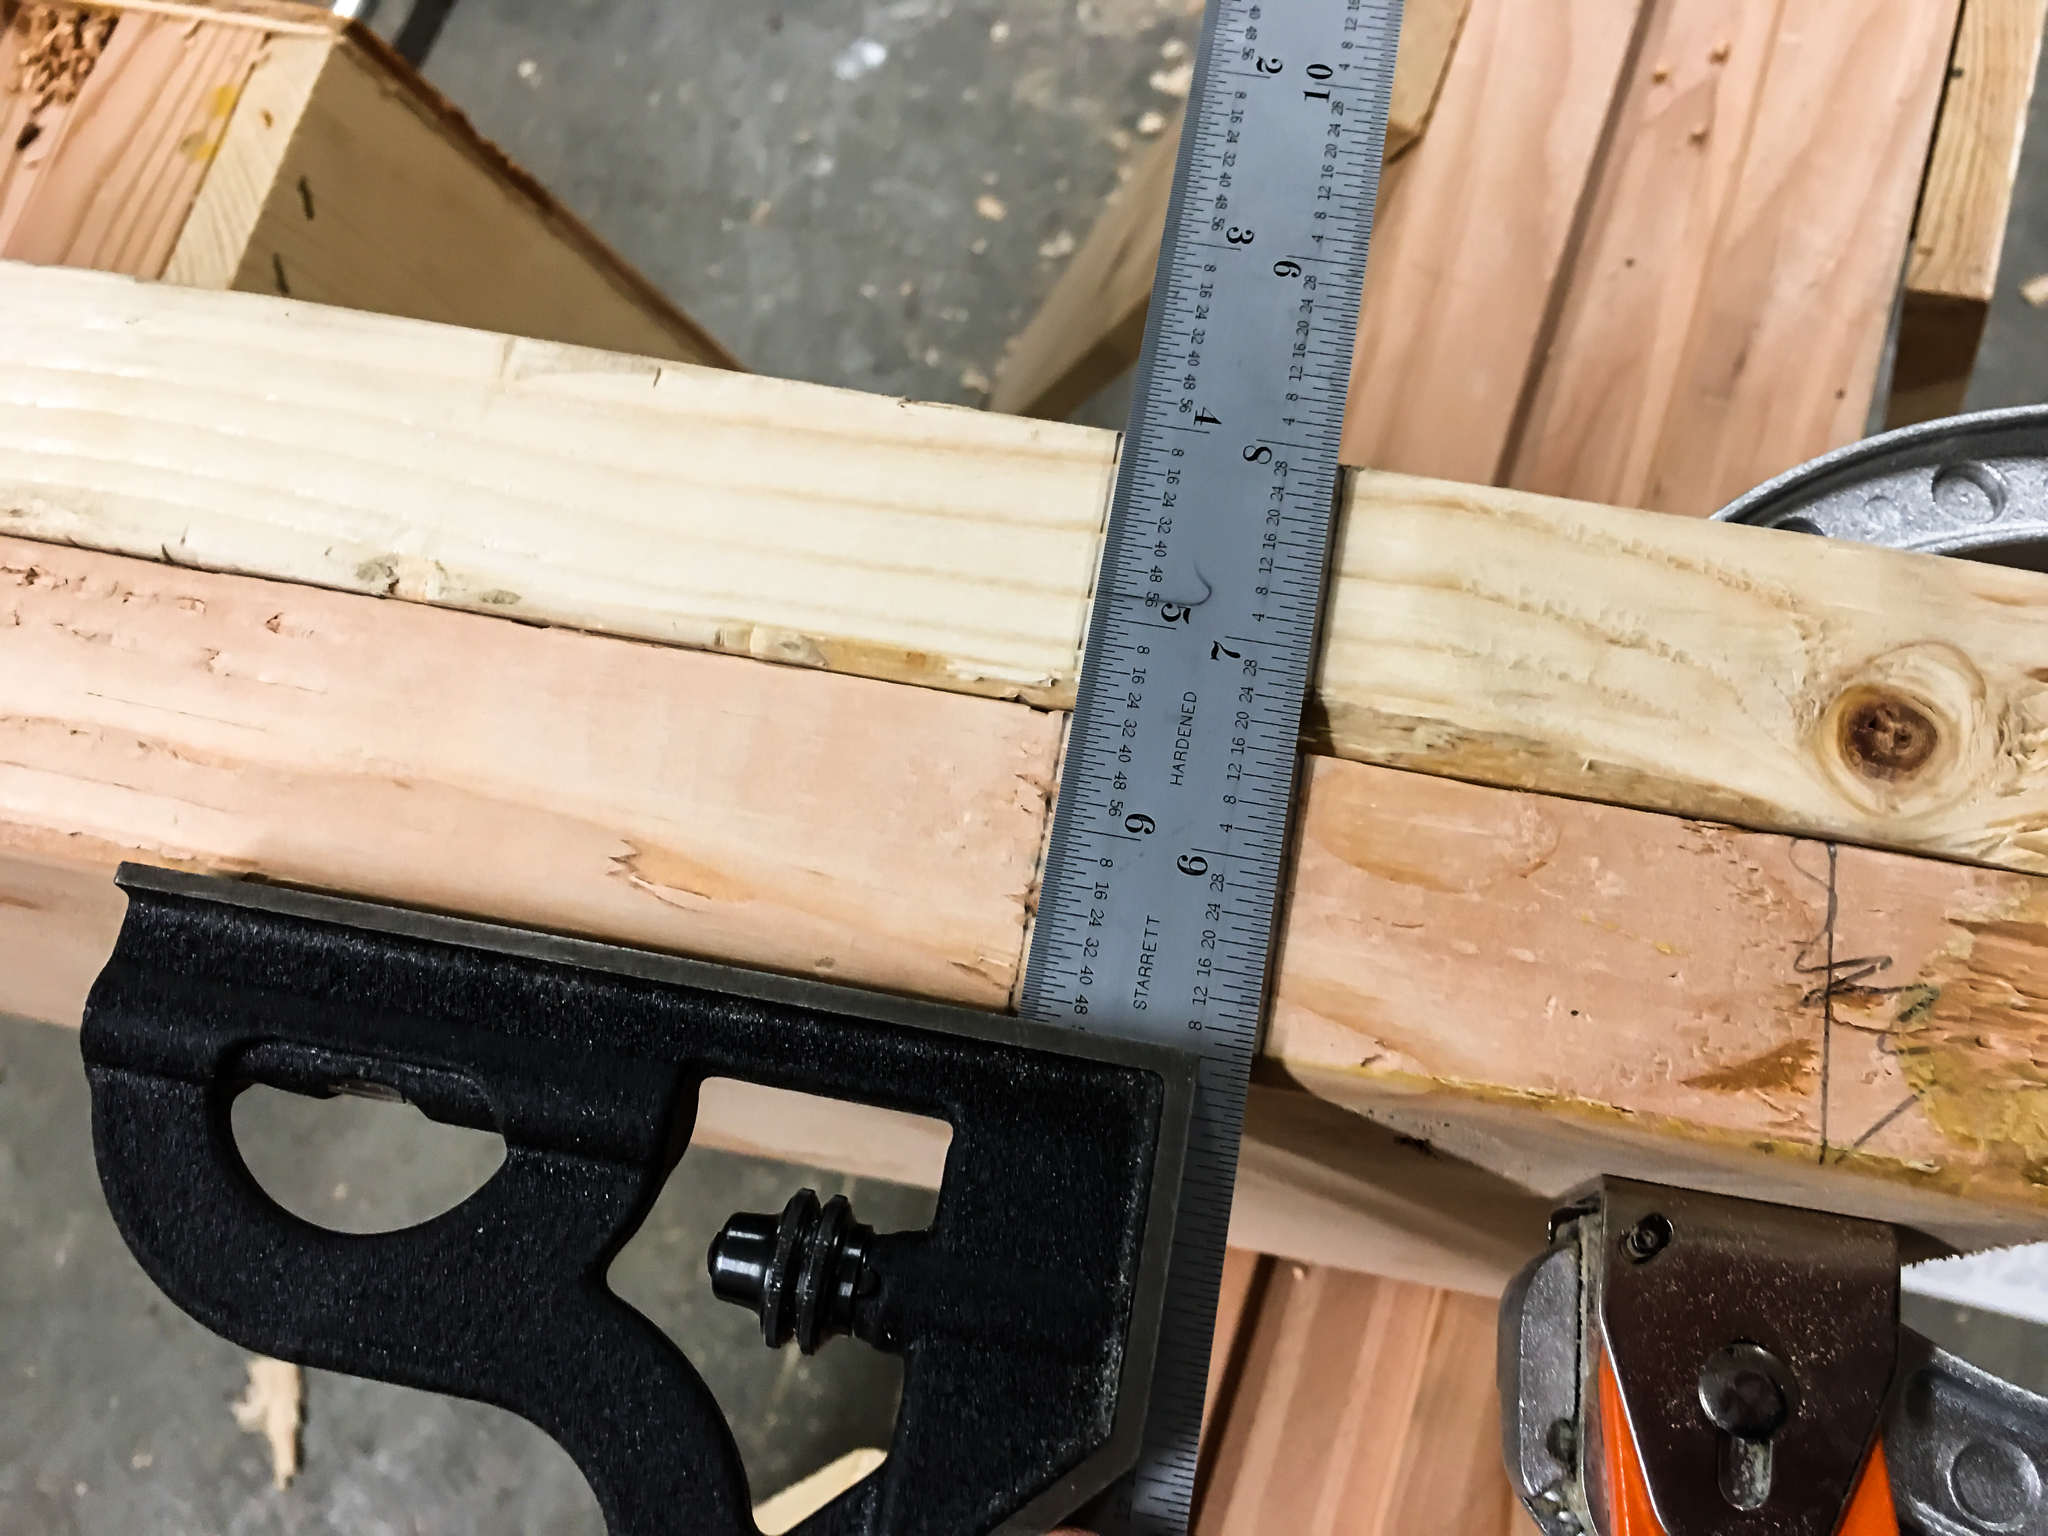
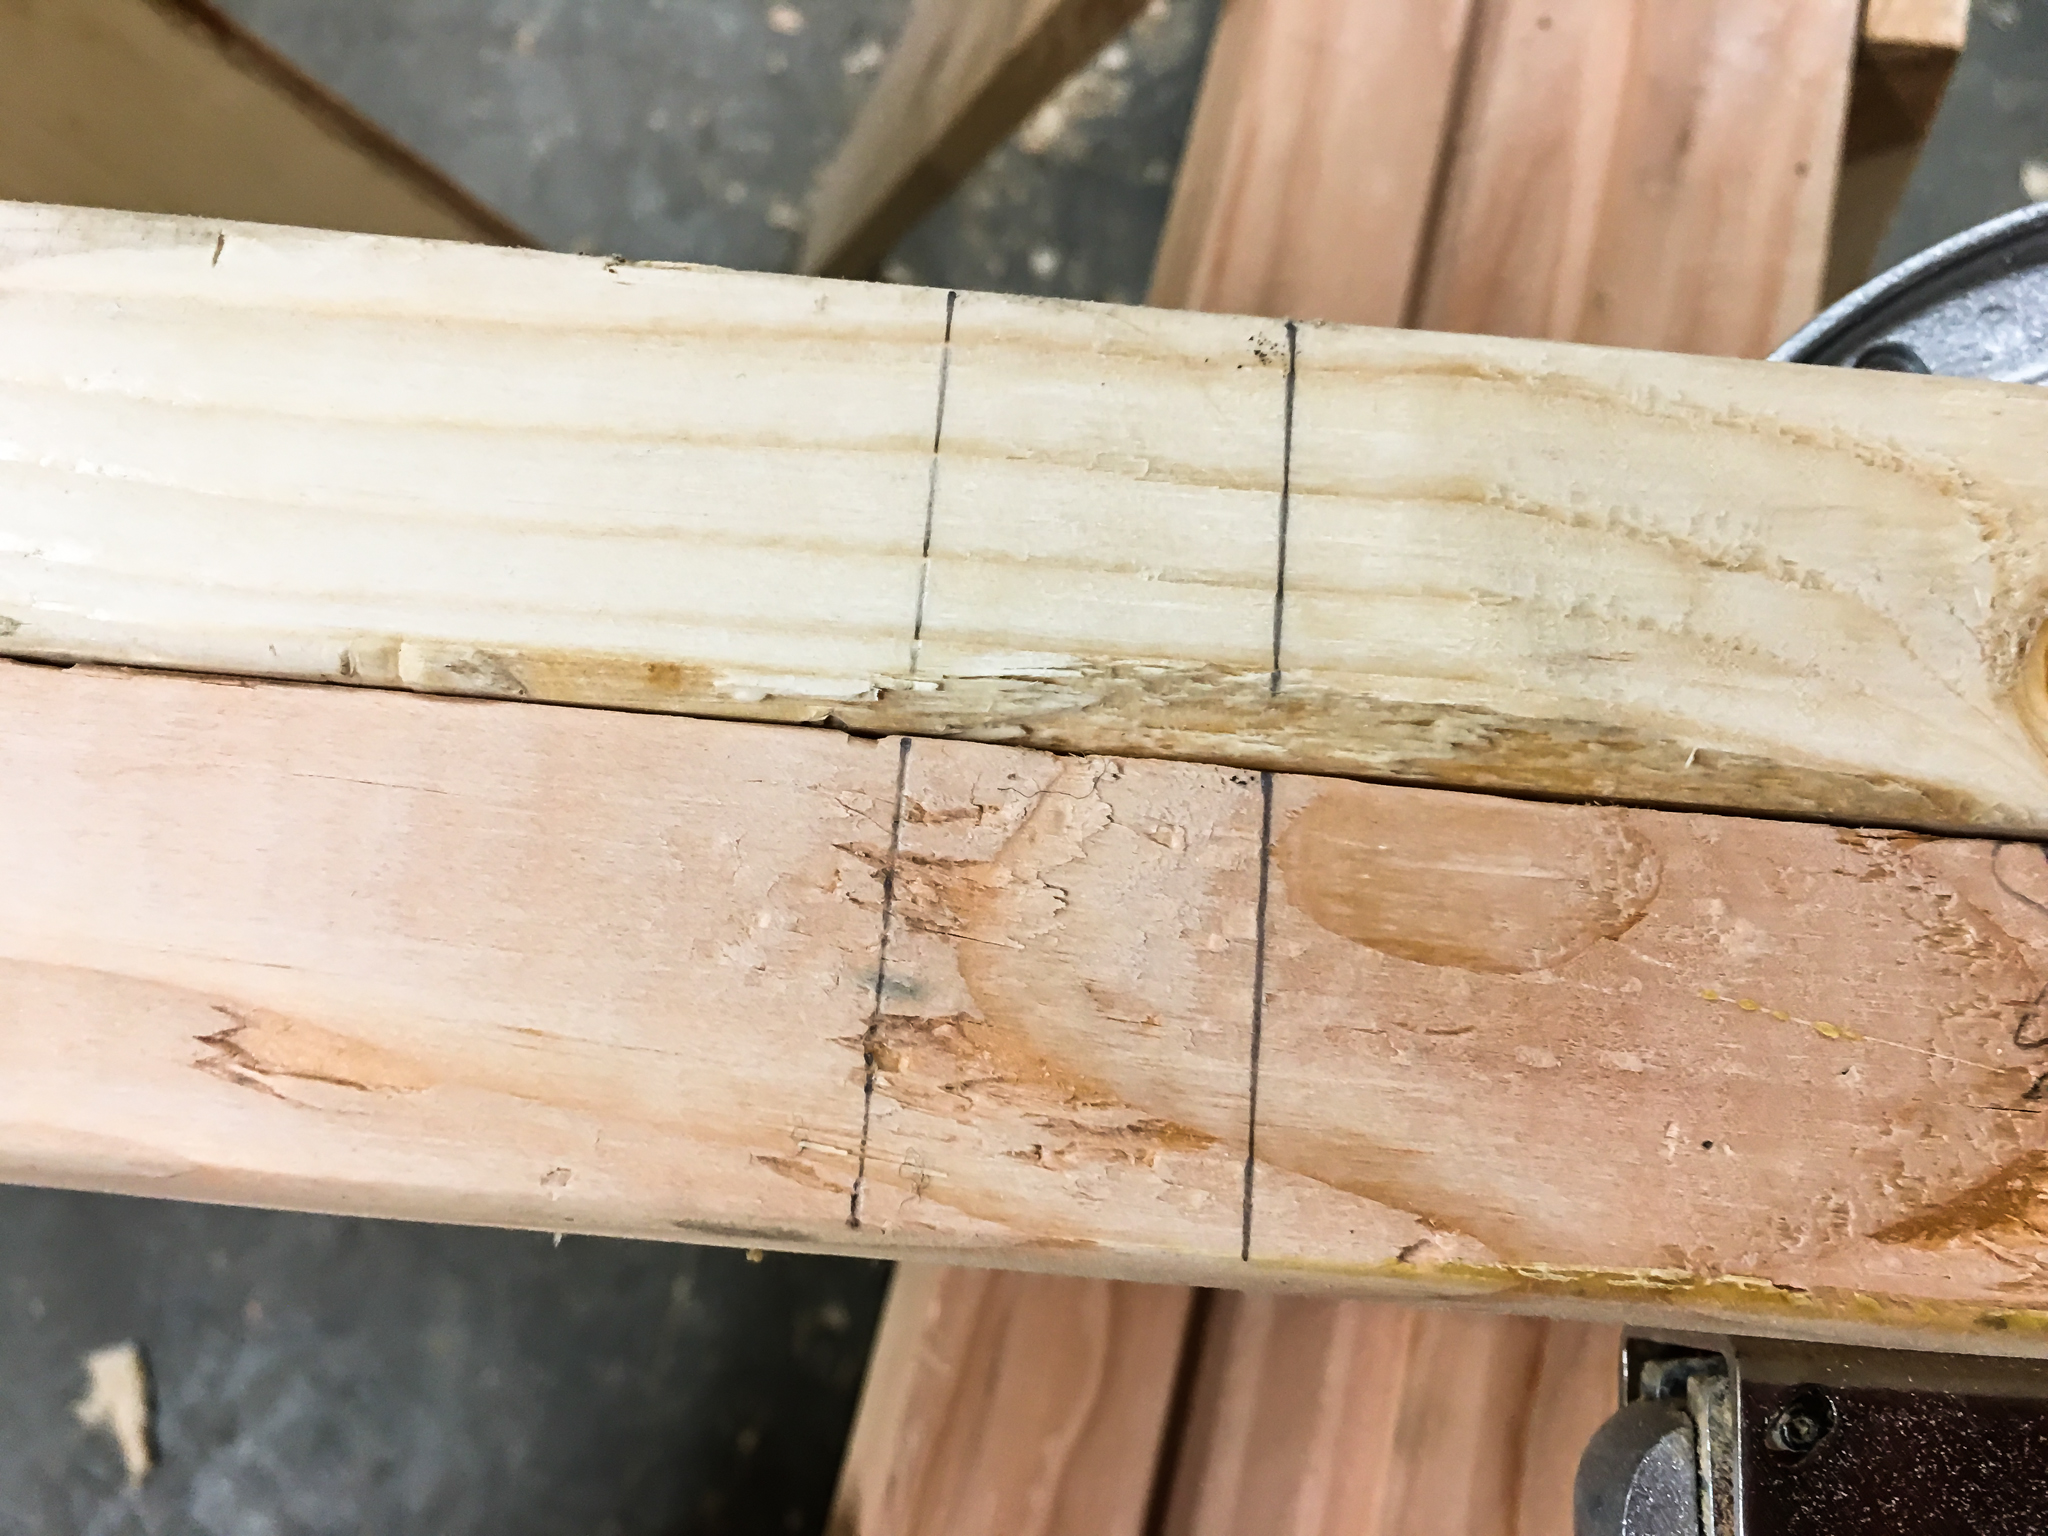
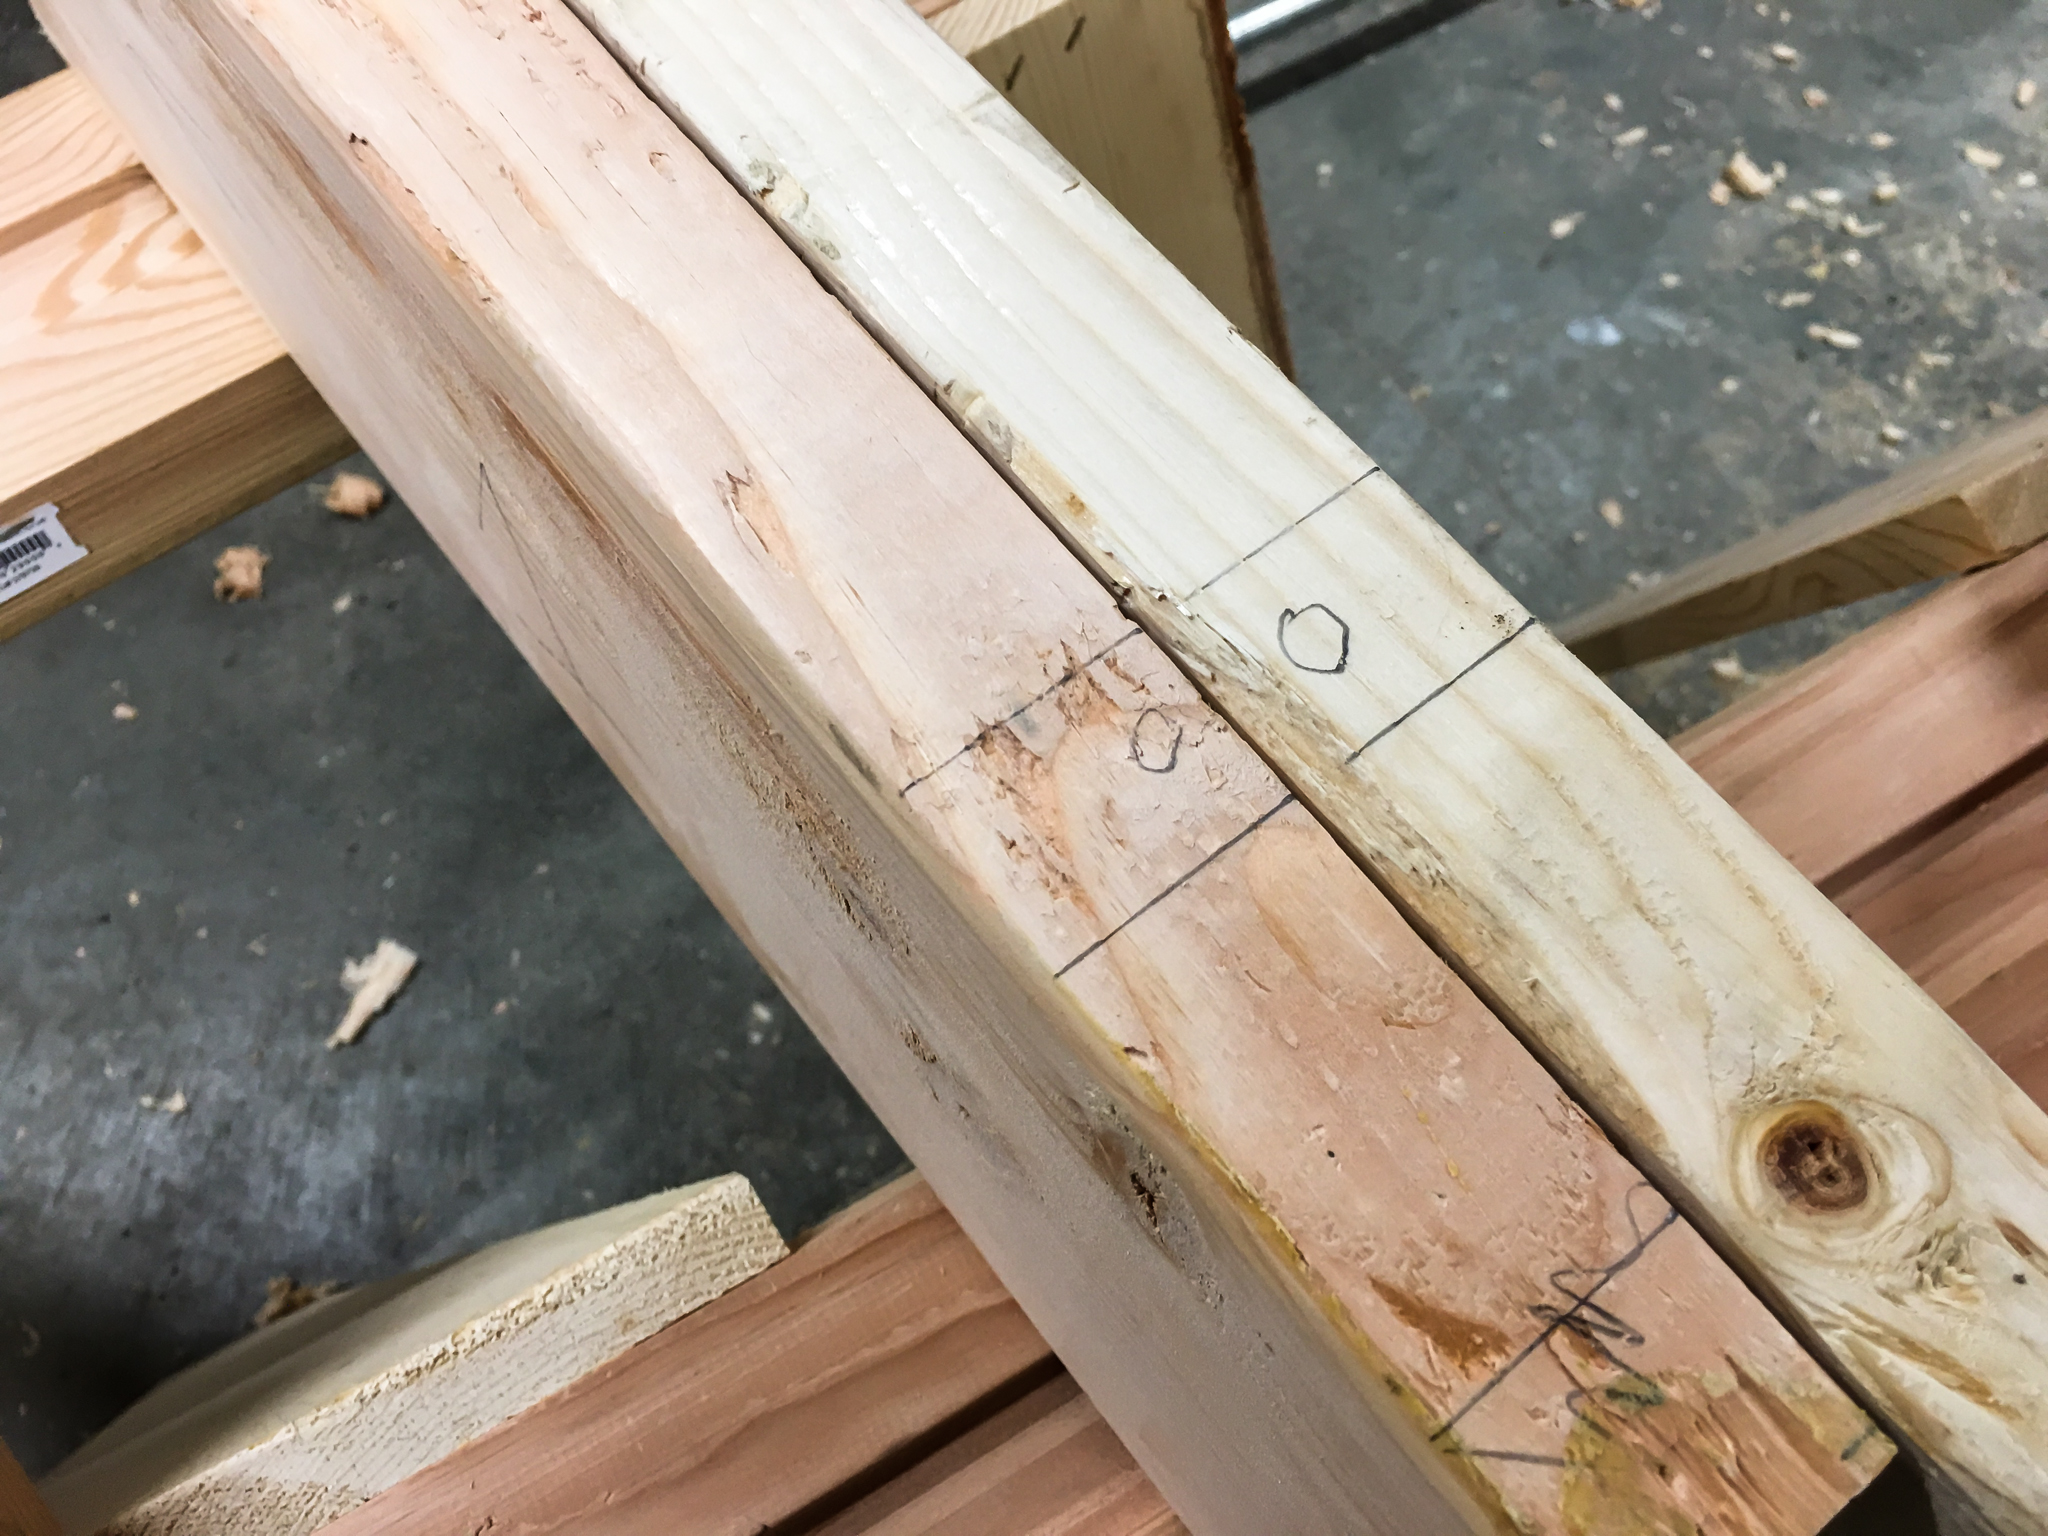
Lay out your table top boards (labeled D) the way you like them. Label them with a pencil with a number and an arrow so you know what order and which direction they should face. Two at a time, turn them on edge, and clamp them together. Every 8 inches or so use the combination square to mark two lines an inch apart. Alternate making circles on the inside and outside of the the boards. Once you've made all your marks, unclamp the boards so we can start using the dowel jig. I didn't take pictures of me doing this with my table top (doh!), but here is an example with a couple pieces of left over 2x8:
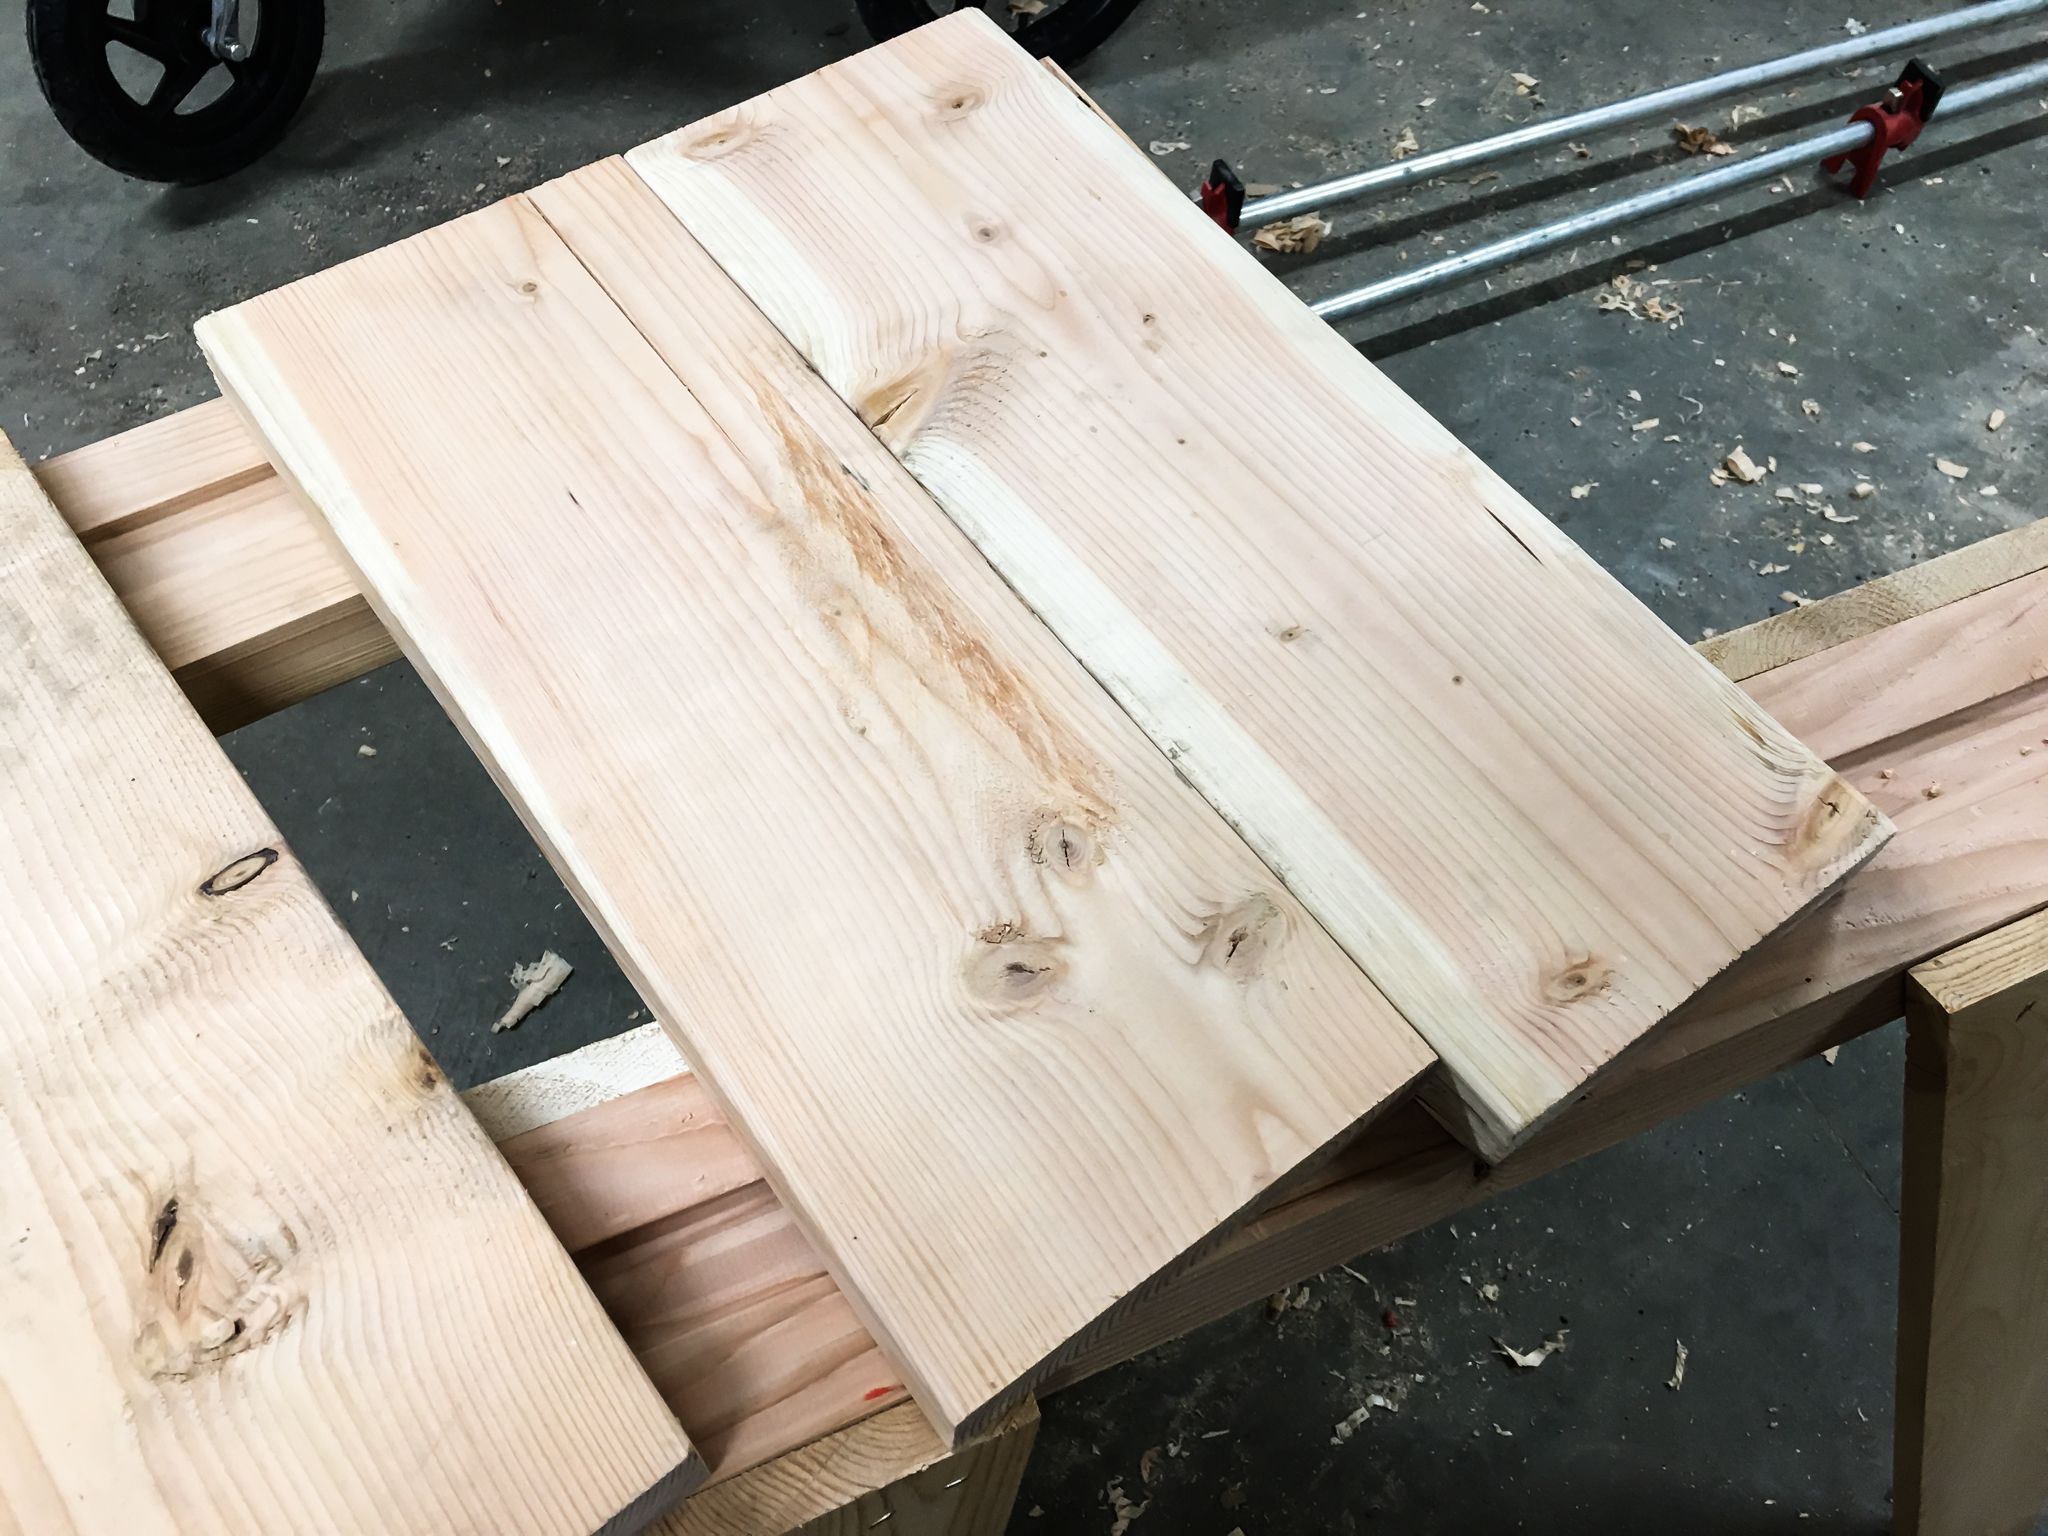
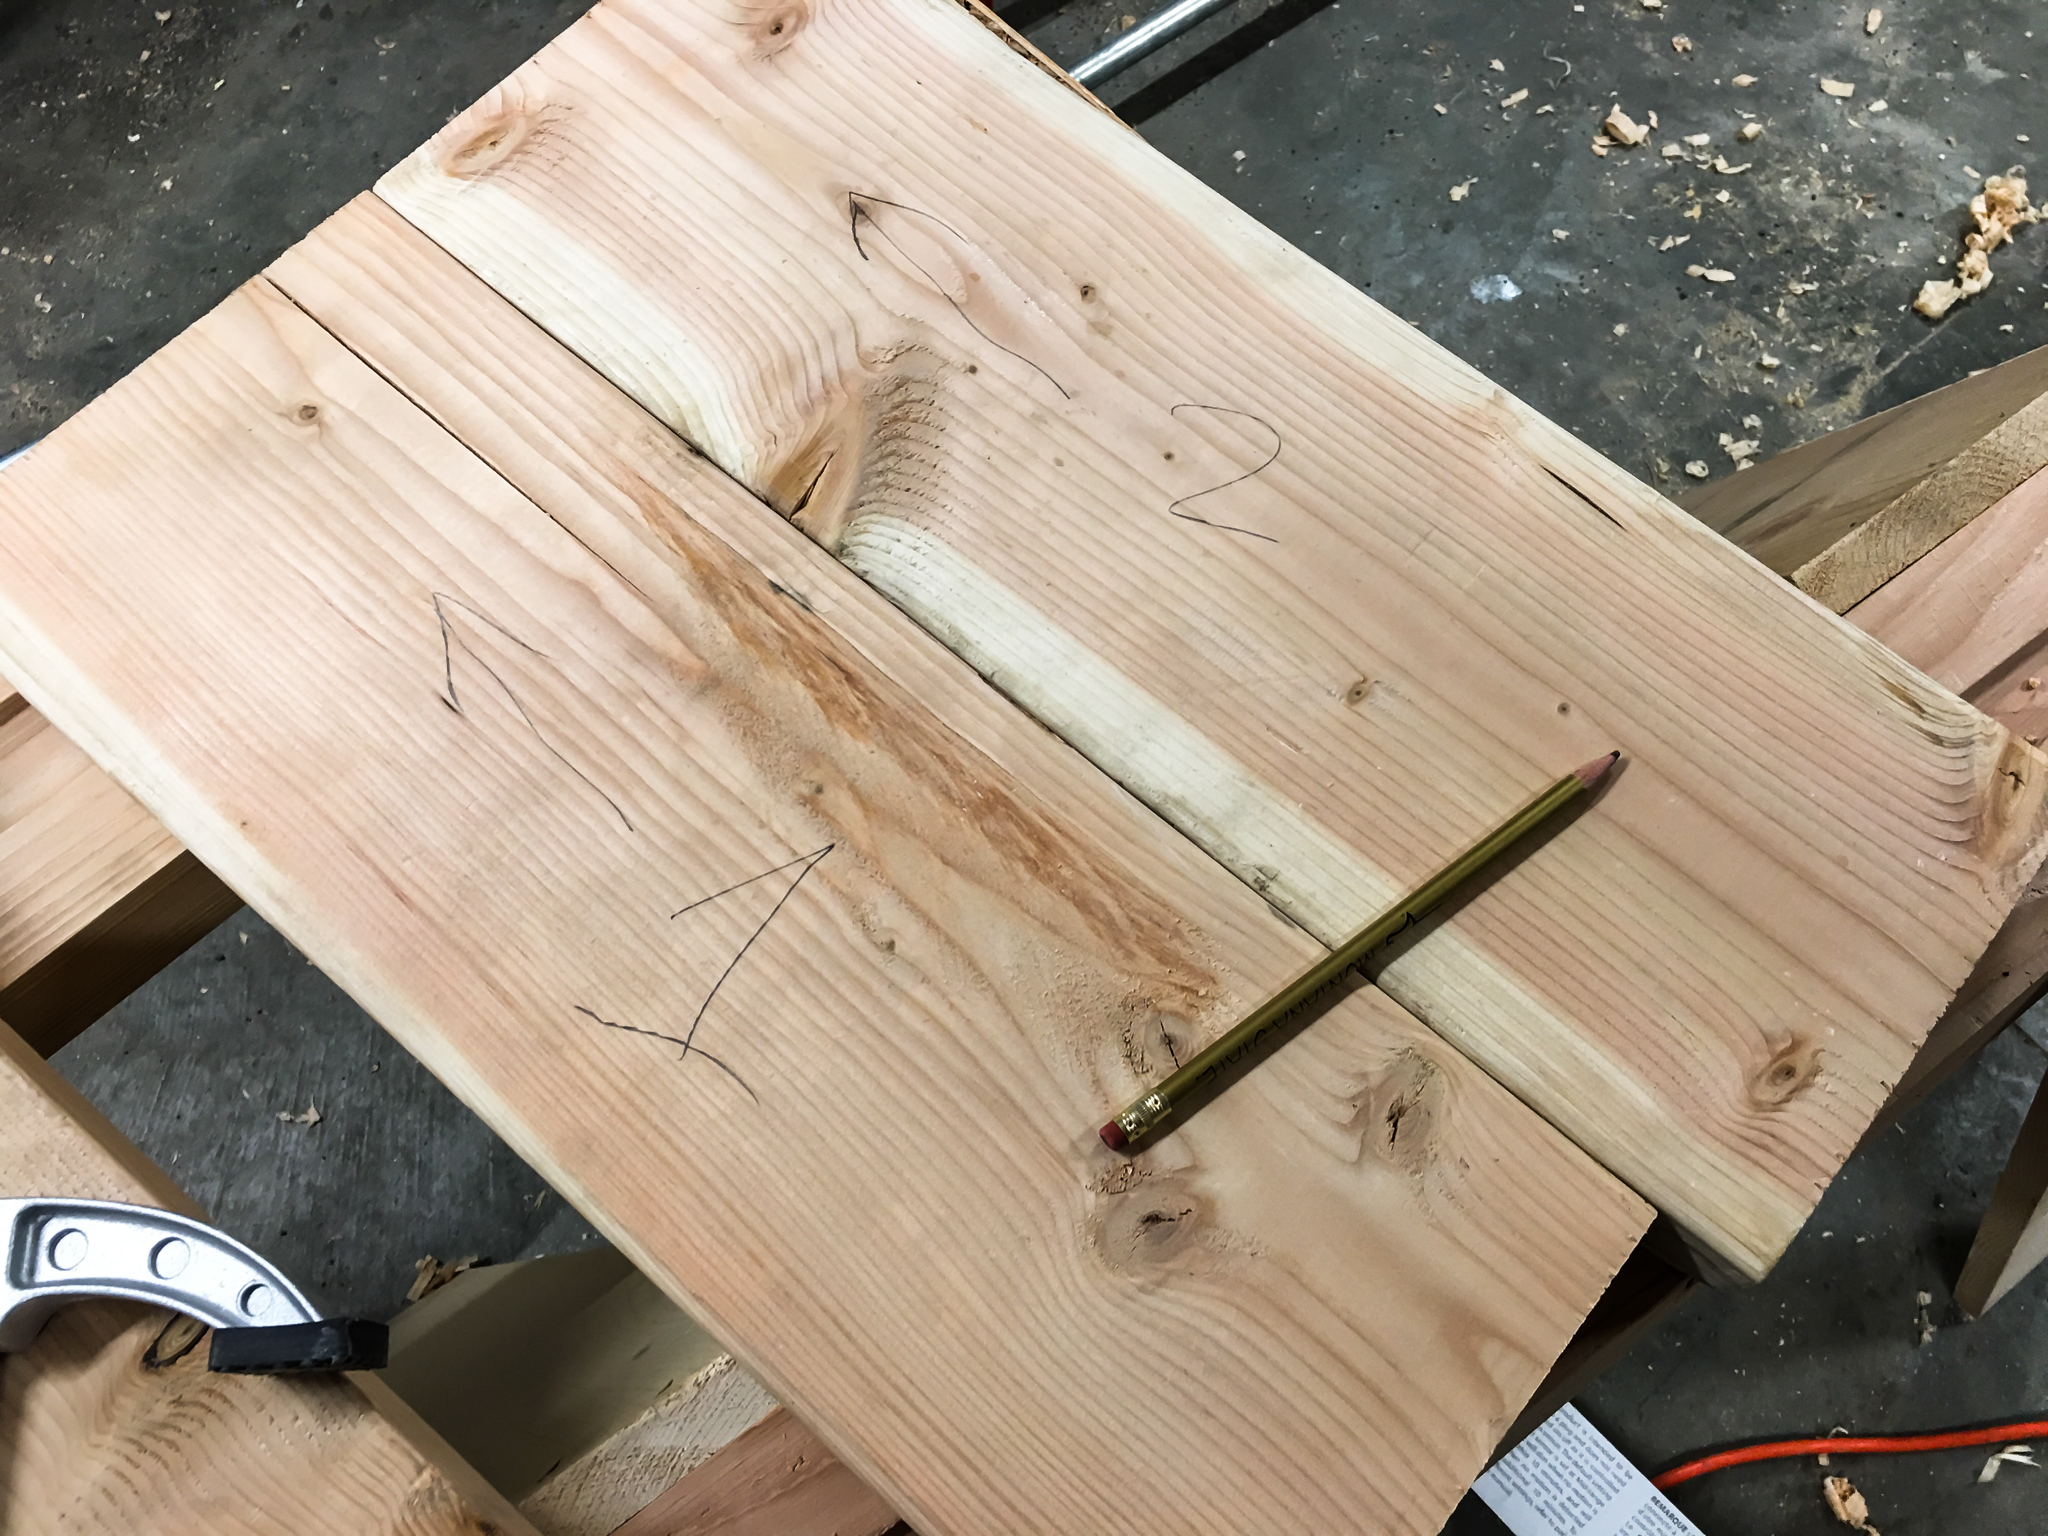
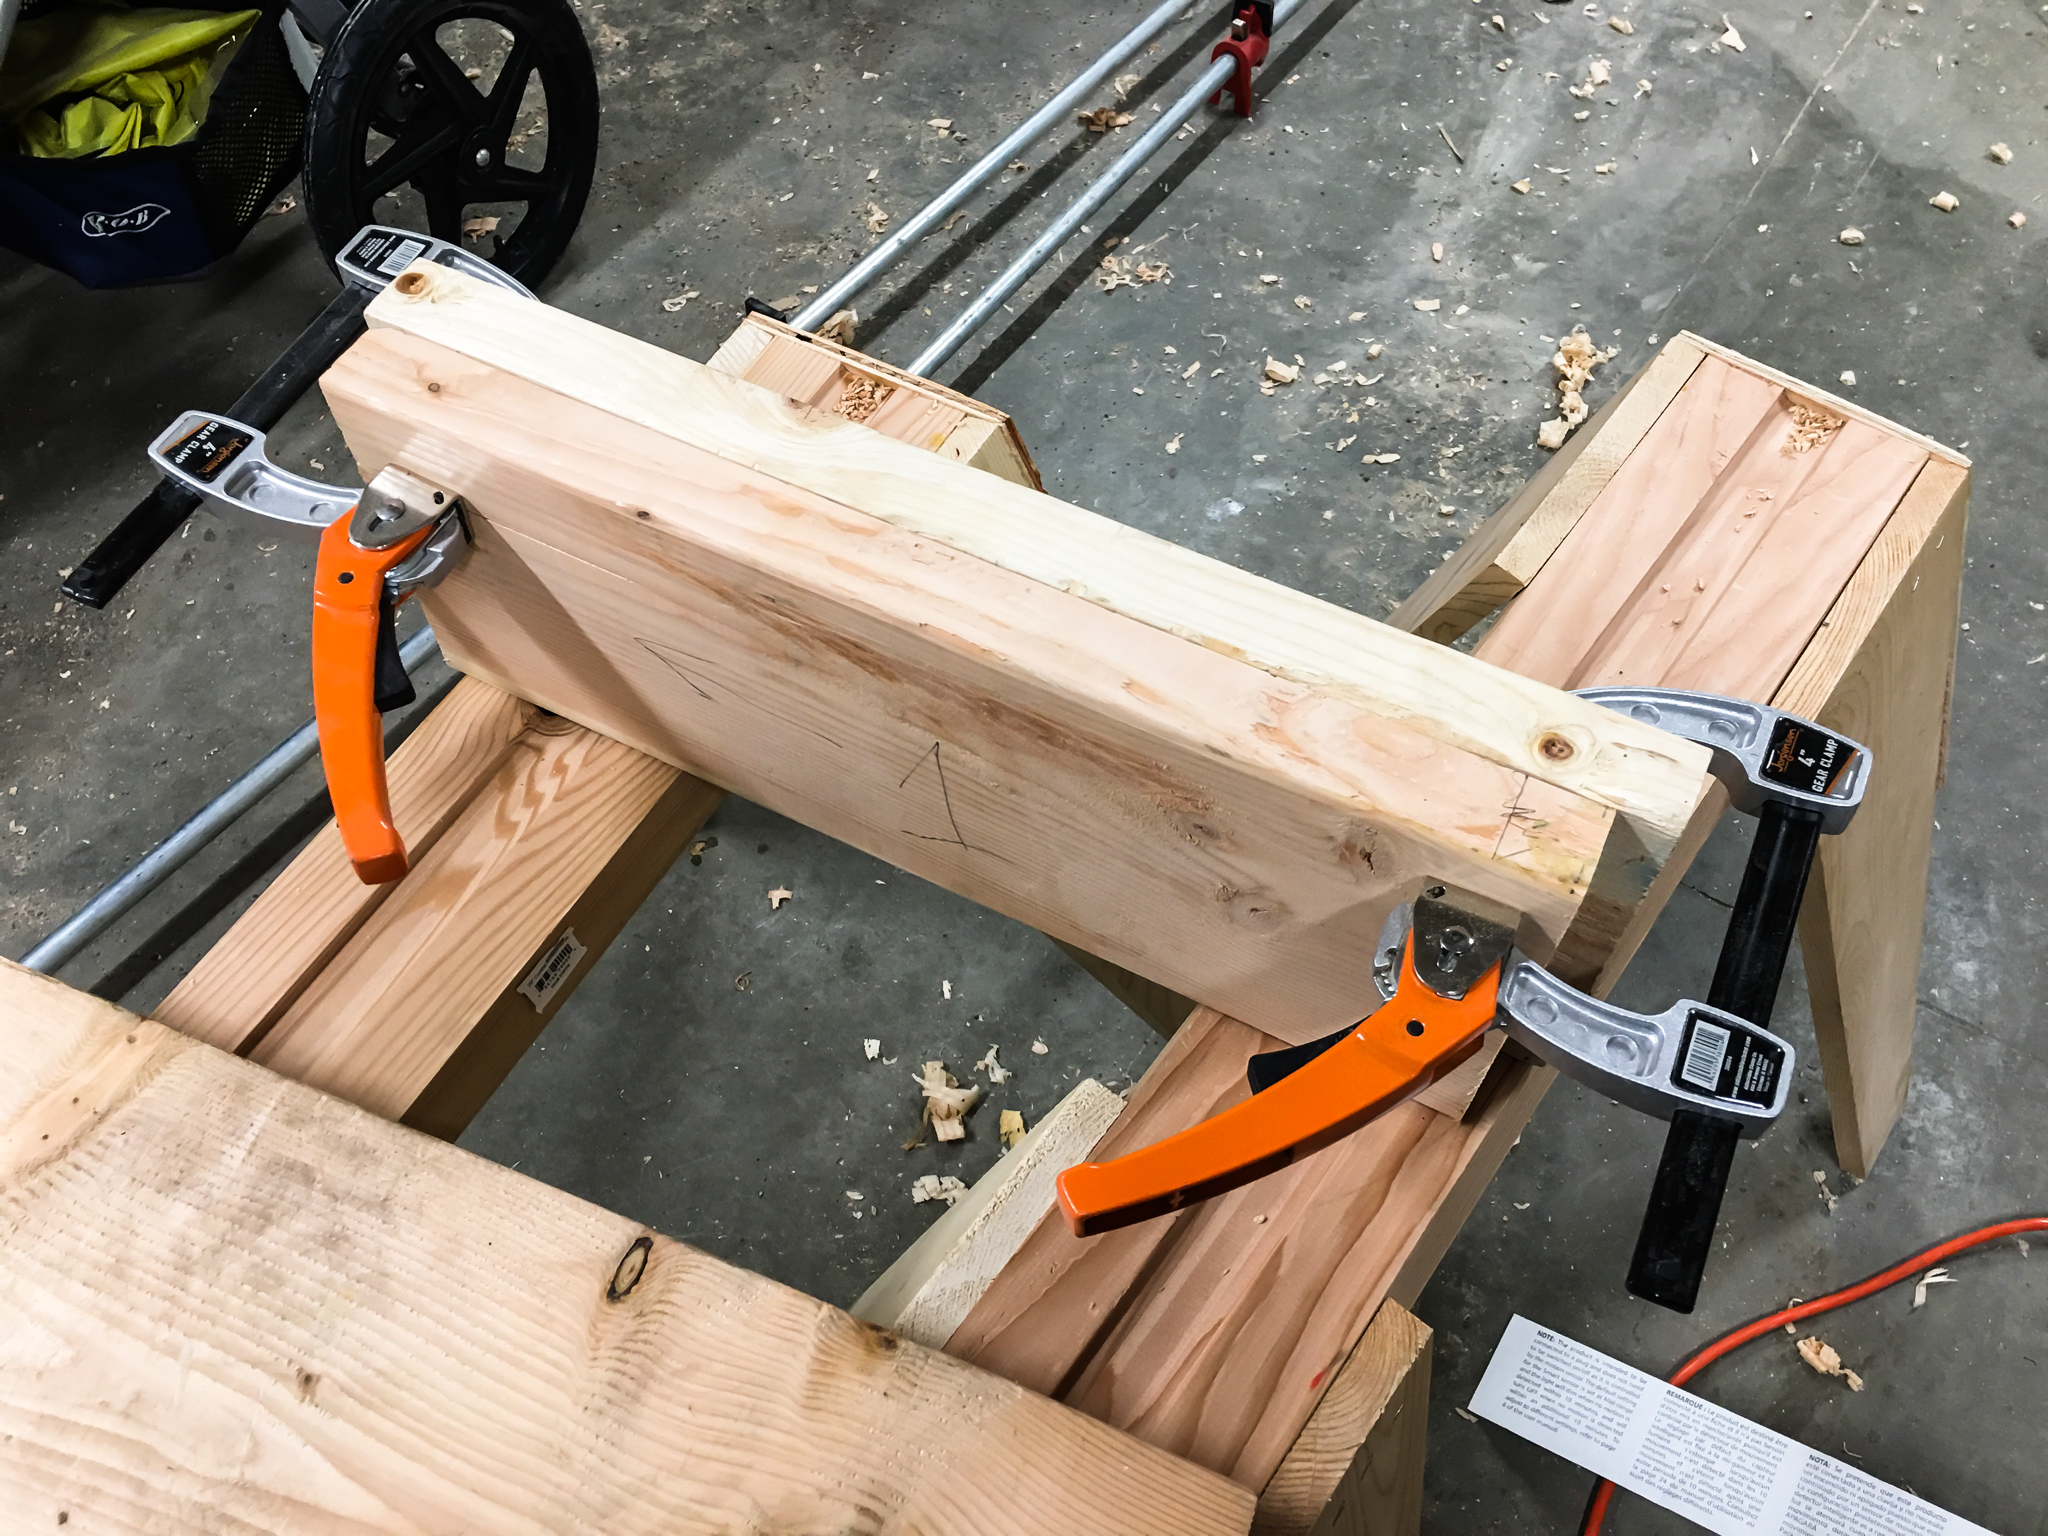
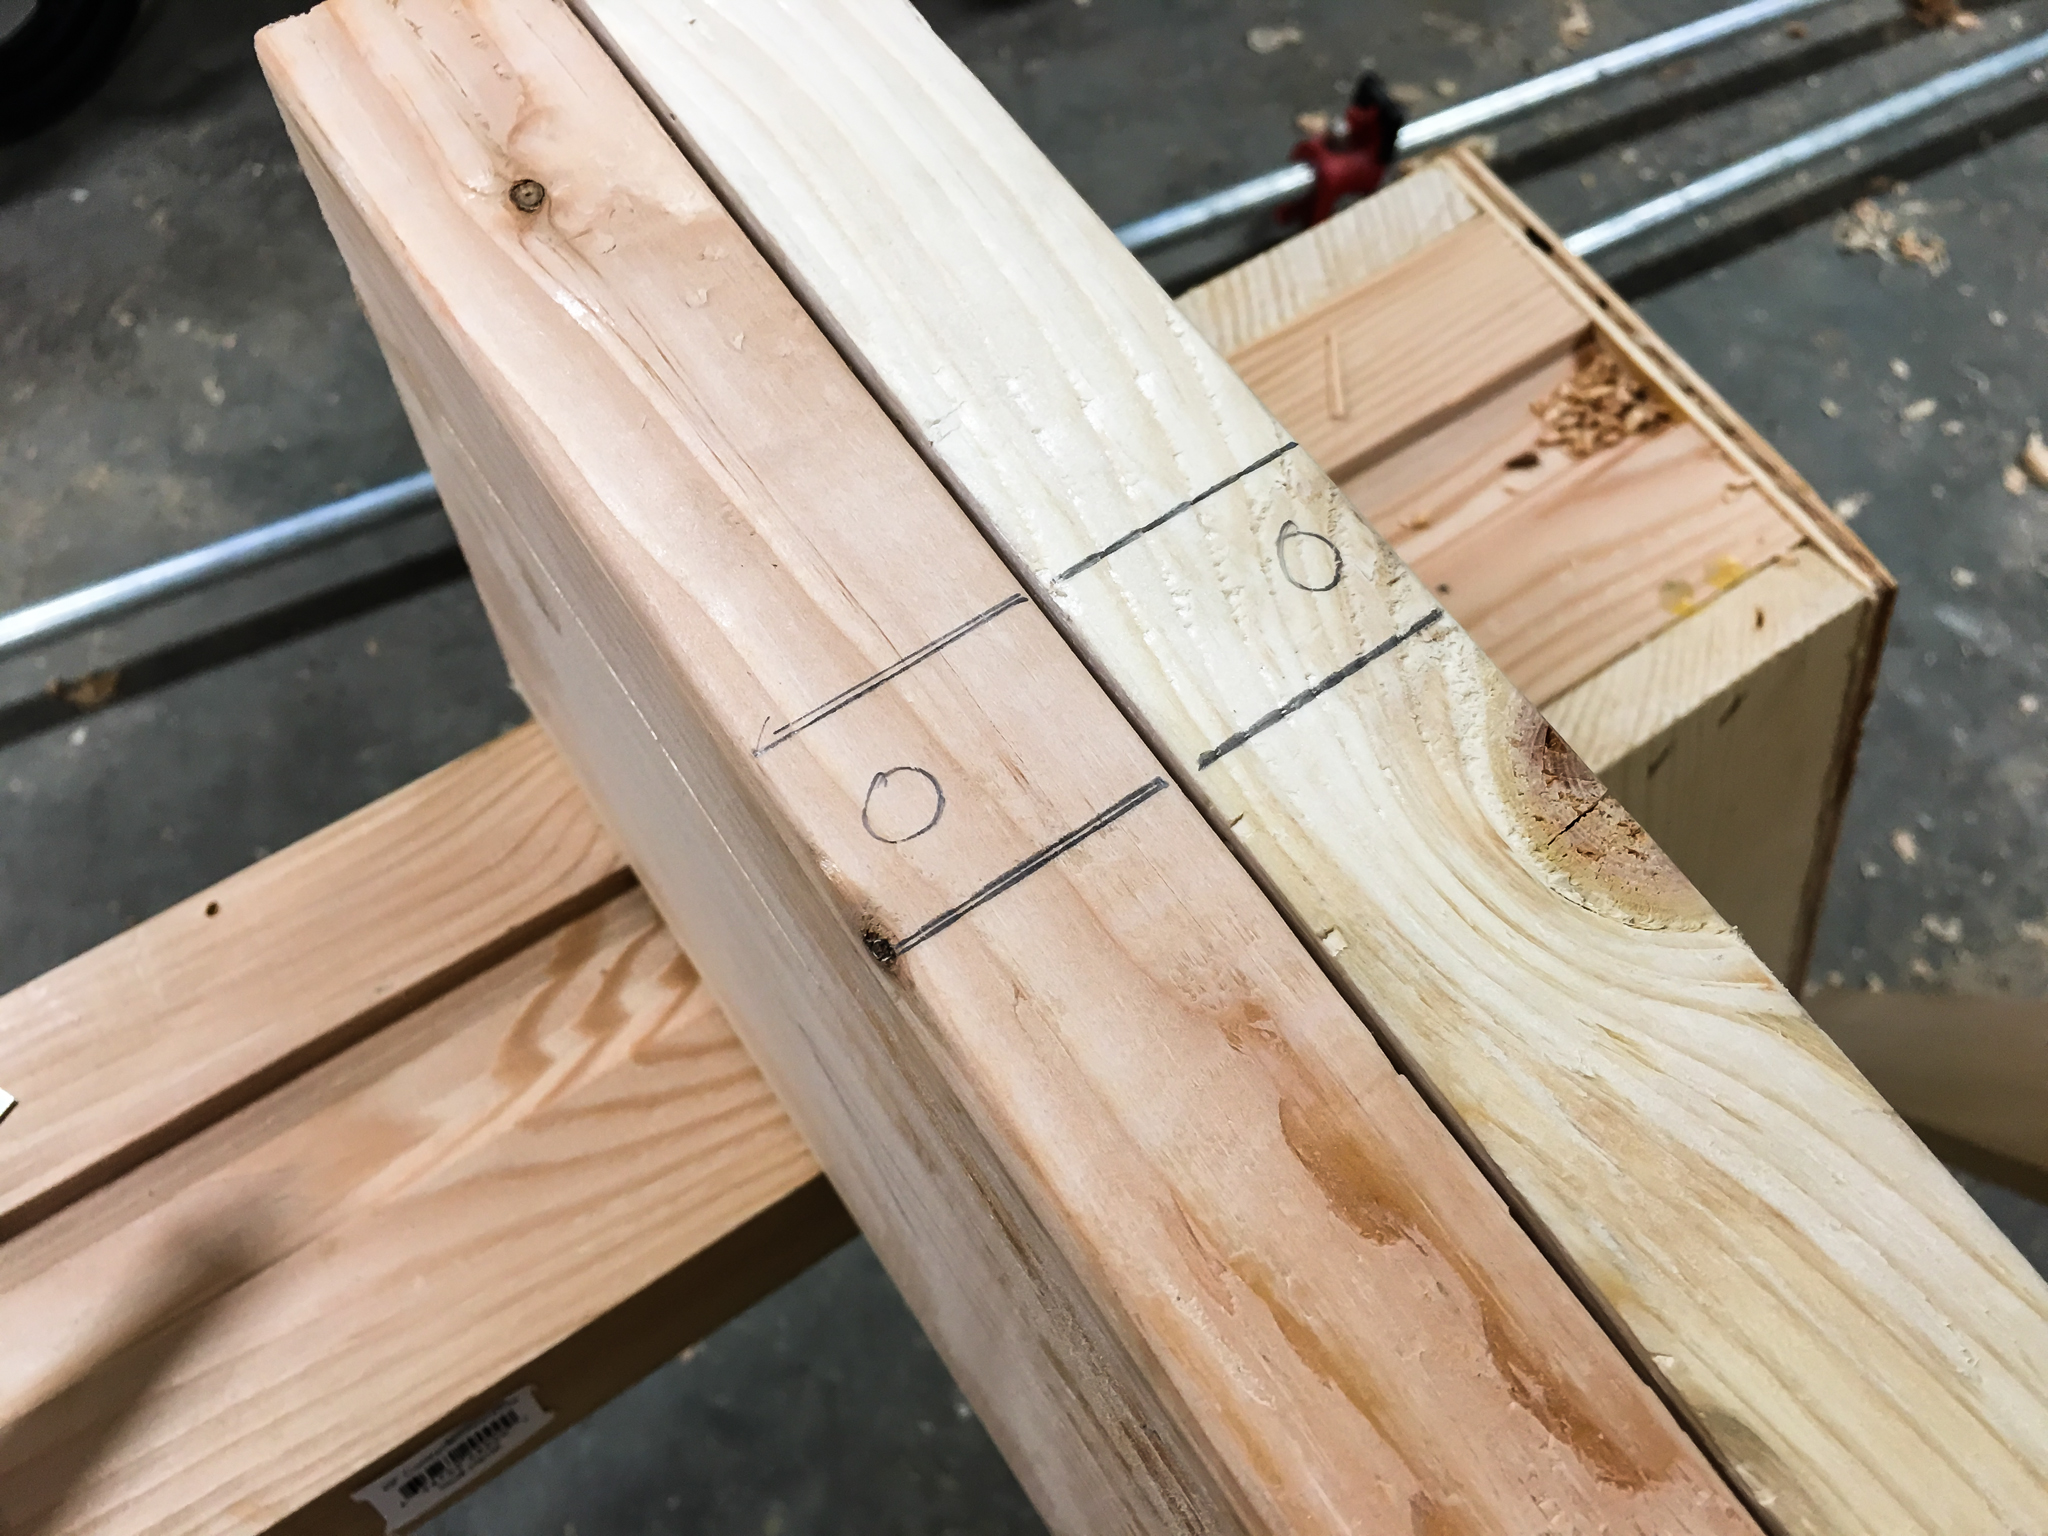
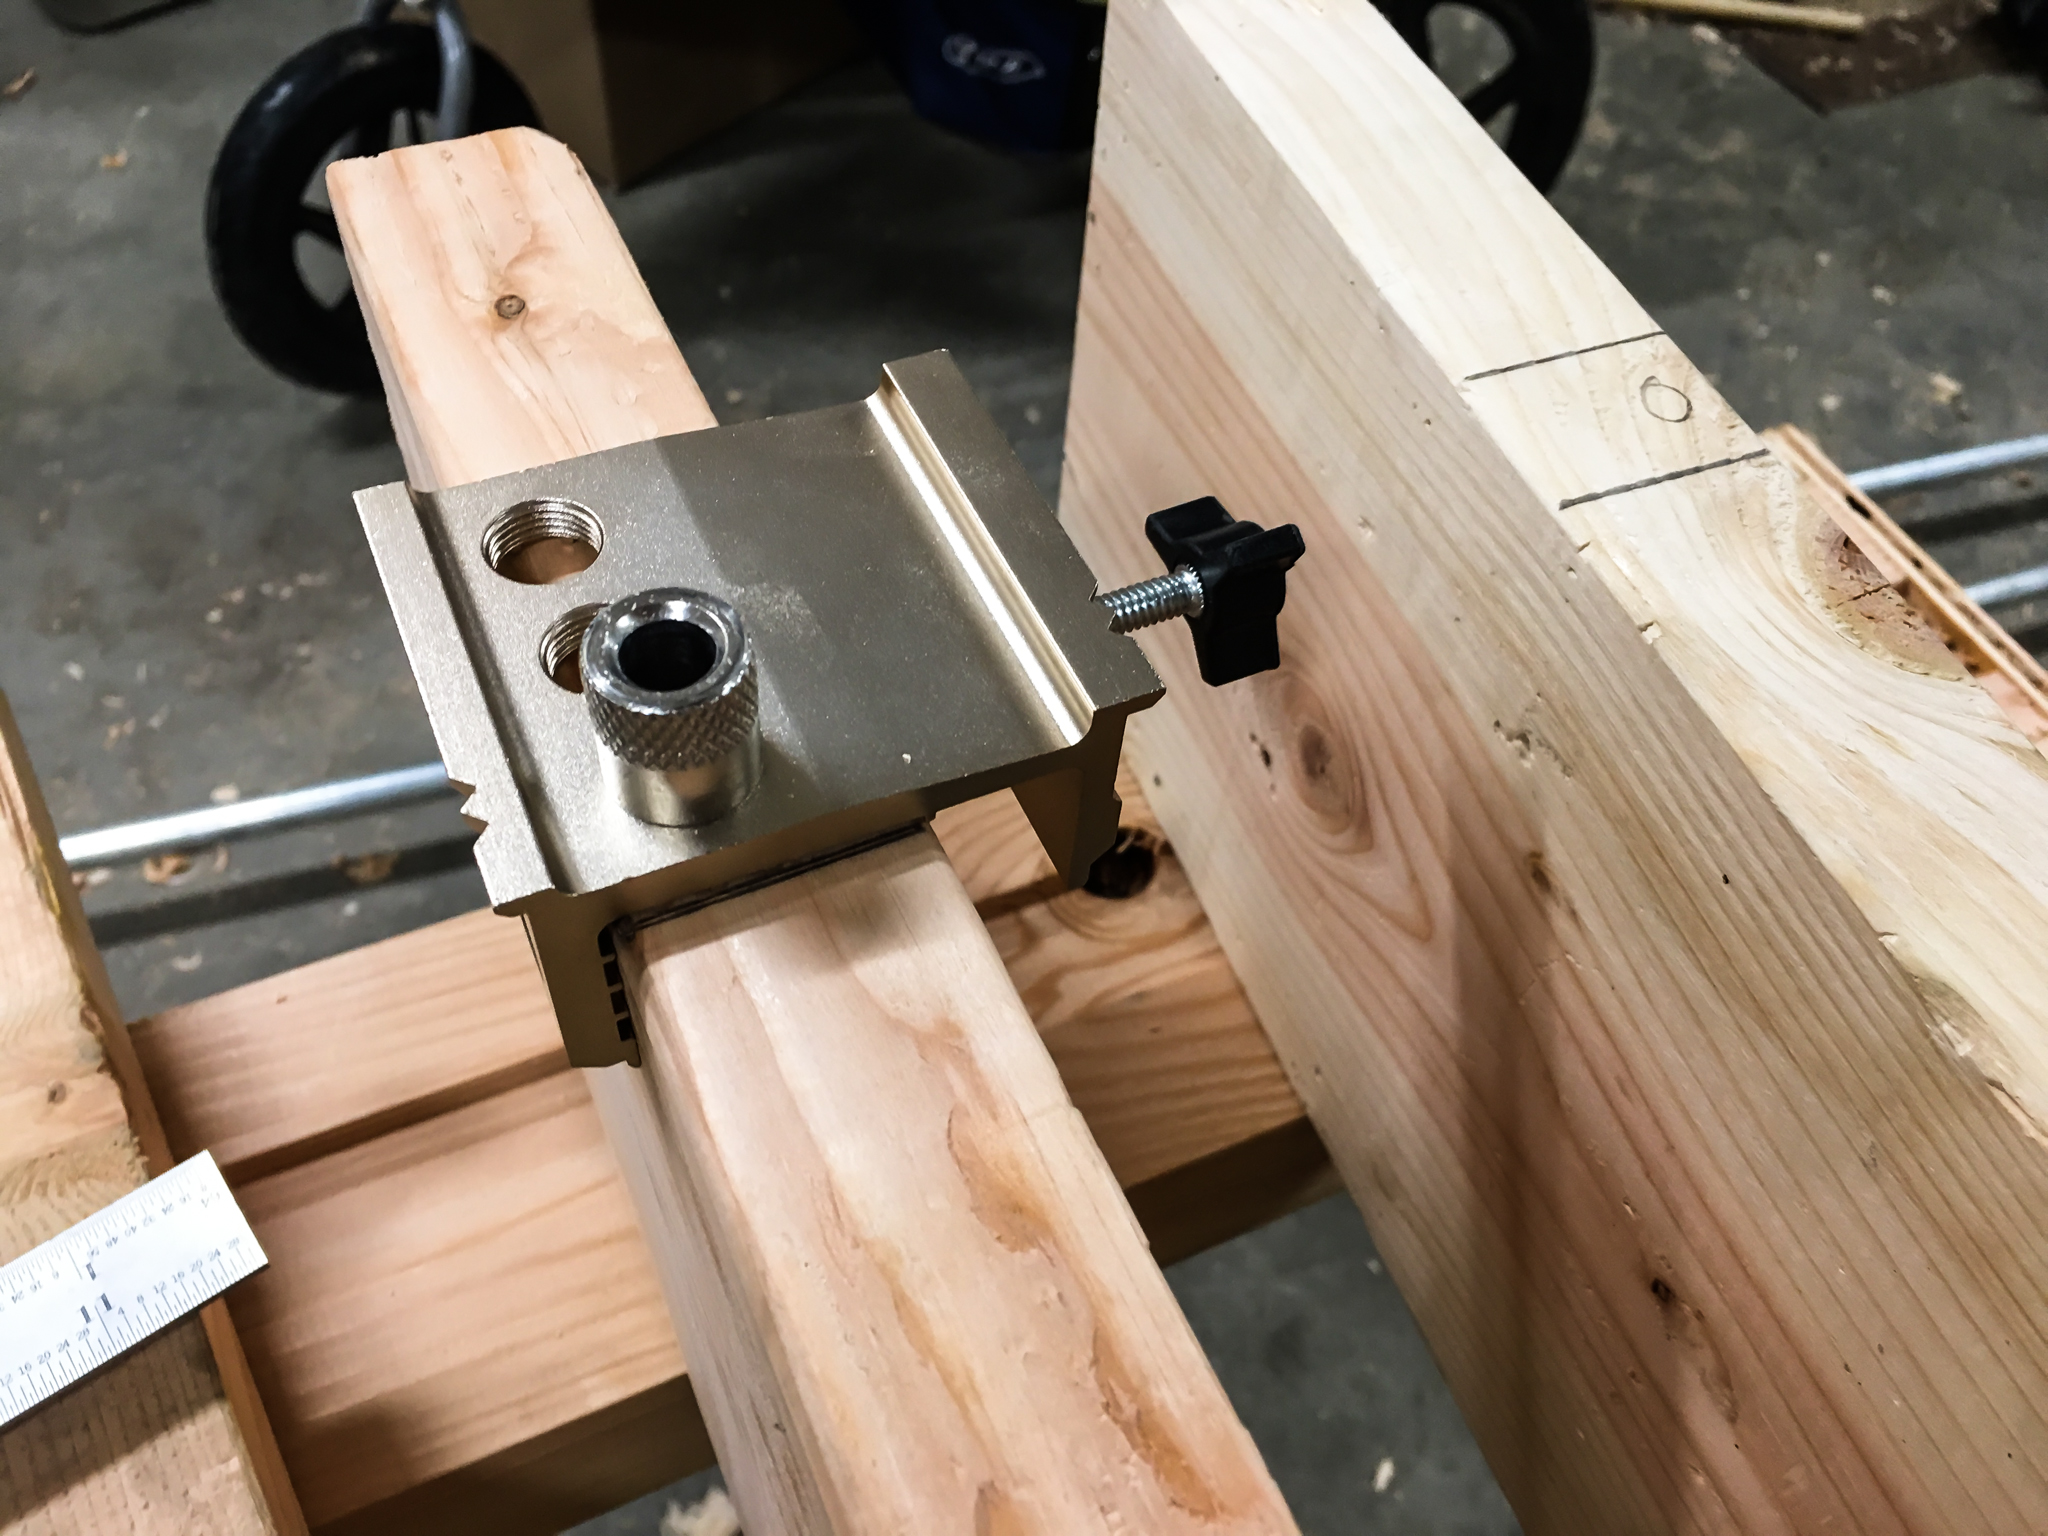
Set up your doweling jig by screwing in the 3/8" bushing into the inner most hole and set your drill stop so it makes a hole just over half way through your dowel.
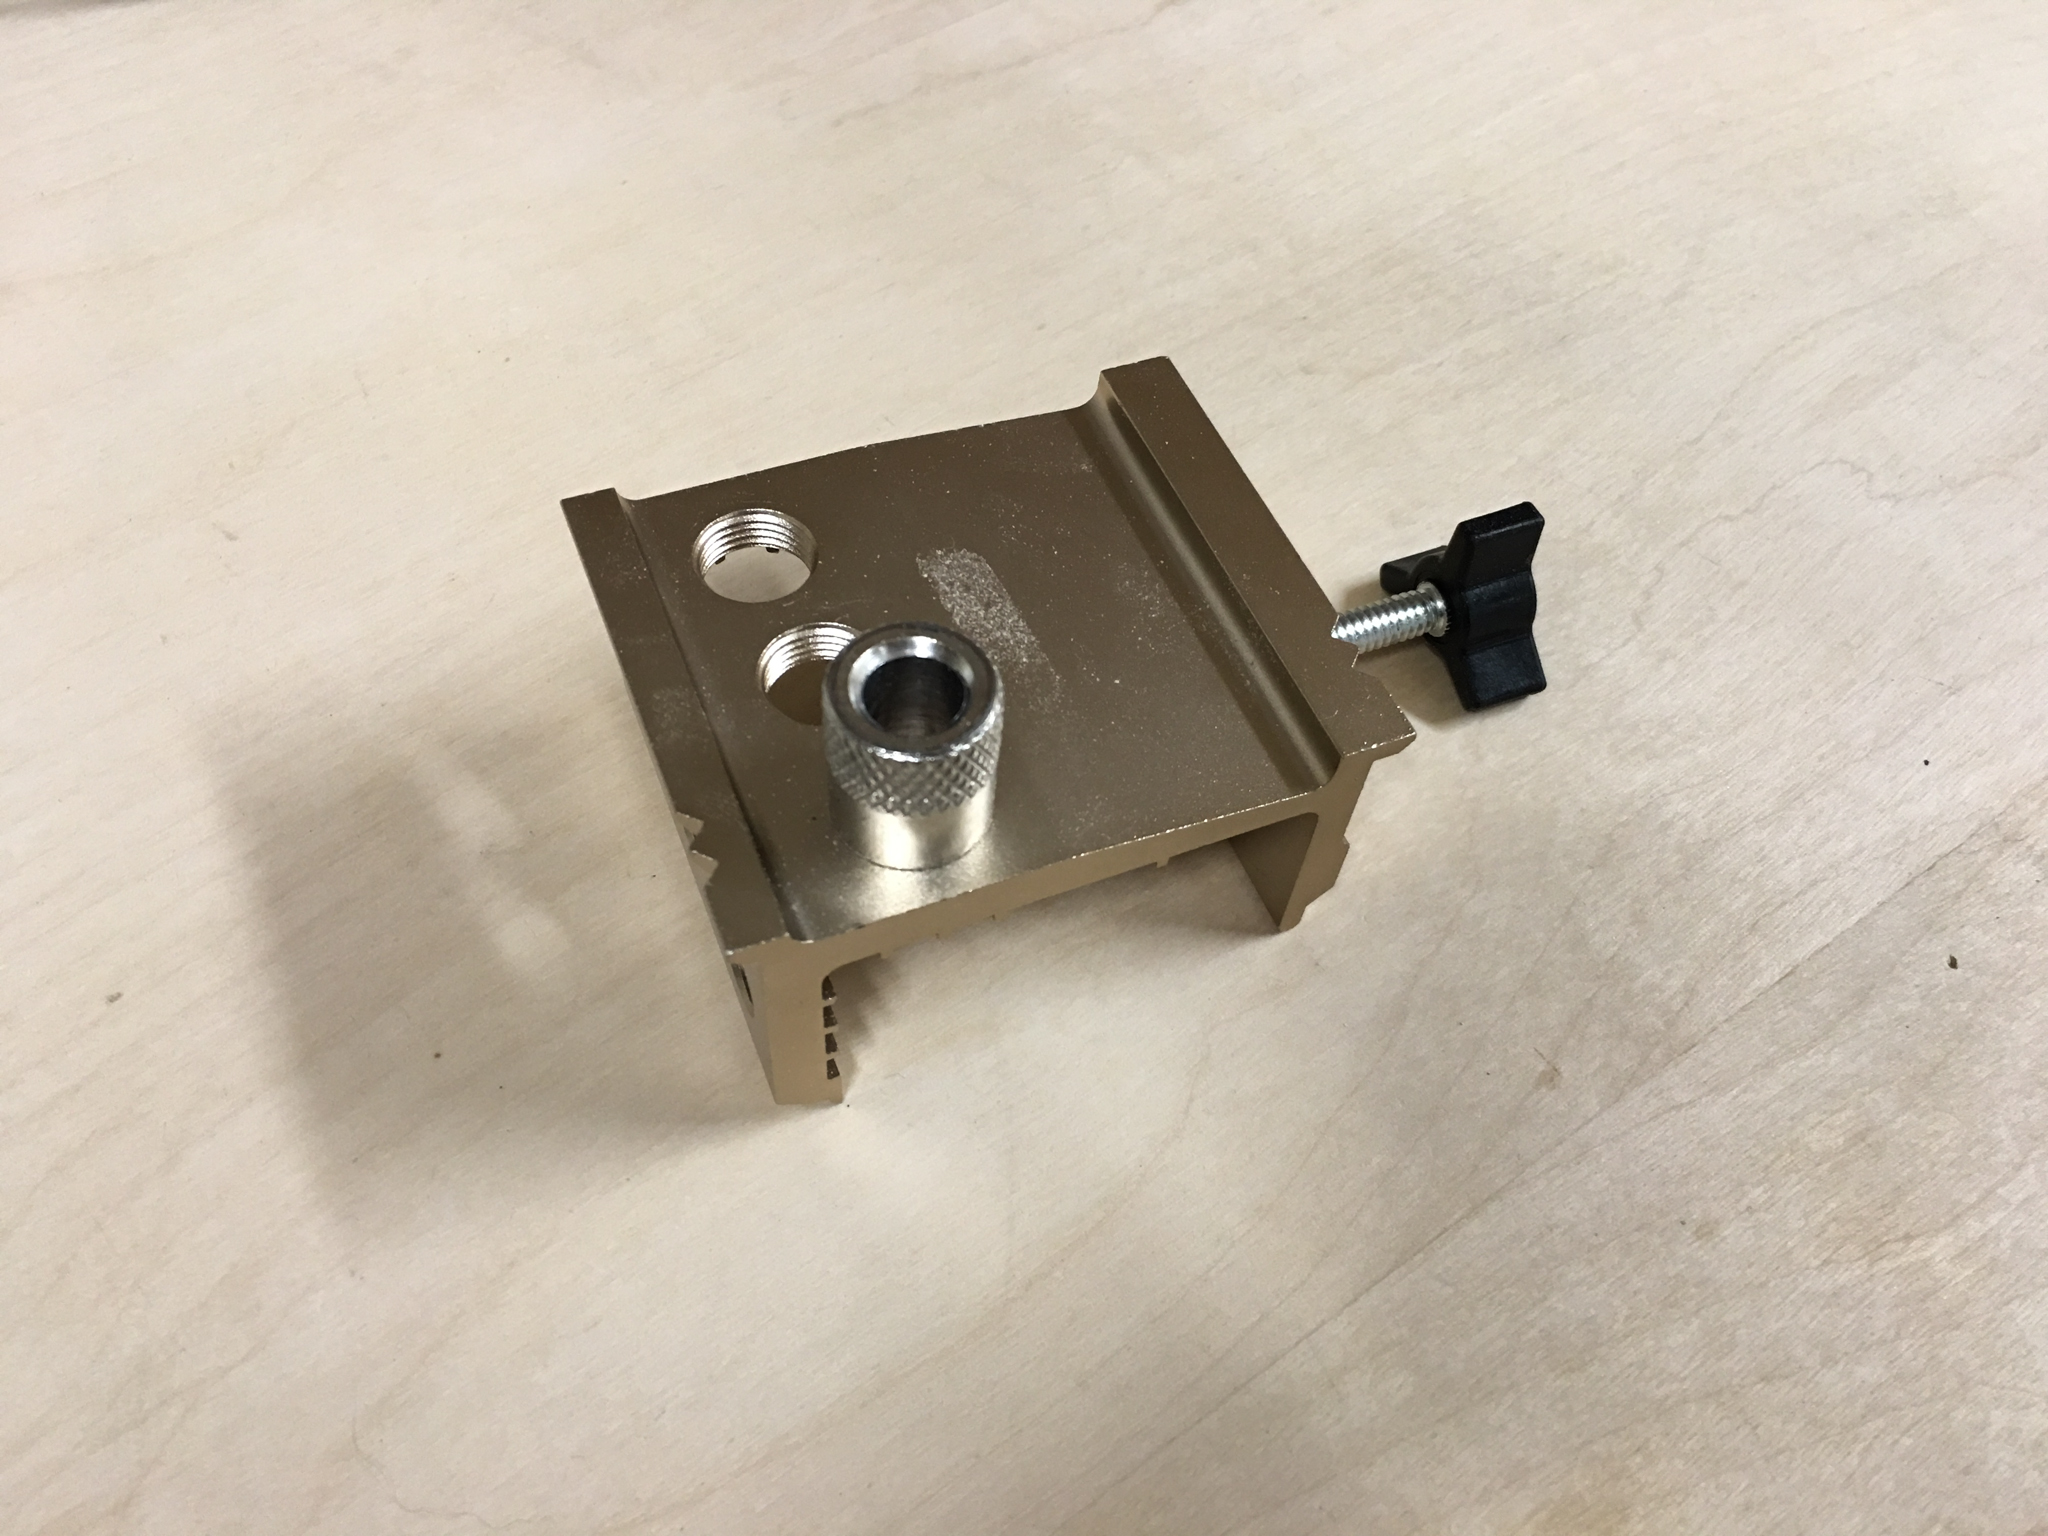
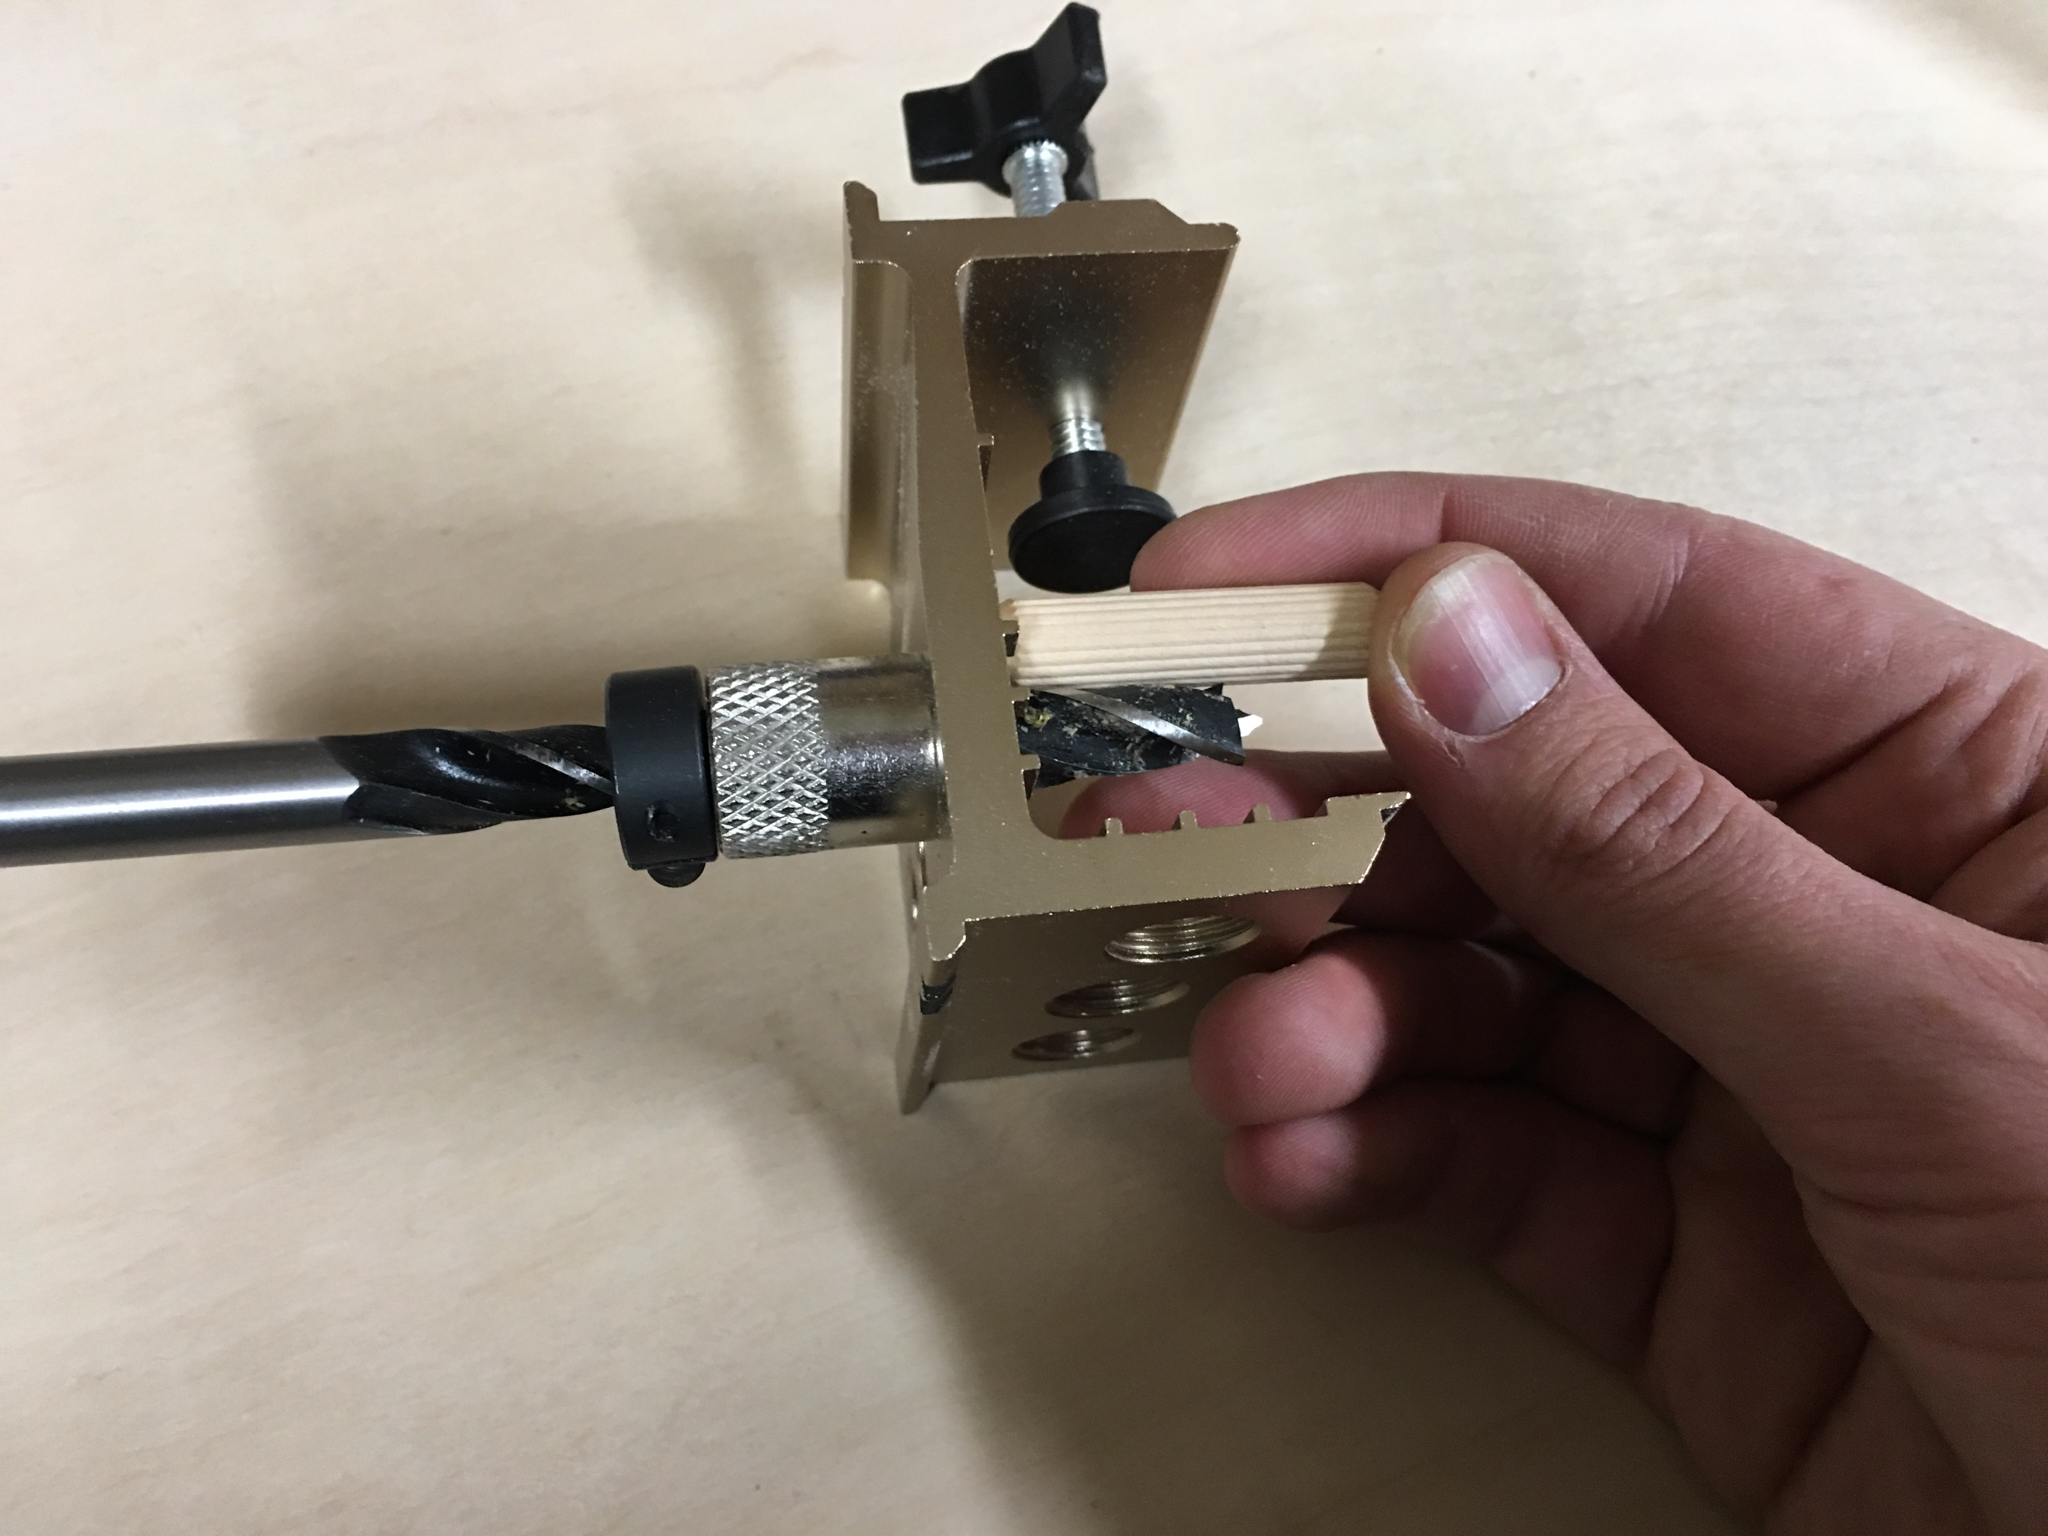
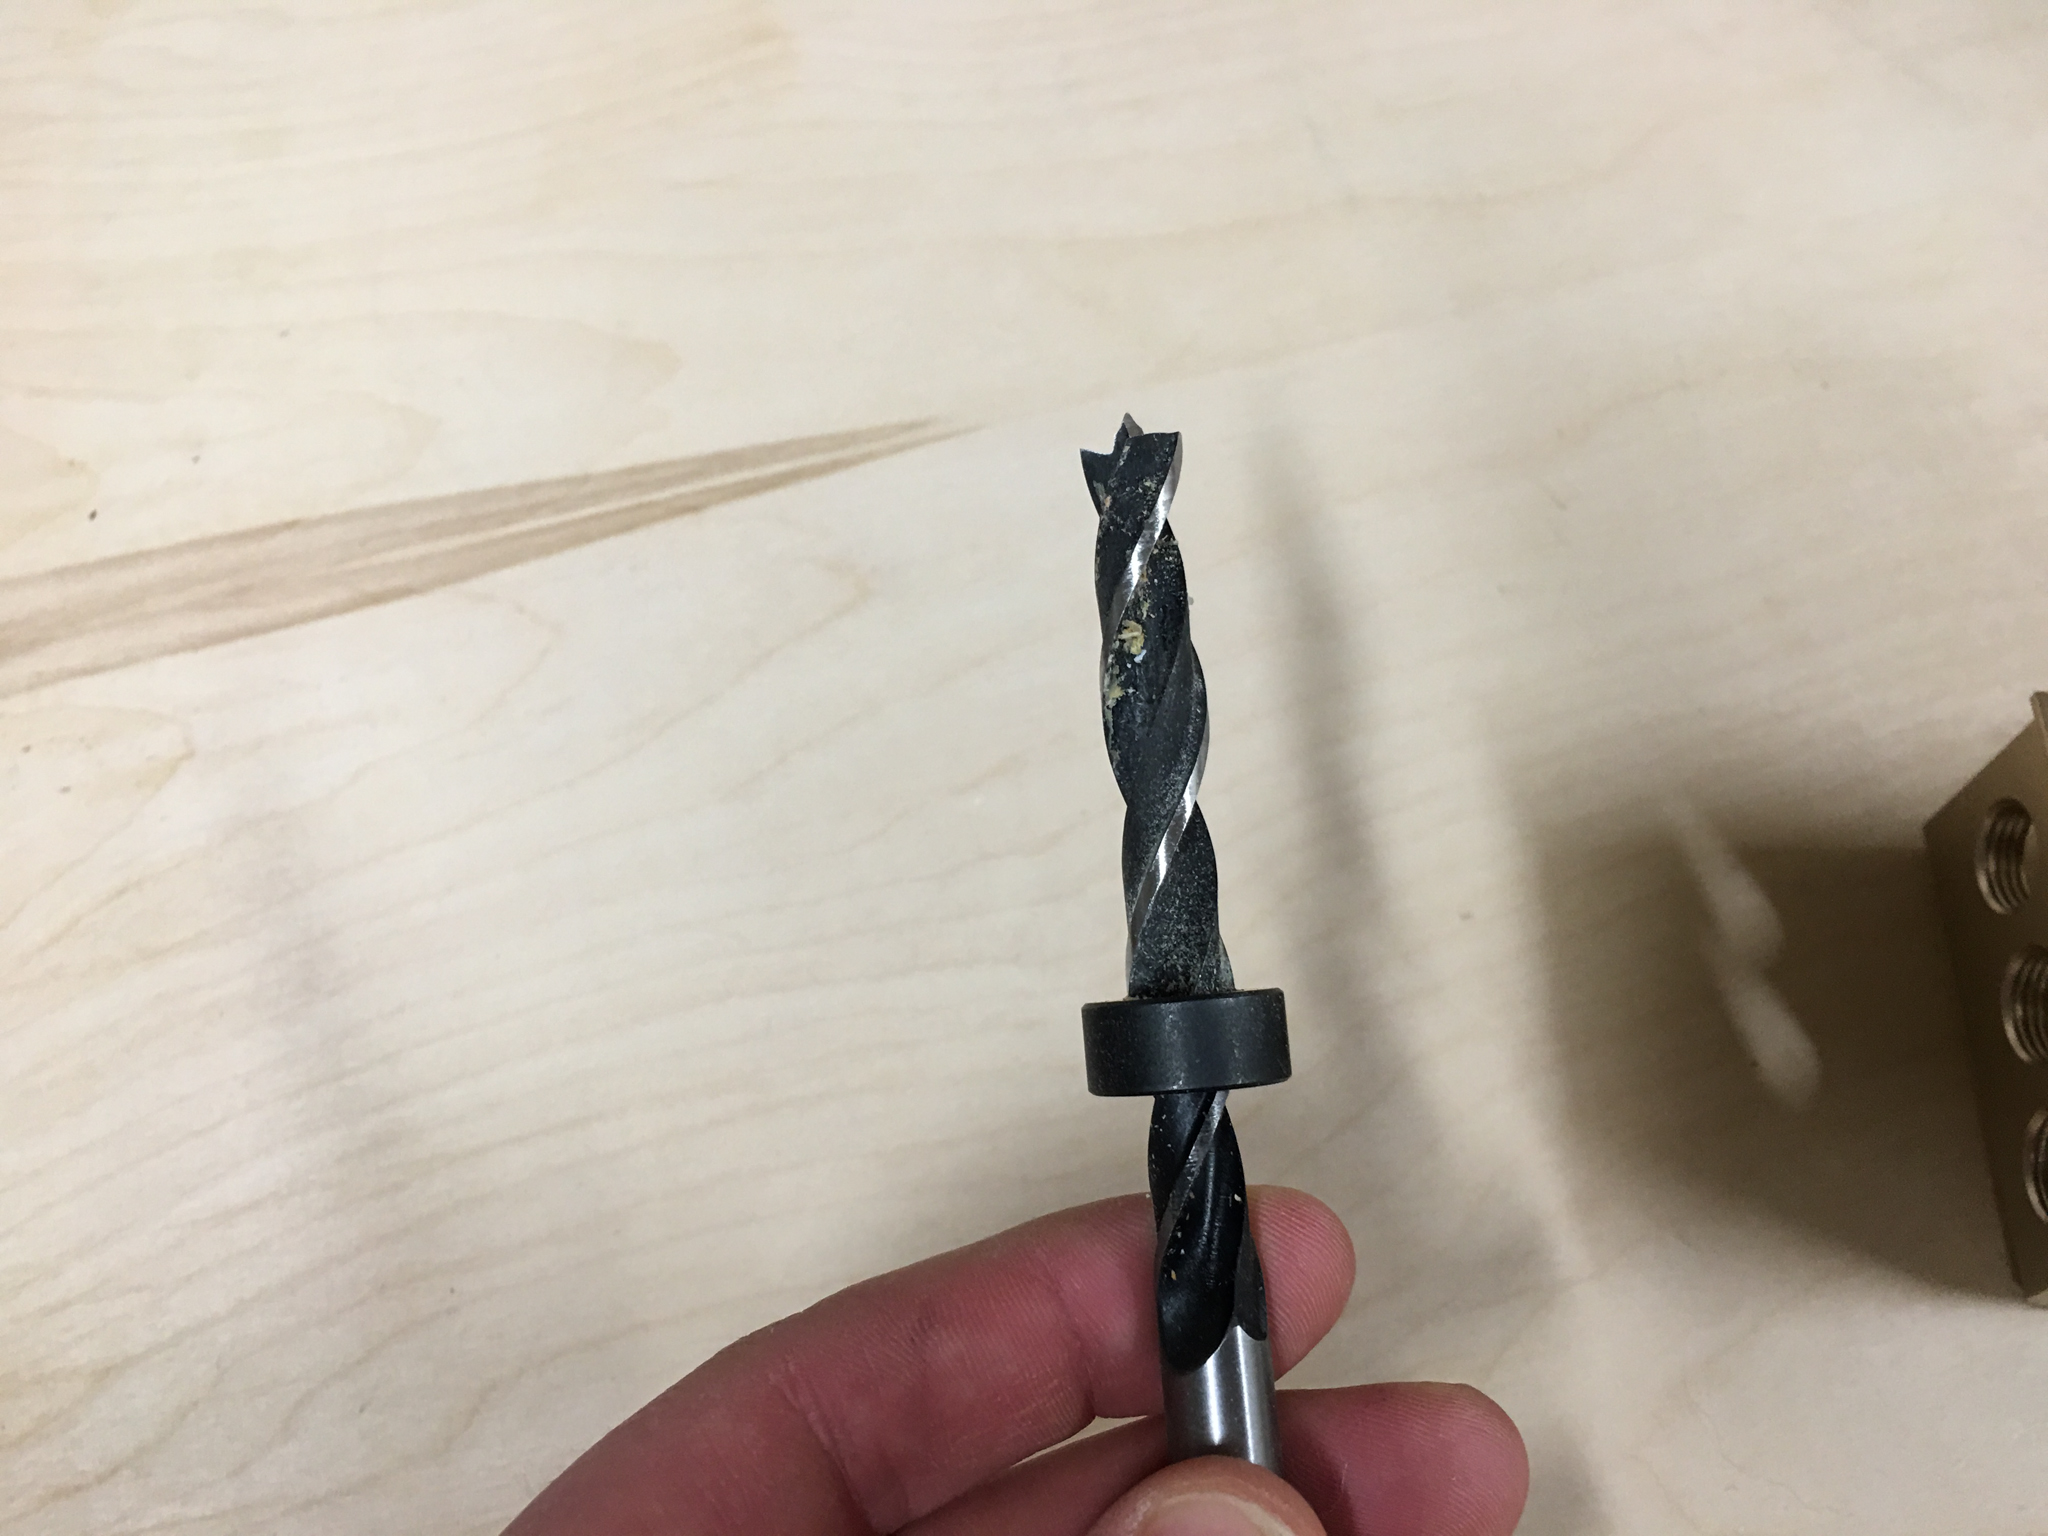

Align the dowel jig to your marks, making sure the bushing is lined up with your inside or outside marks. Drill a hole all the way down to the stop. Repeat the same process for every pair of neighboring boards.

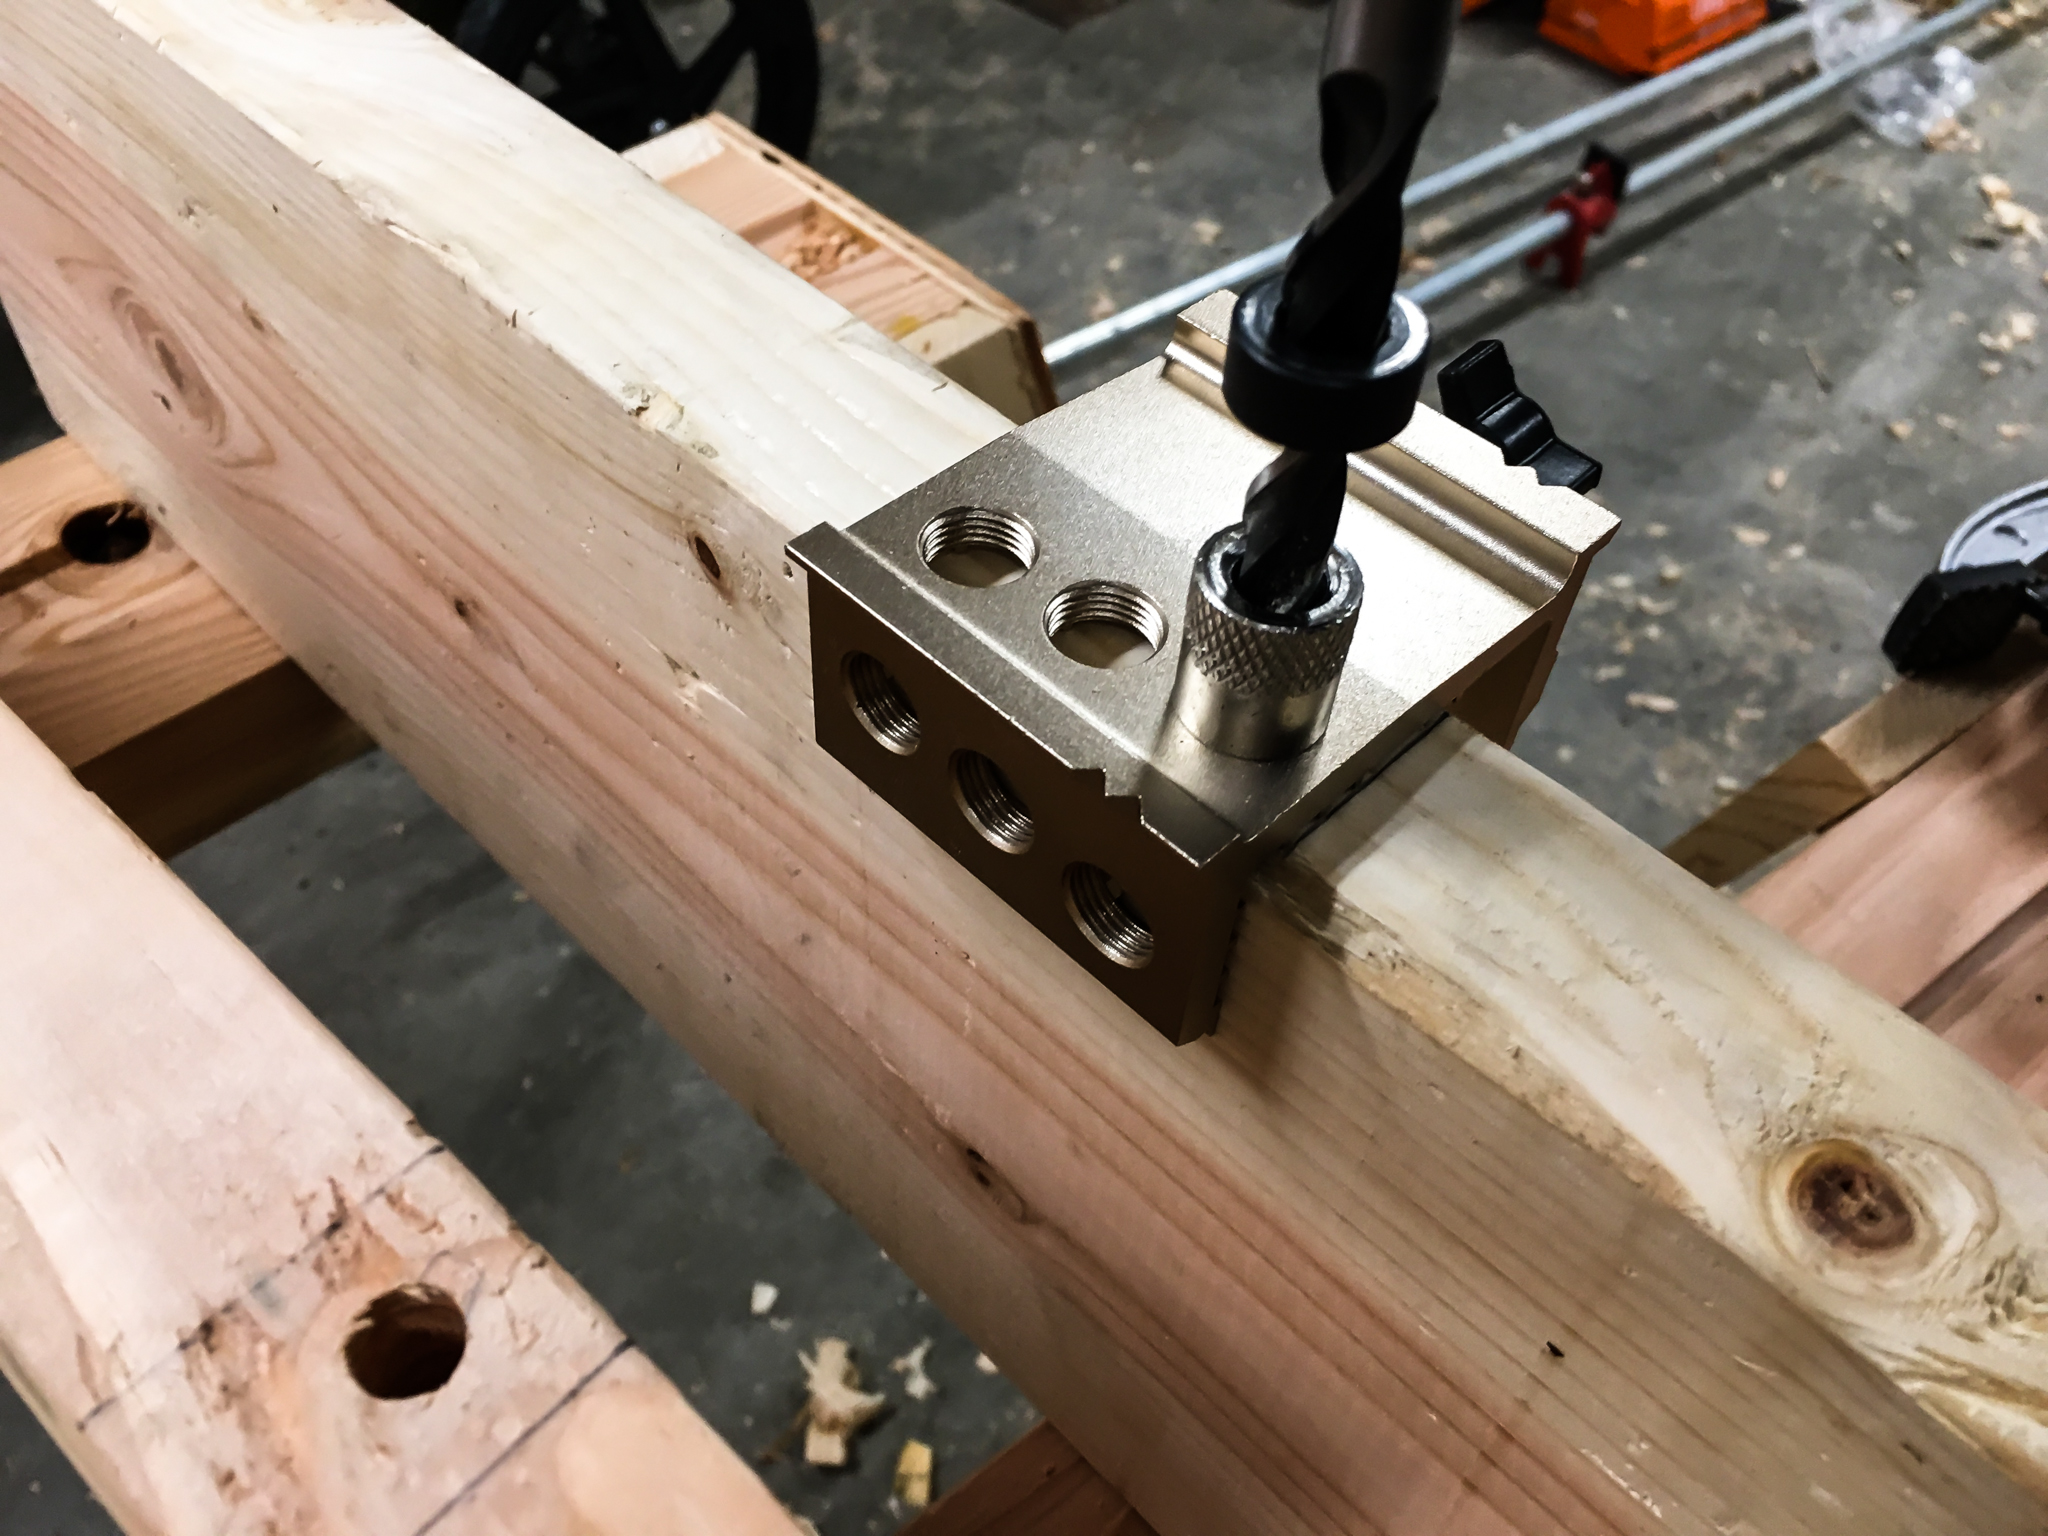



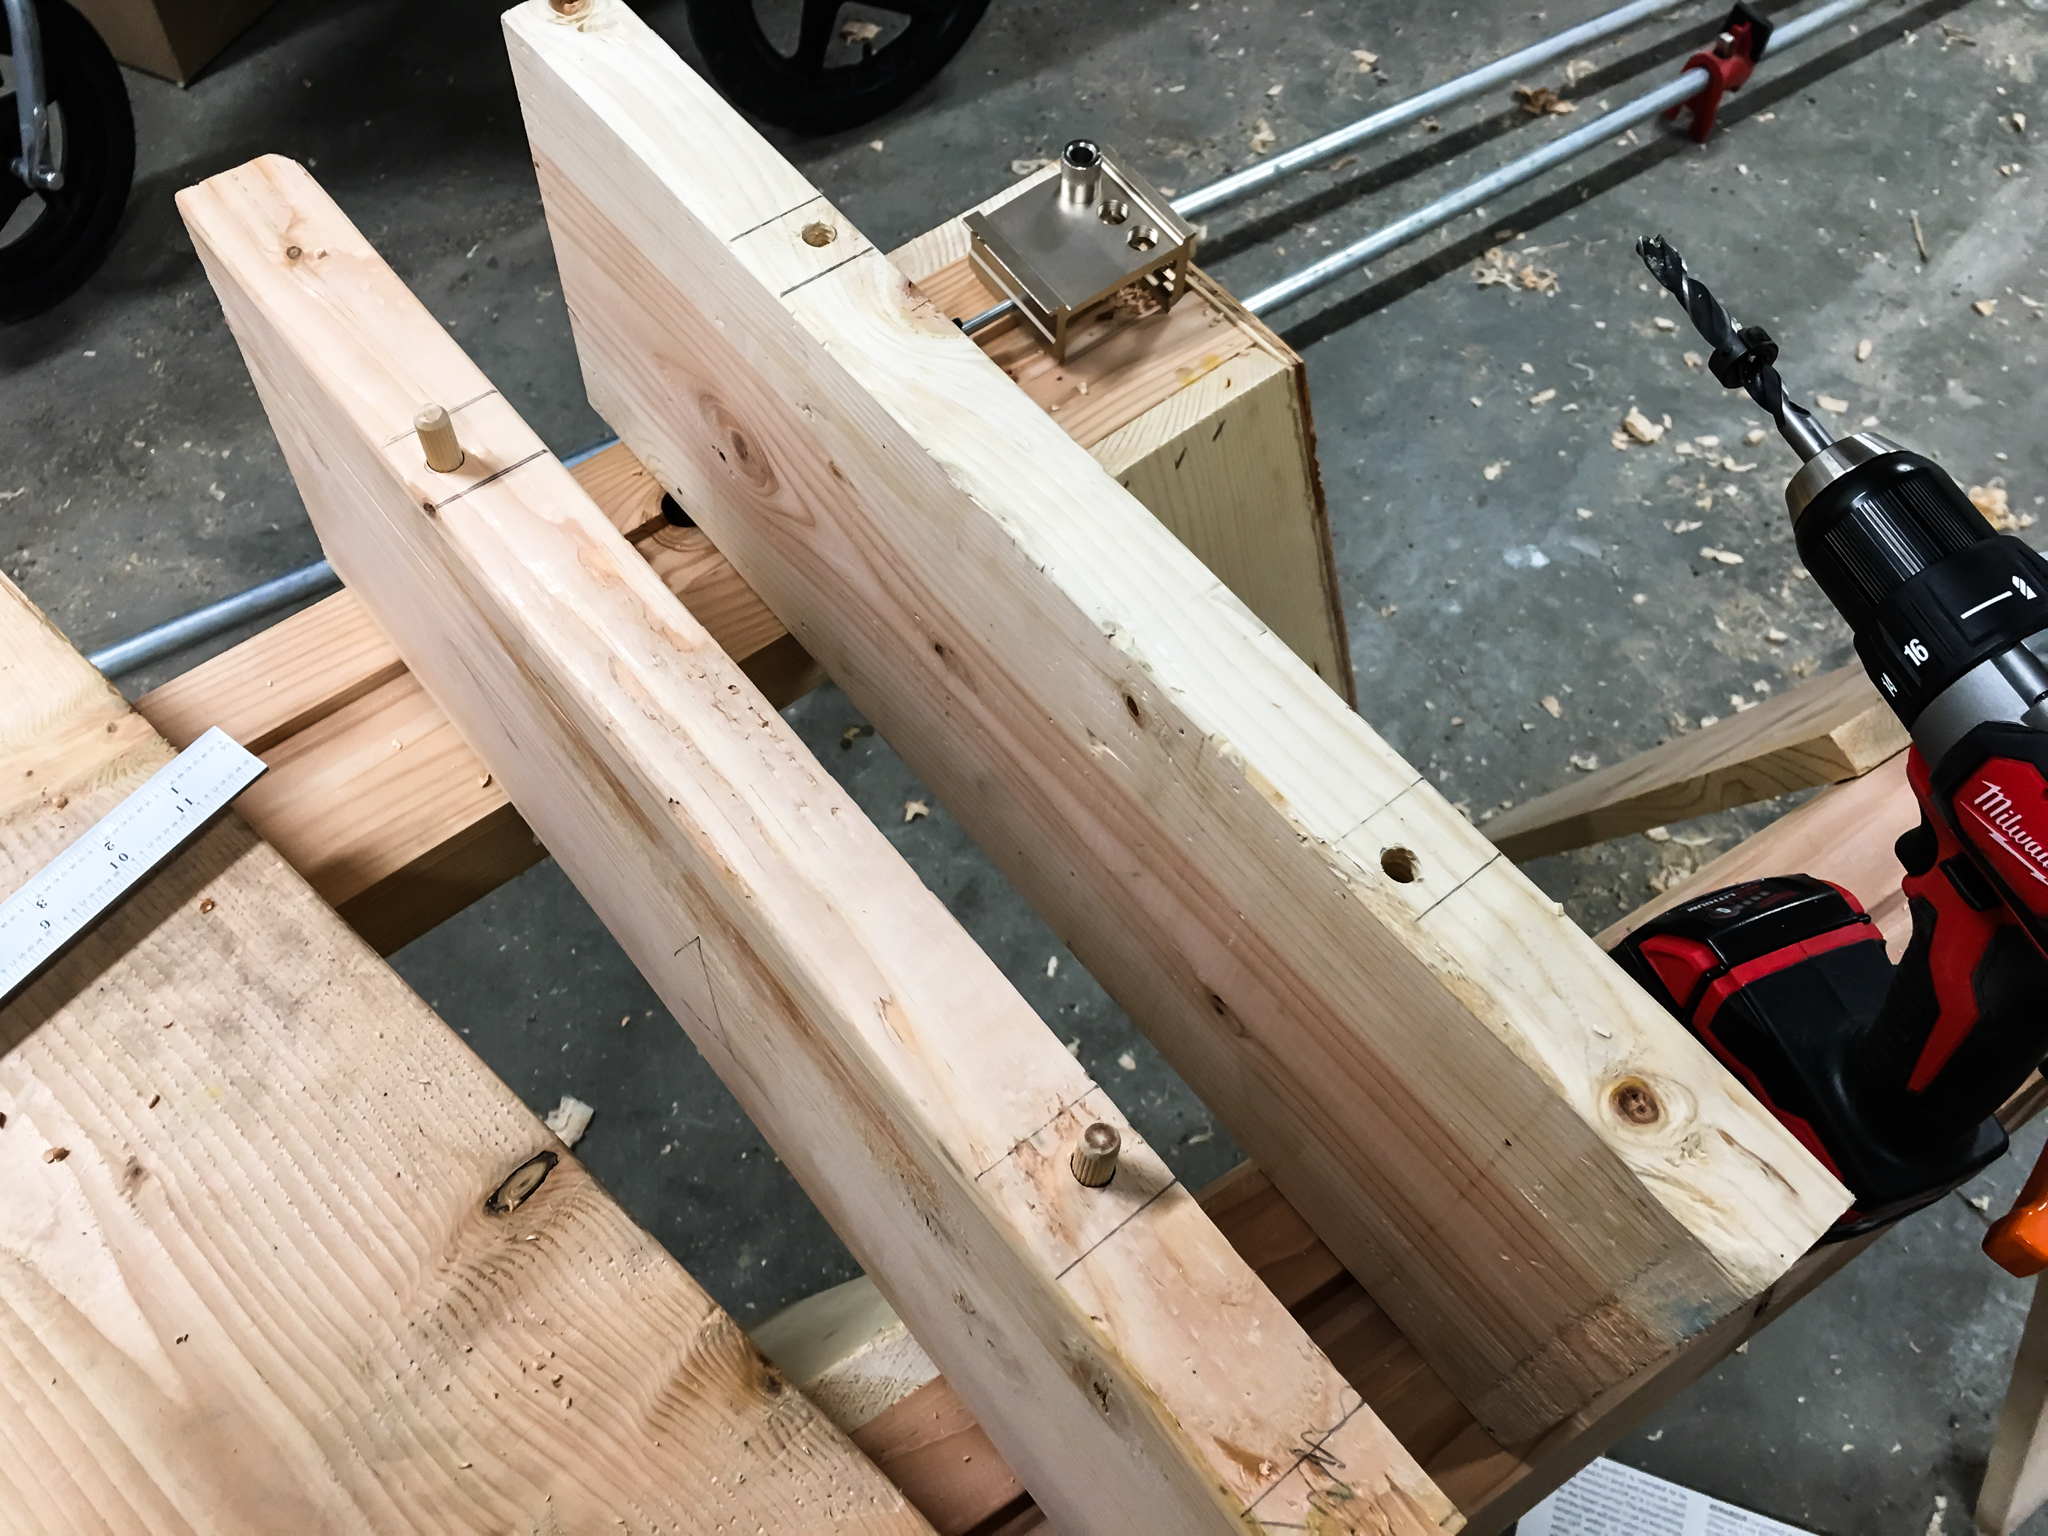
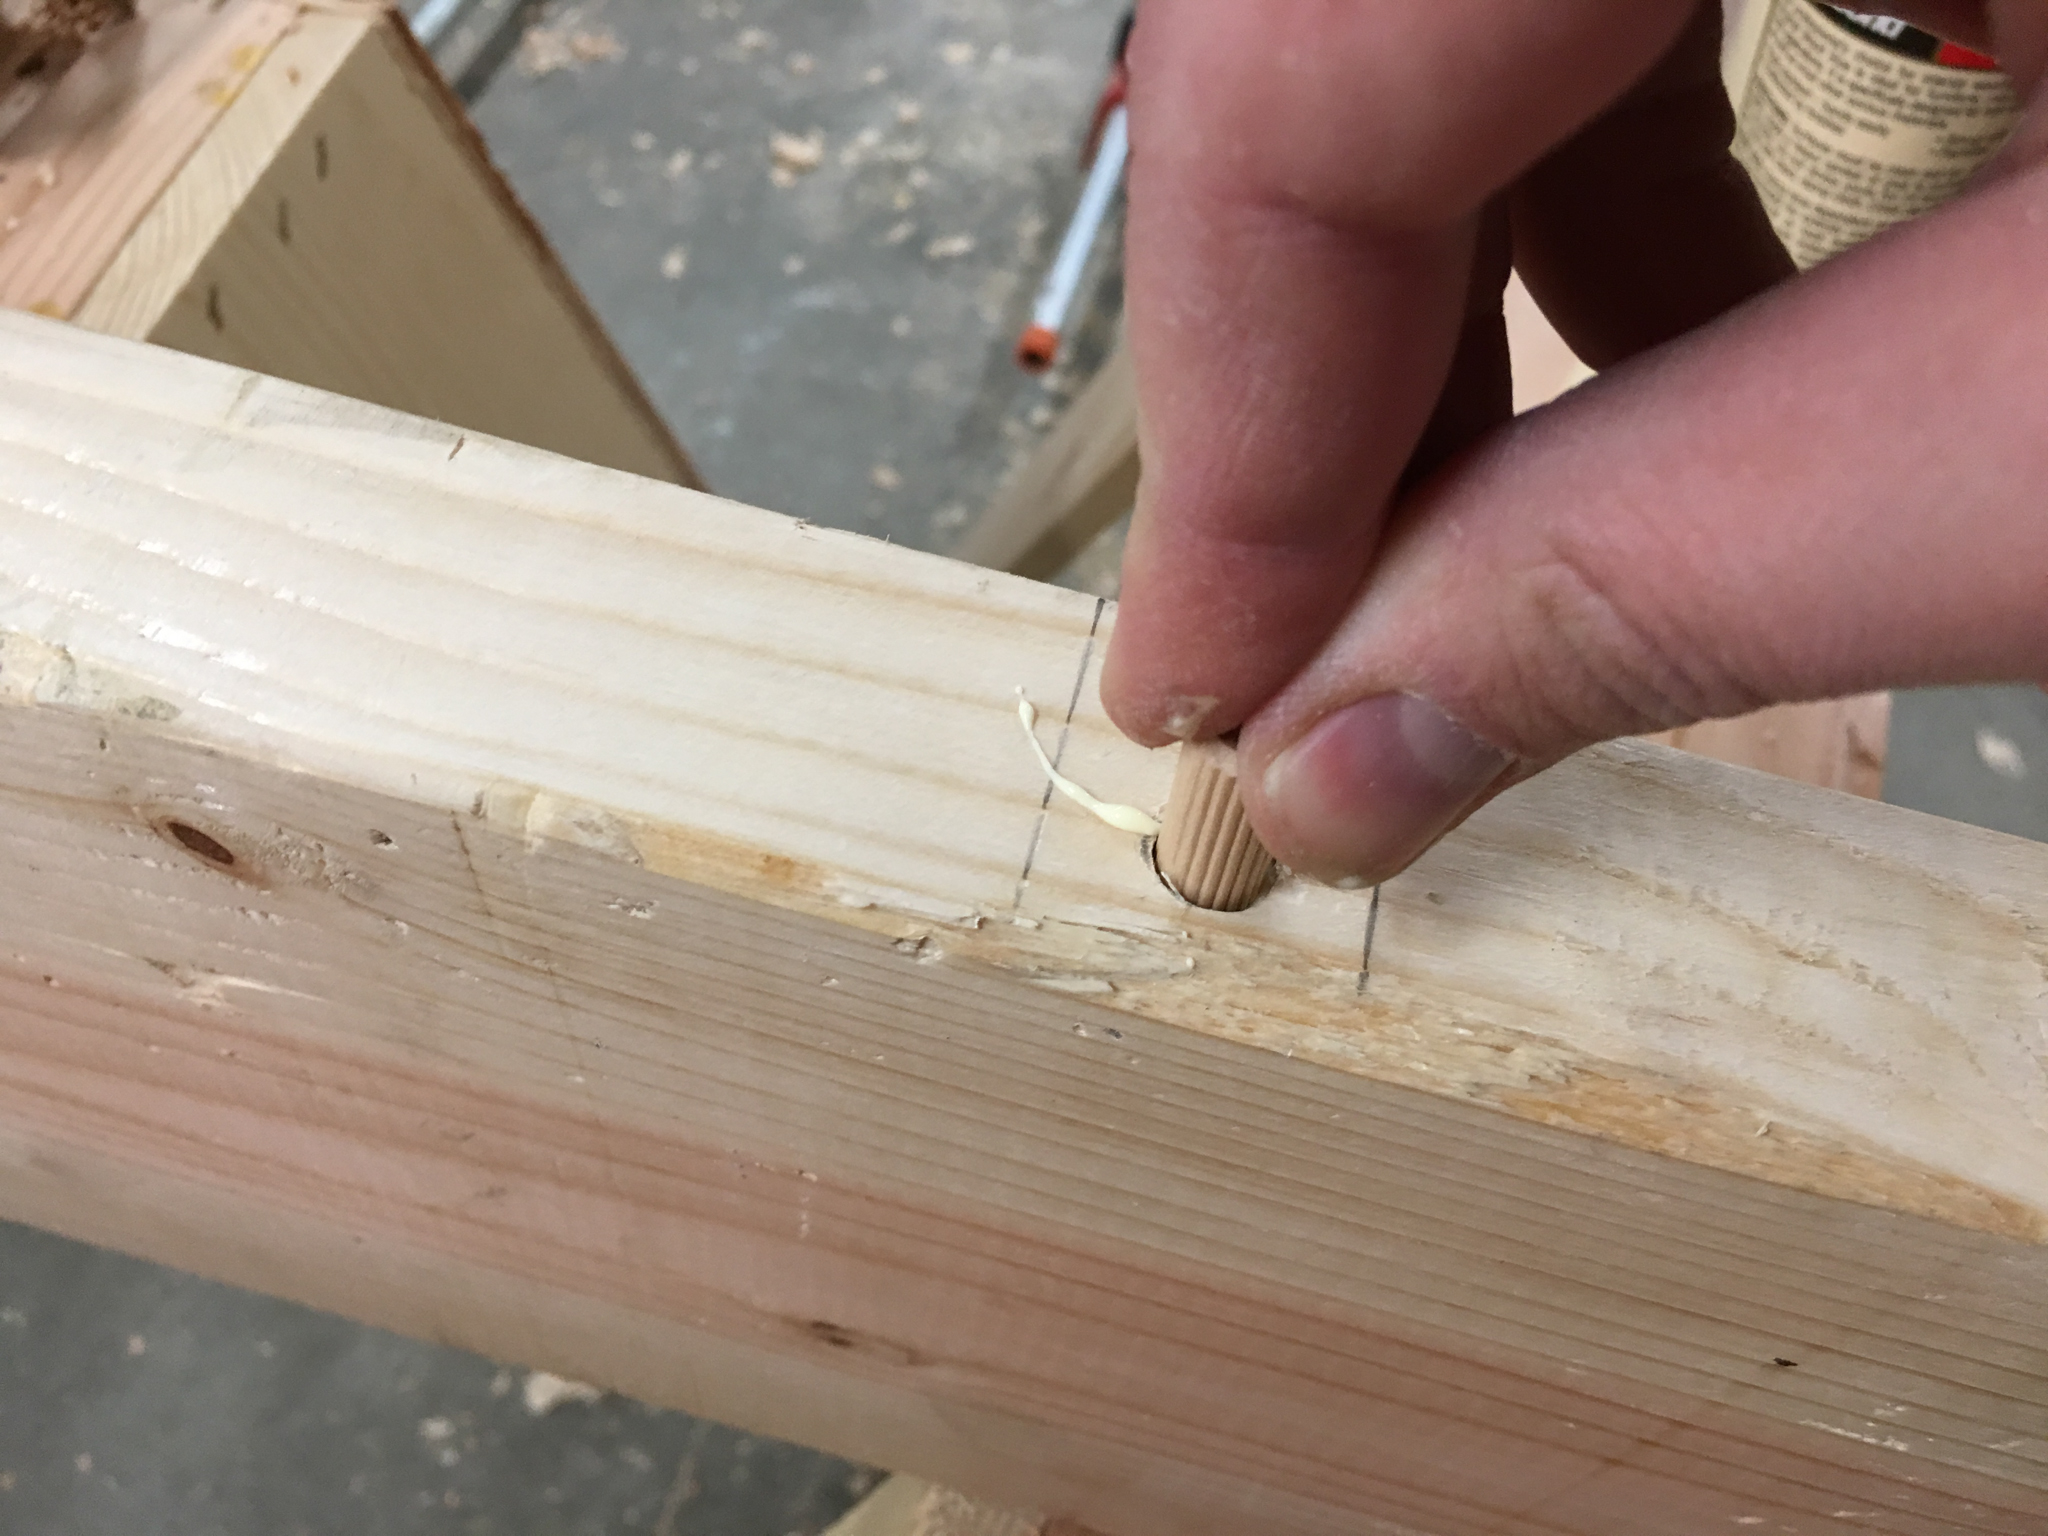
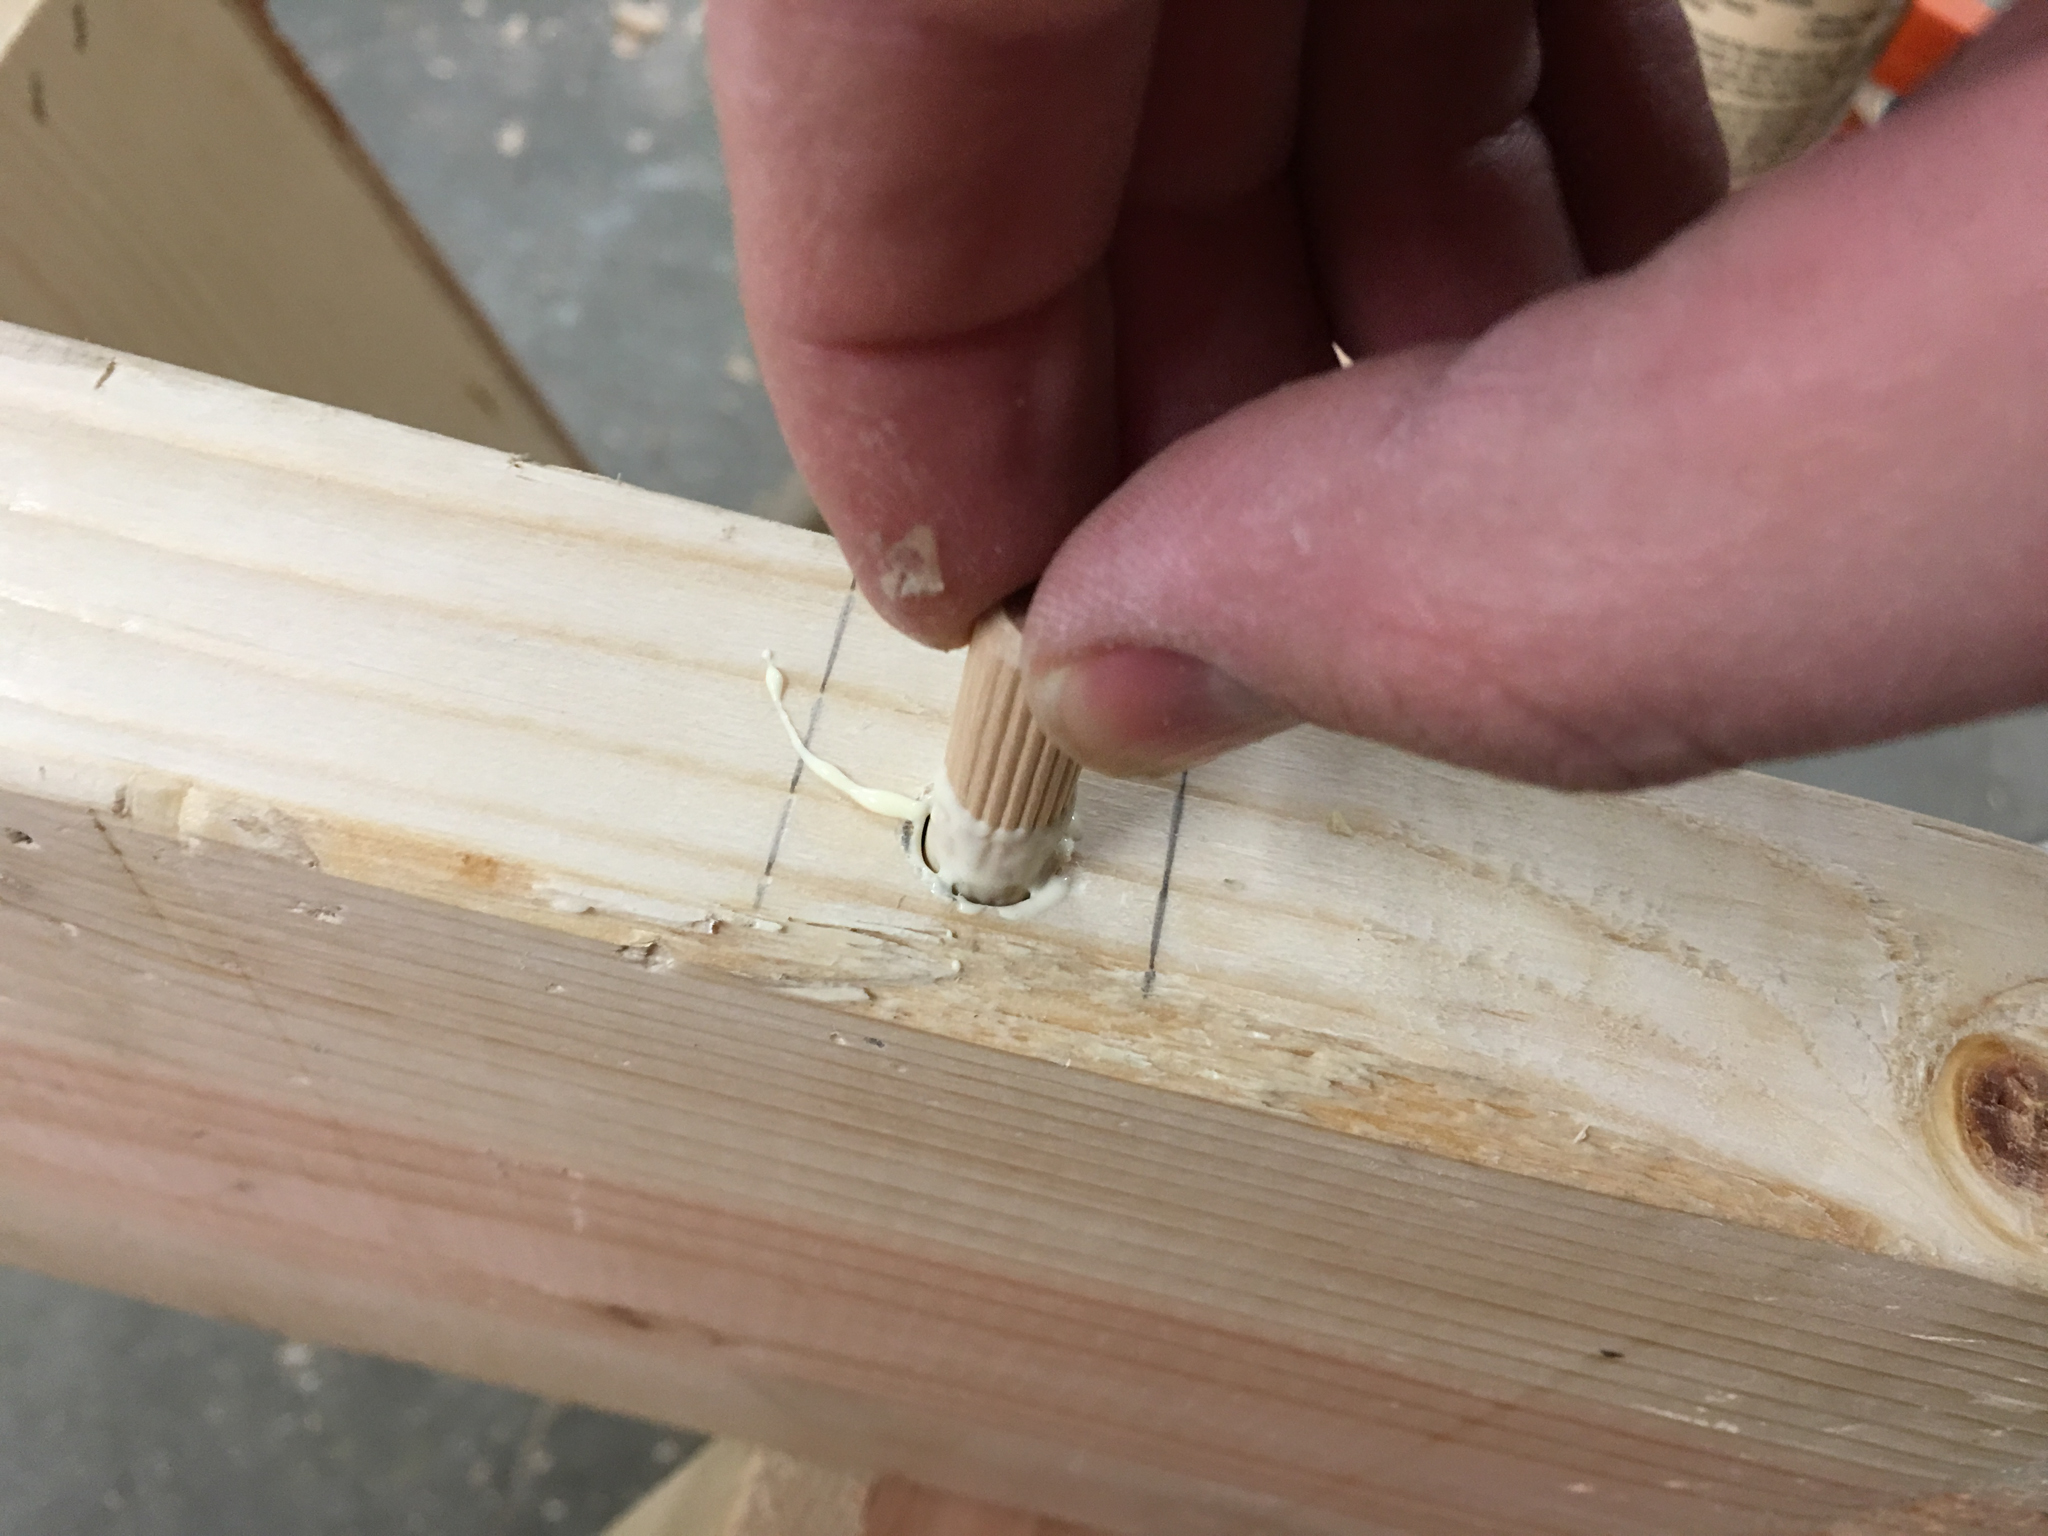
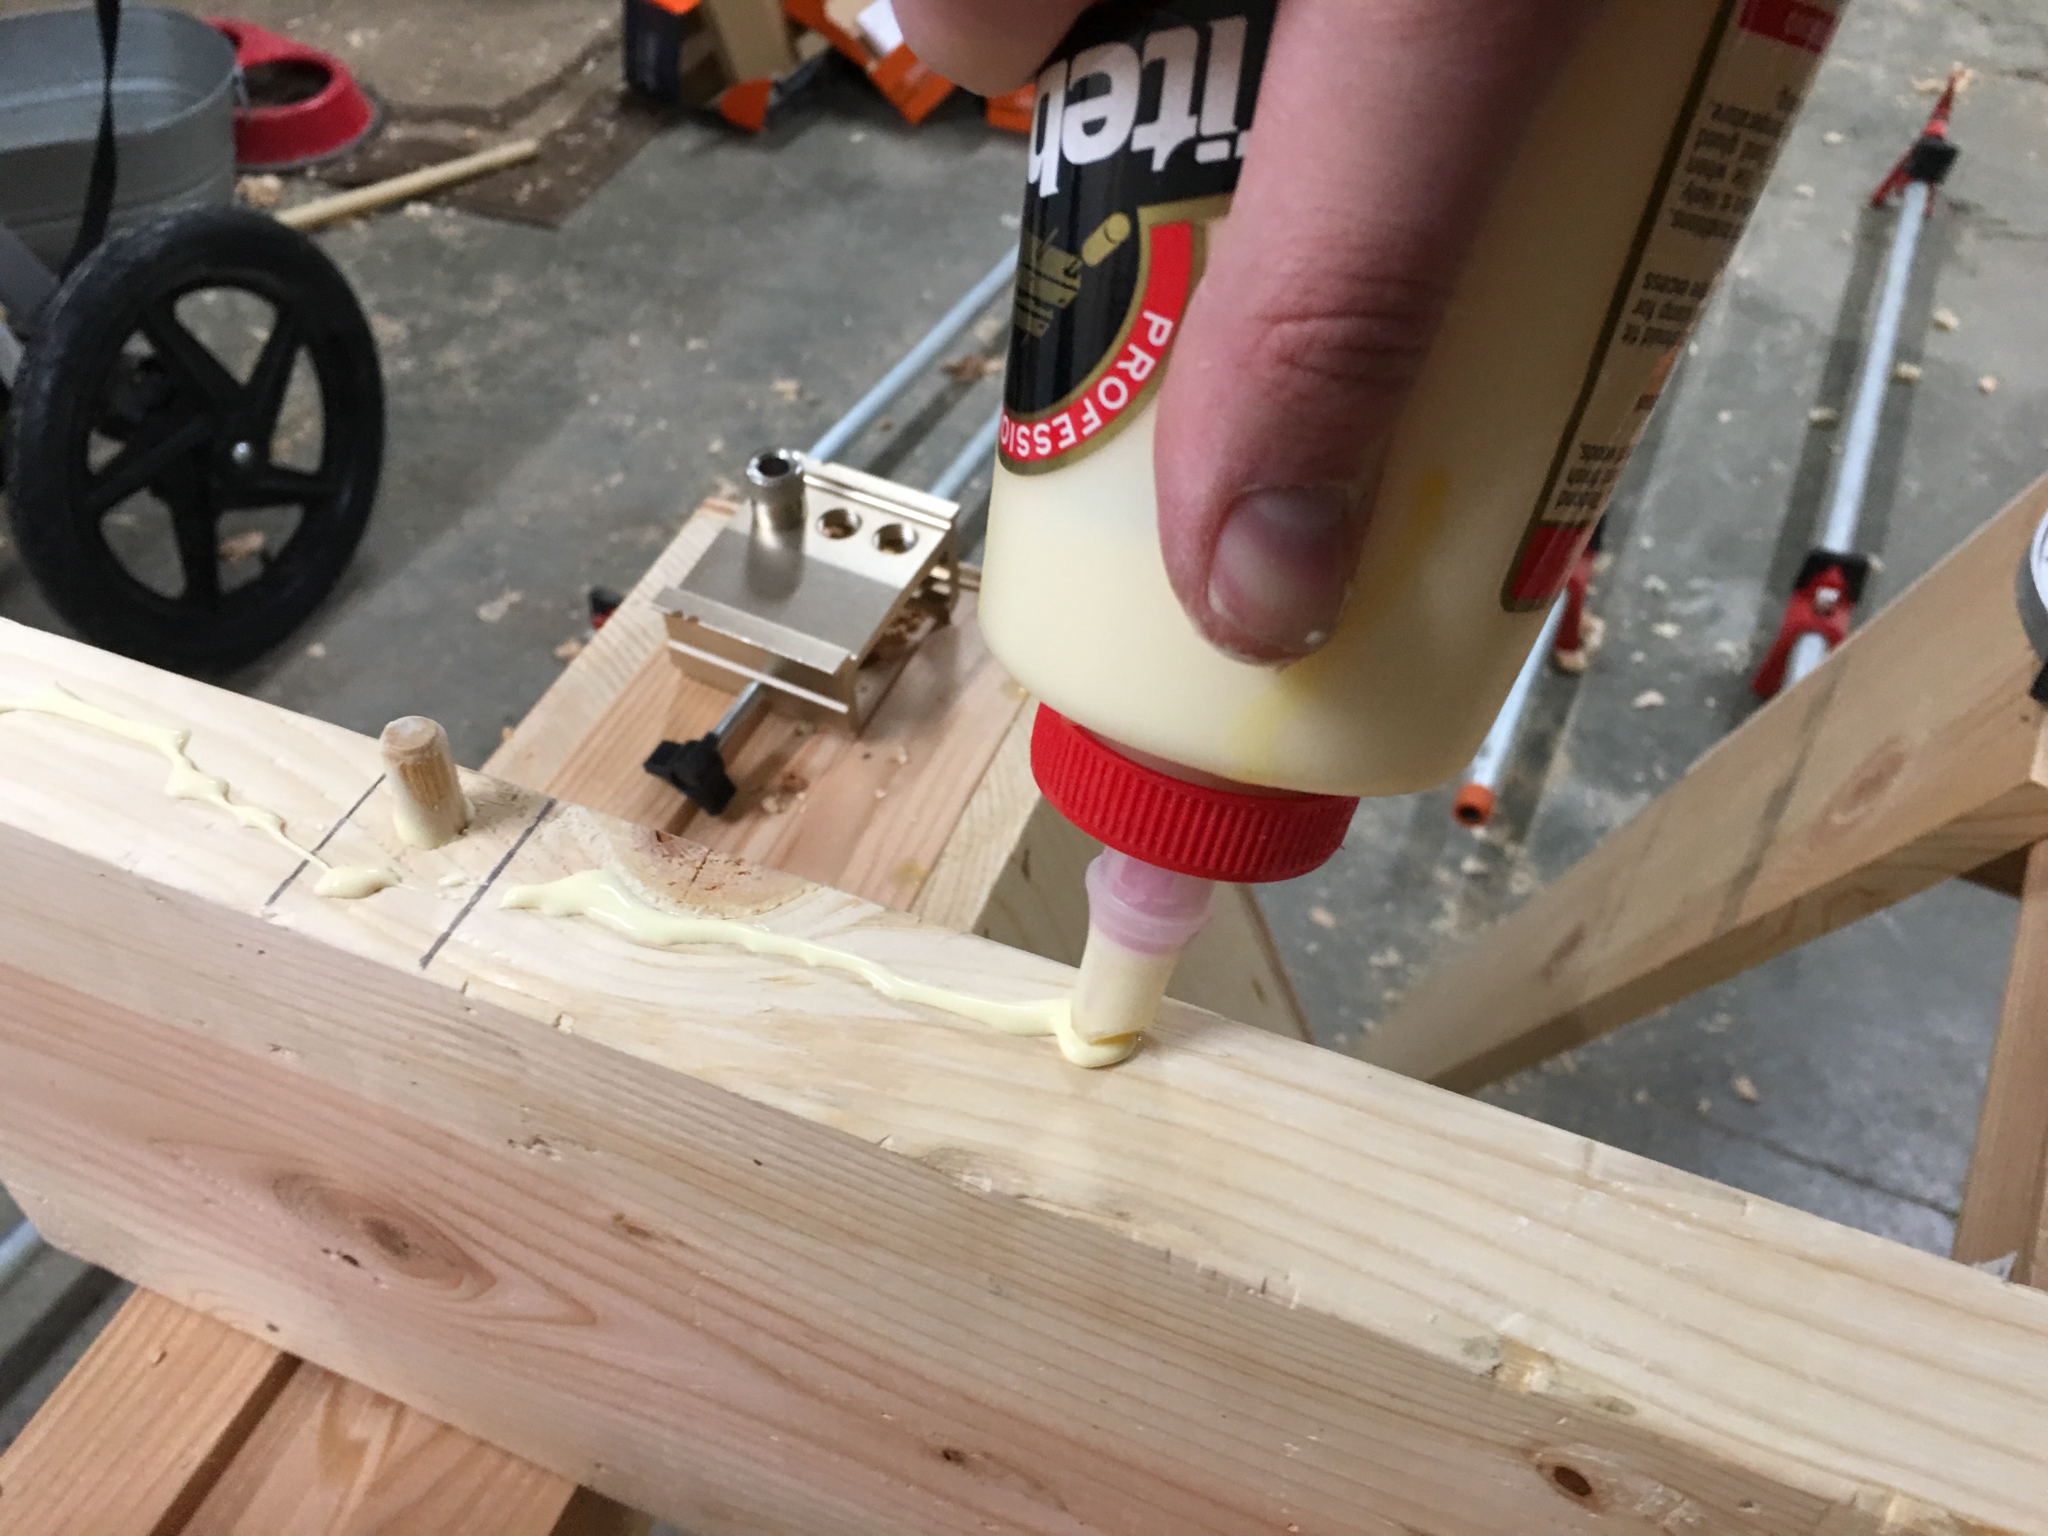
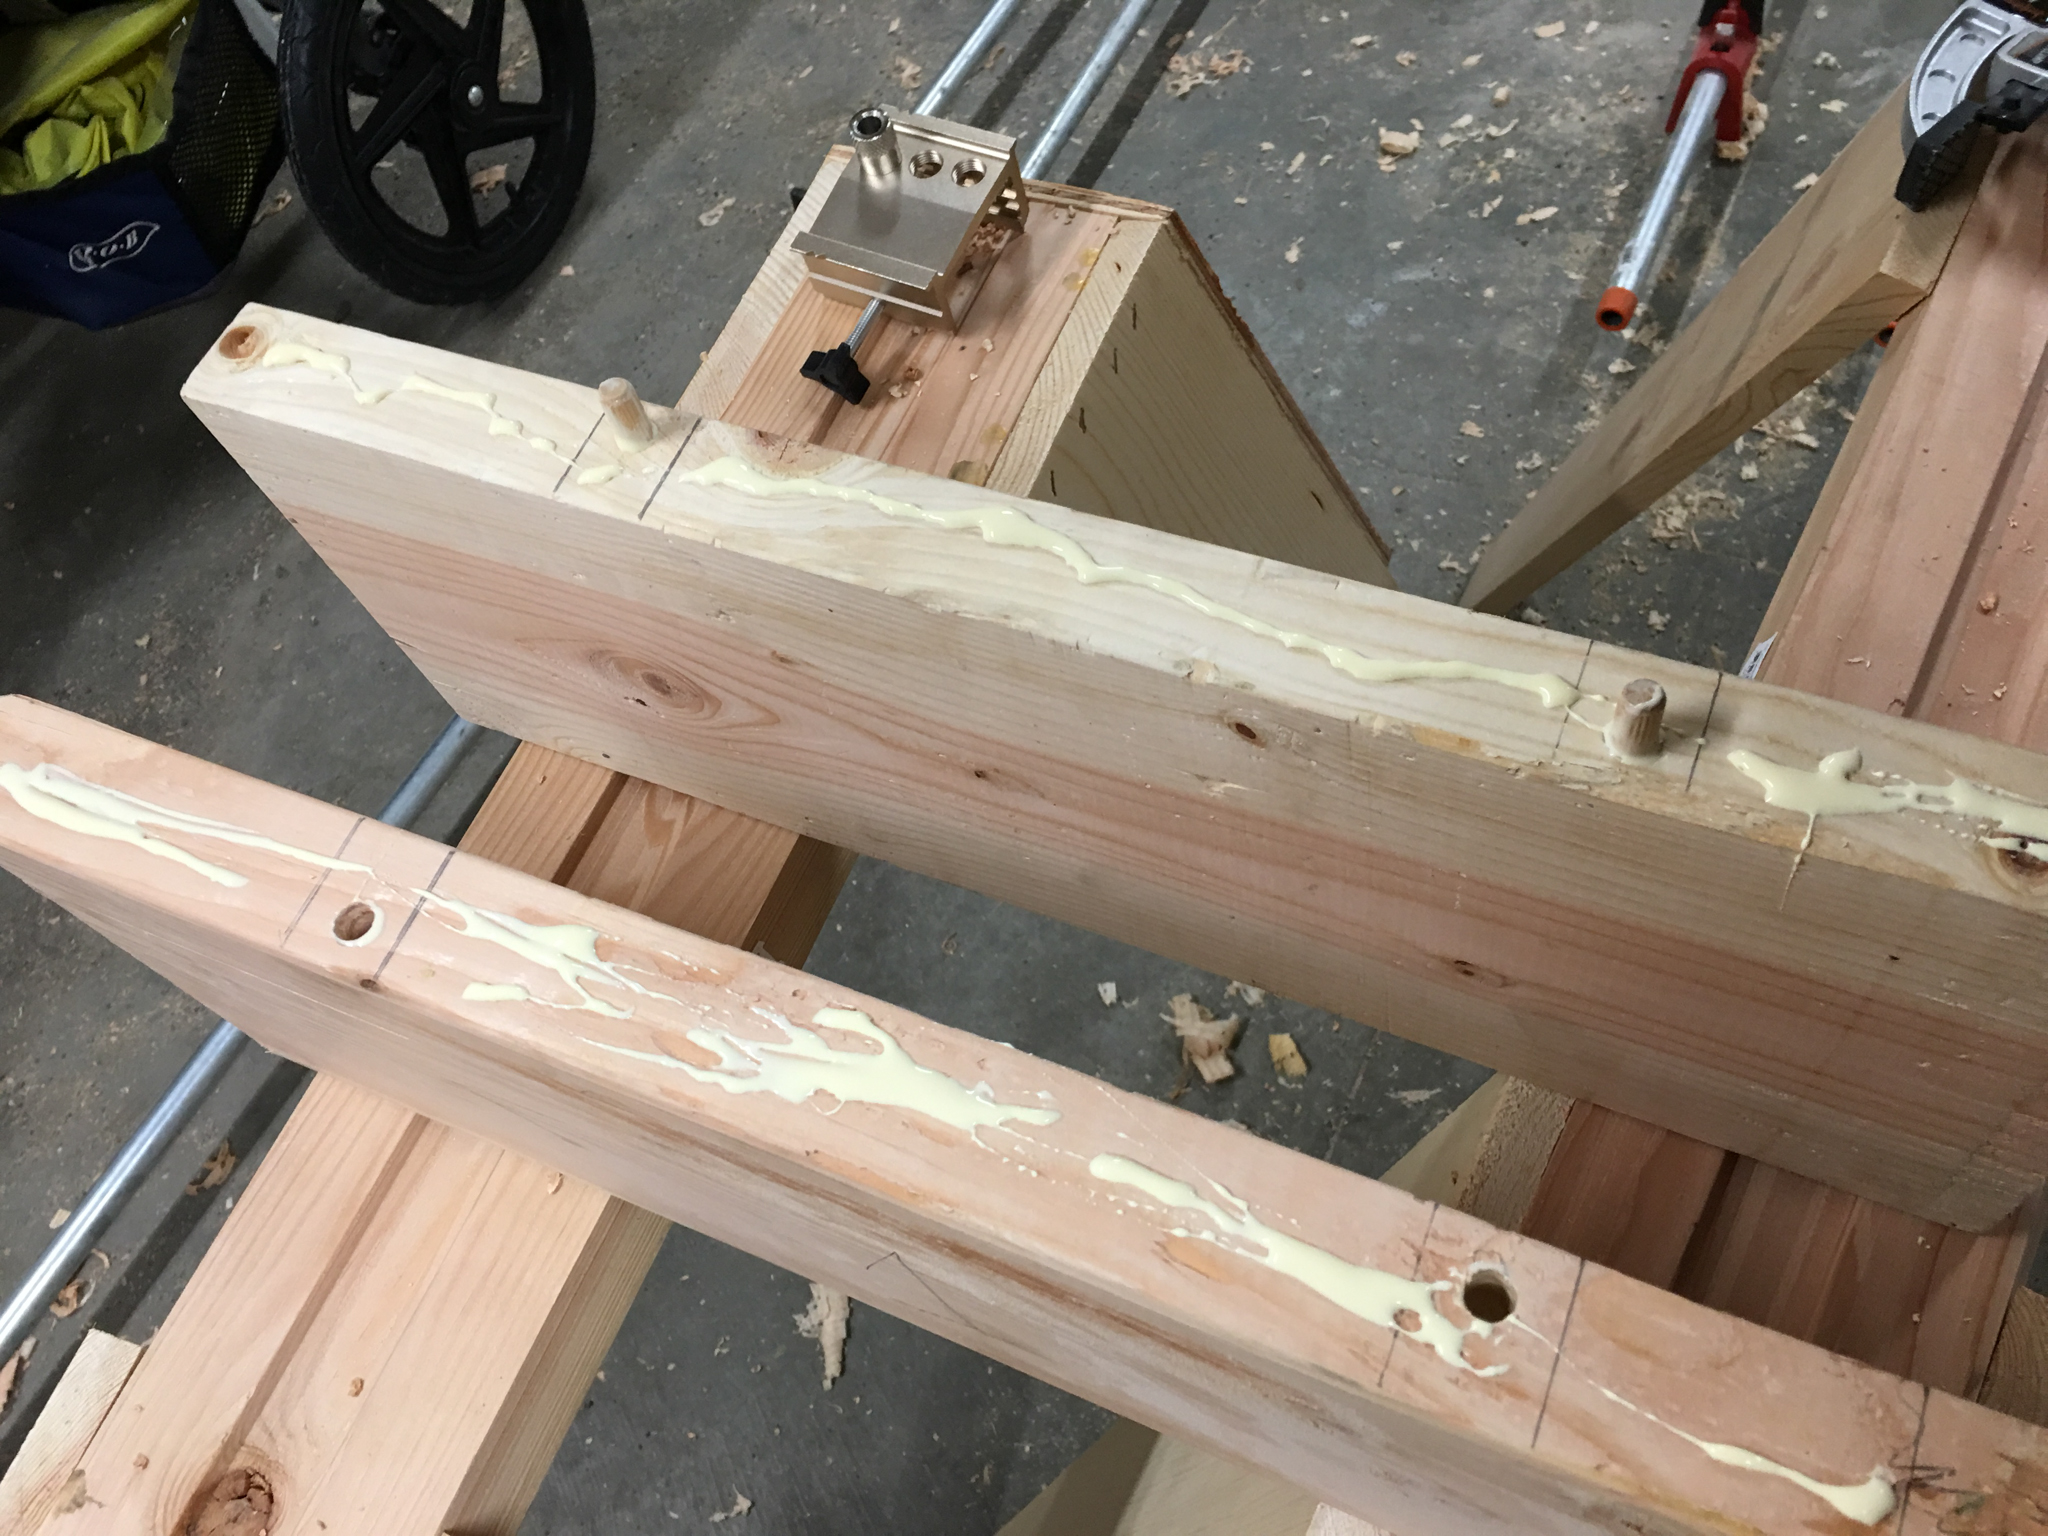
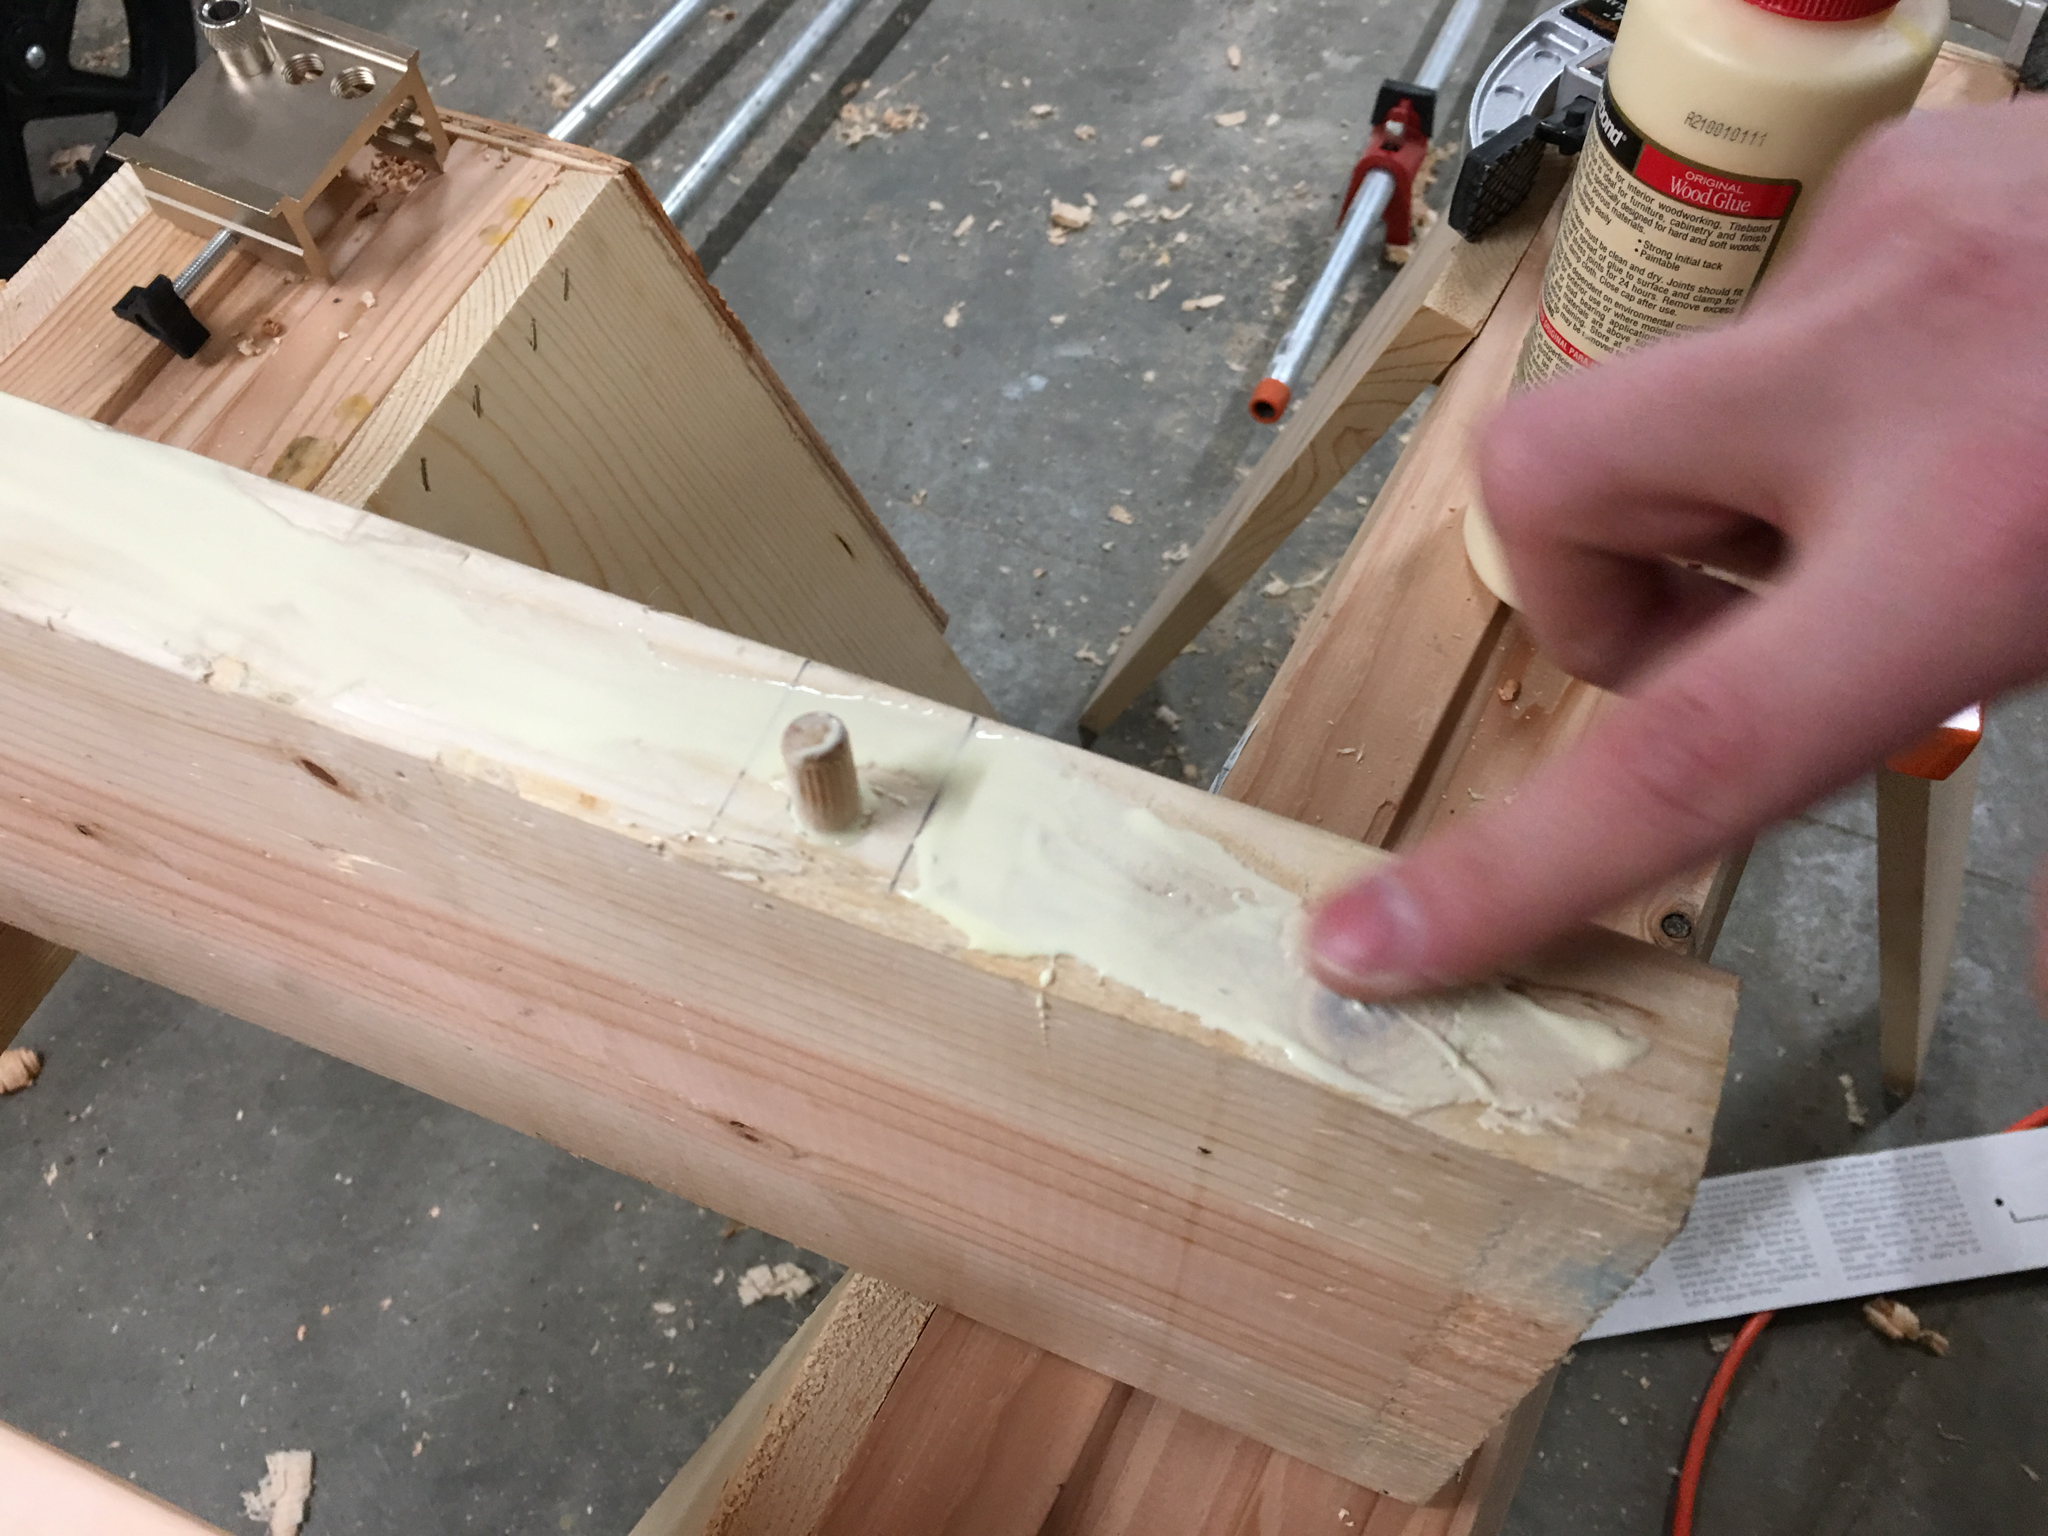
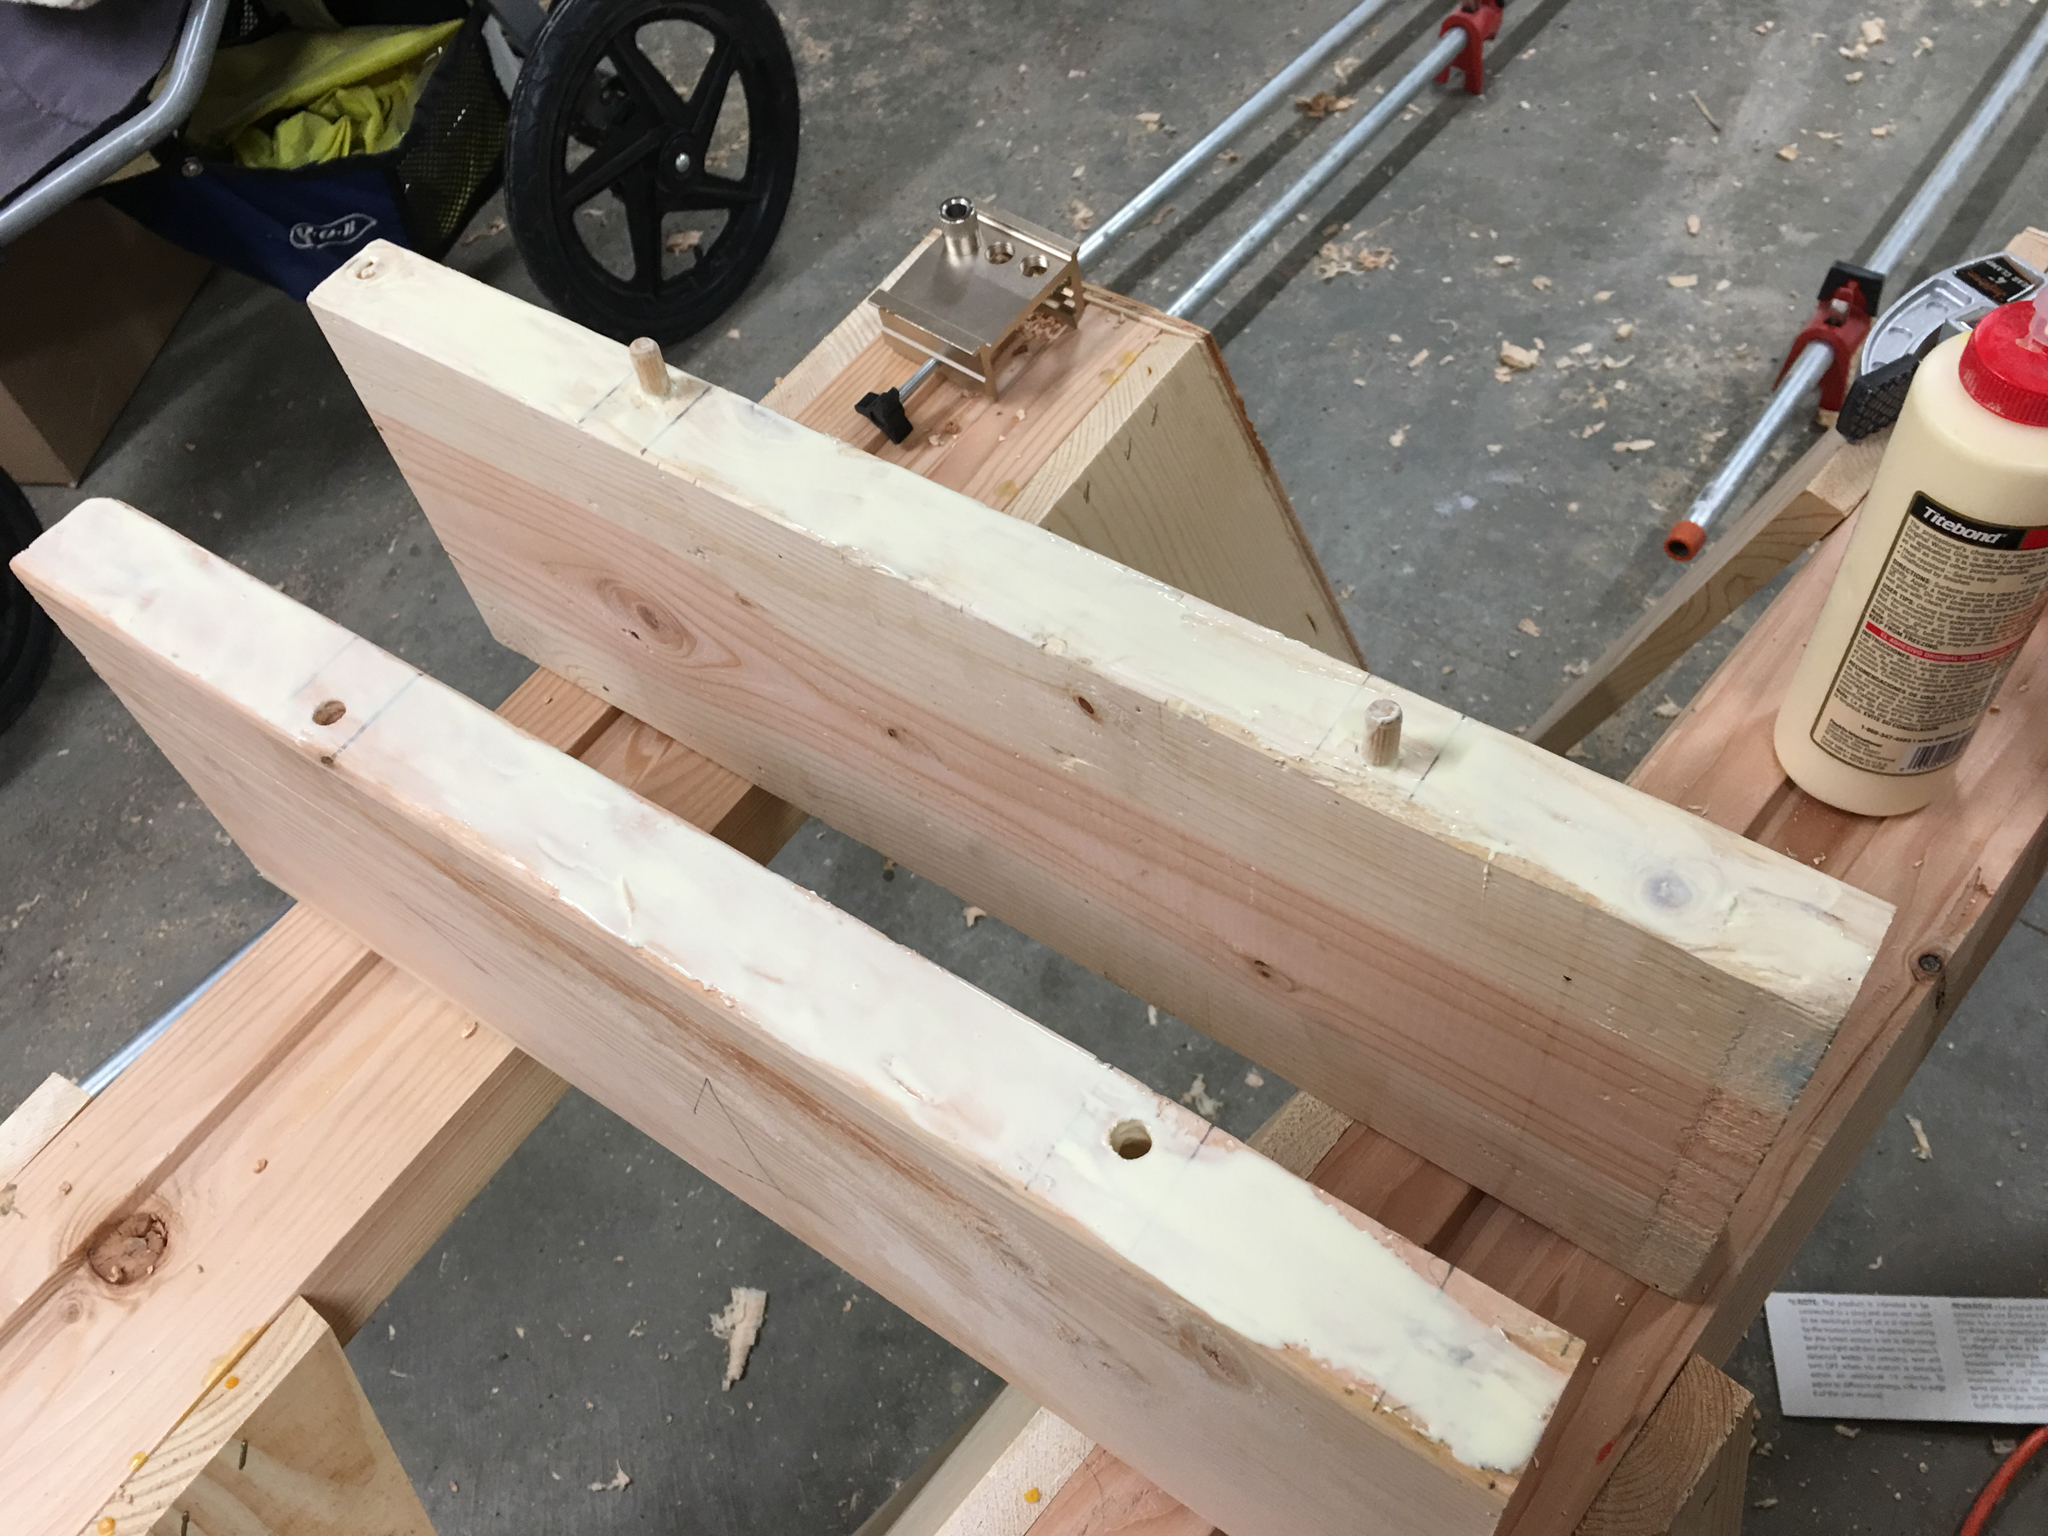
Once all the dowel holes have been drilled, glue them all together and clamp them. I used 4 pipe clamps with 5 foot lengths of pipe for my 6 foot table top. Apply wood glue to the dowel holes and twist the dowel pin in to spread glue evenly around the dowel. Spread glue evenly along the edge of both boards. Again, I didn't have pictures of my glue up, but this is an example using two extra pieces of 2x8. You'll be clamping all of your table top boards together.




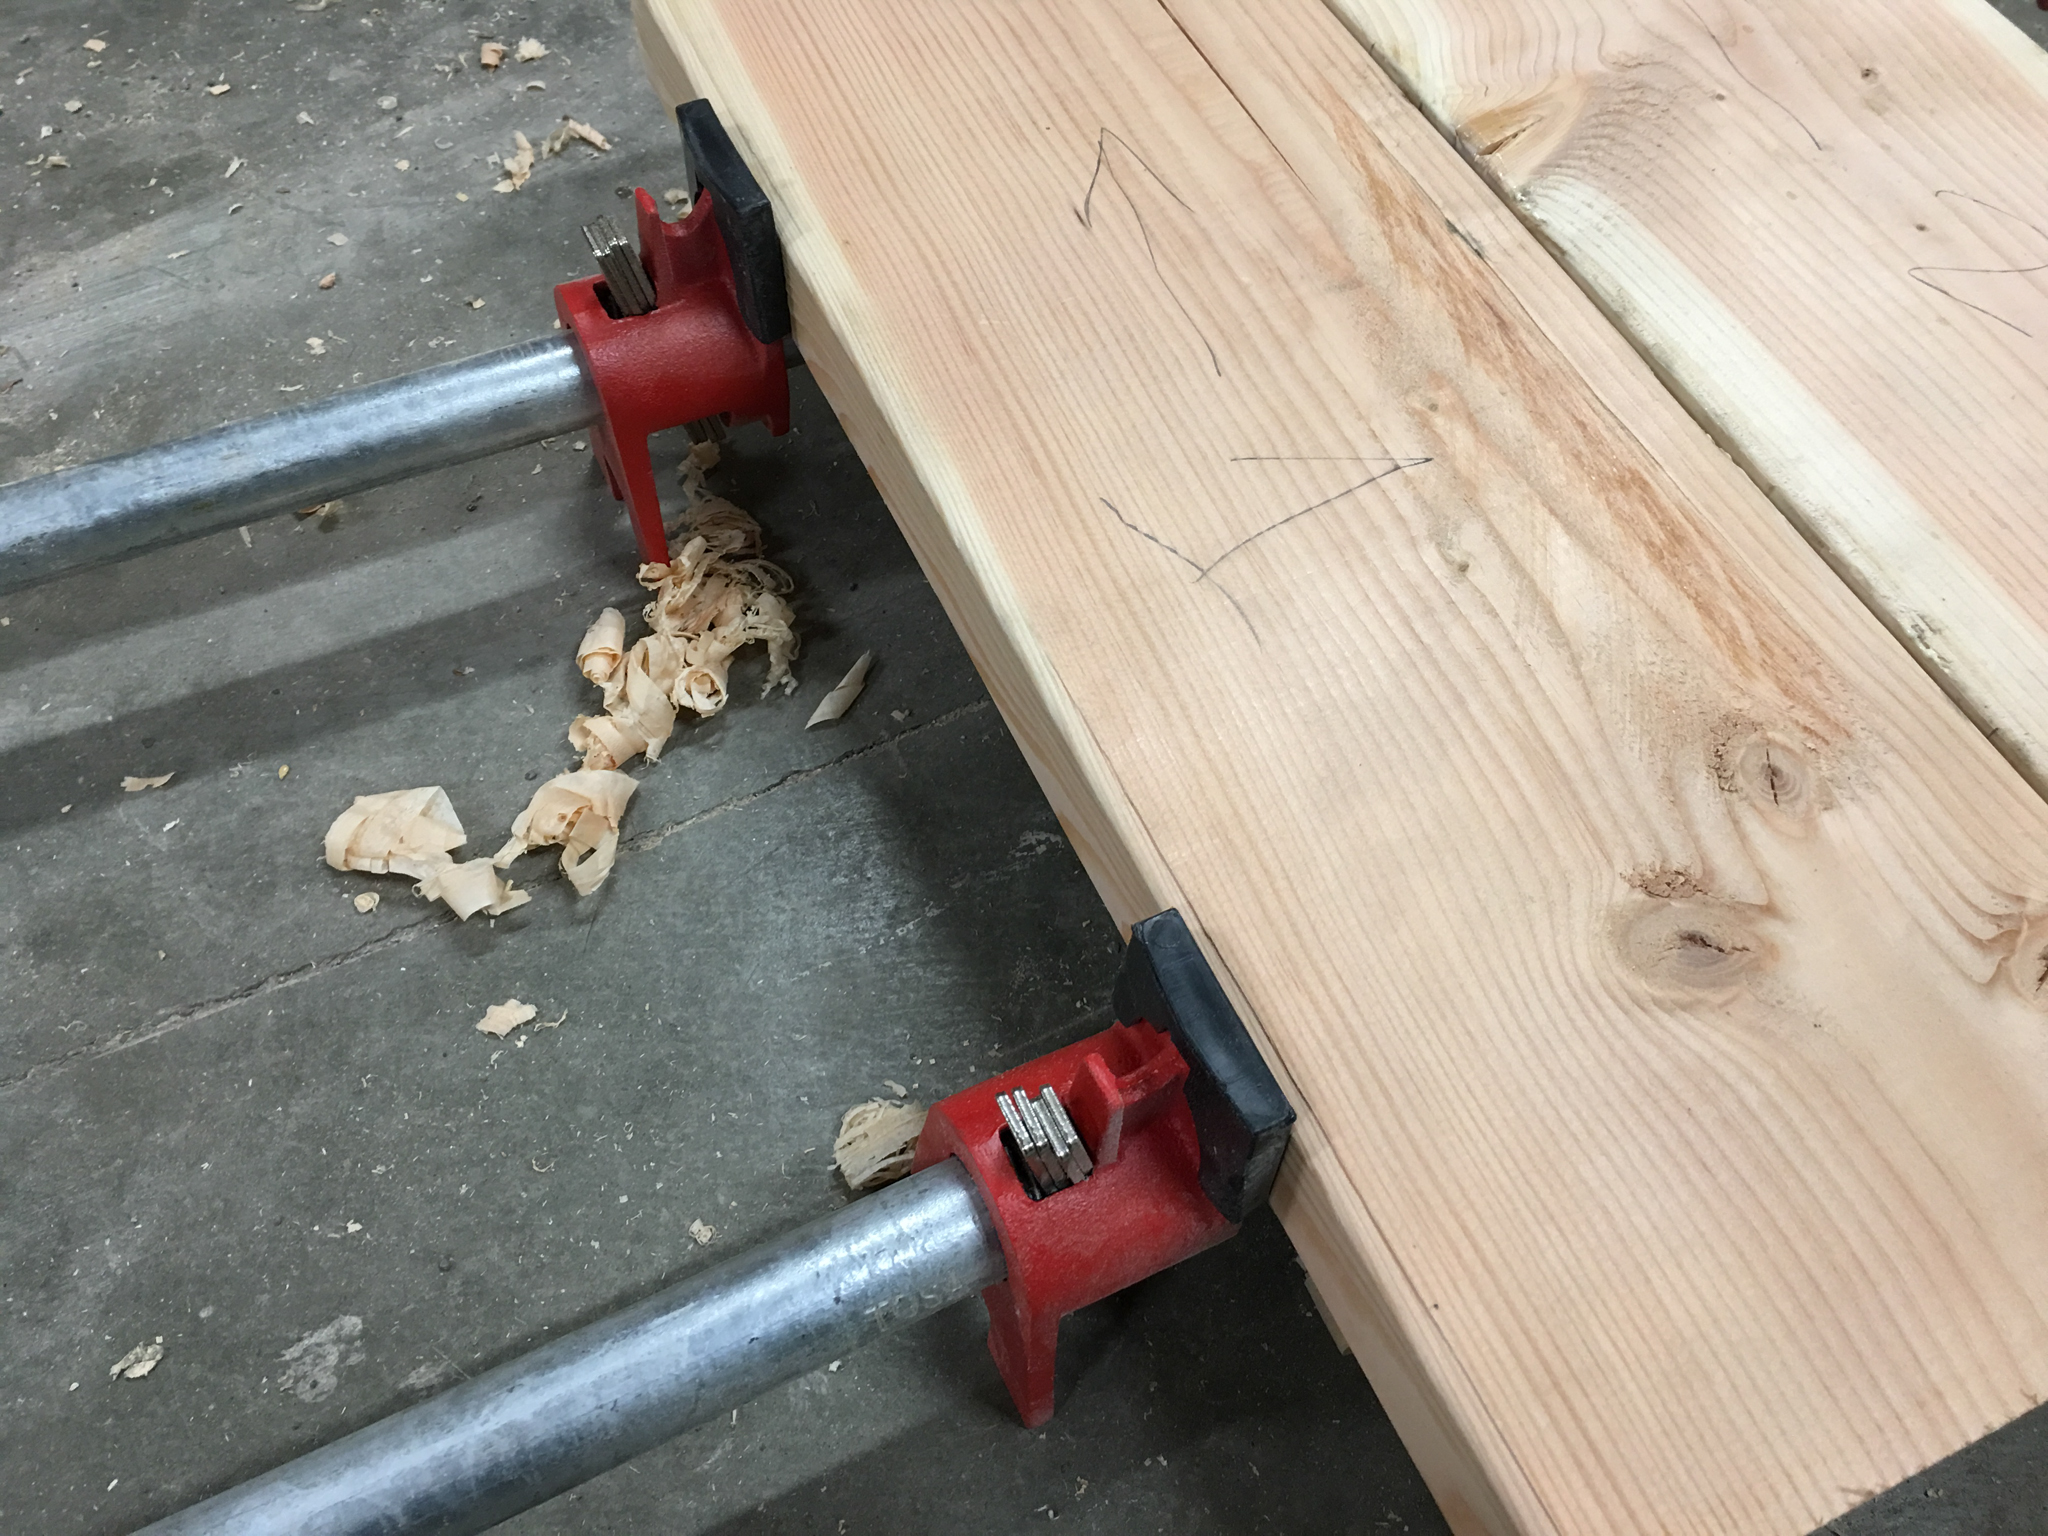
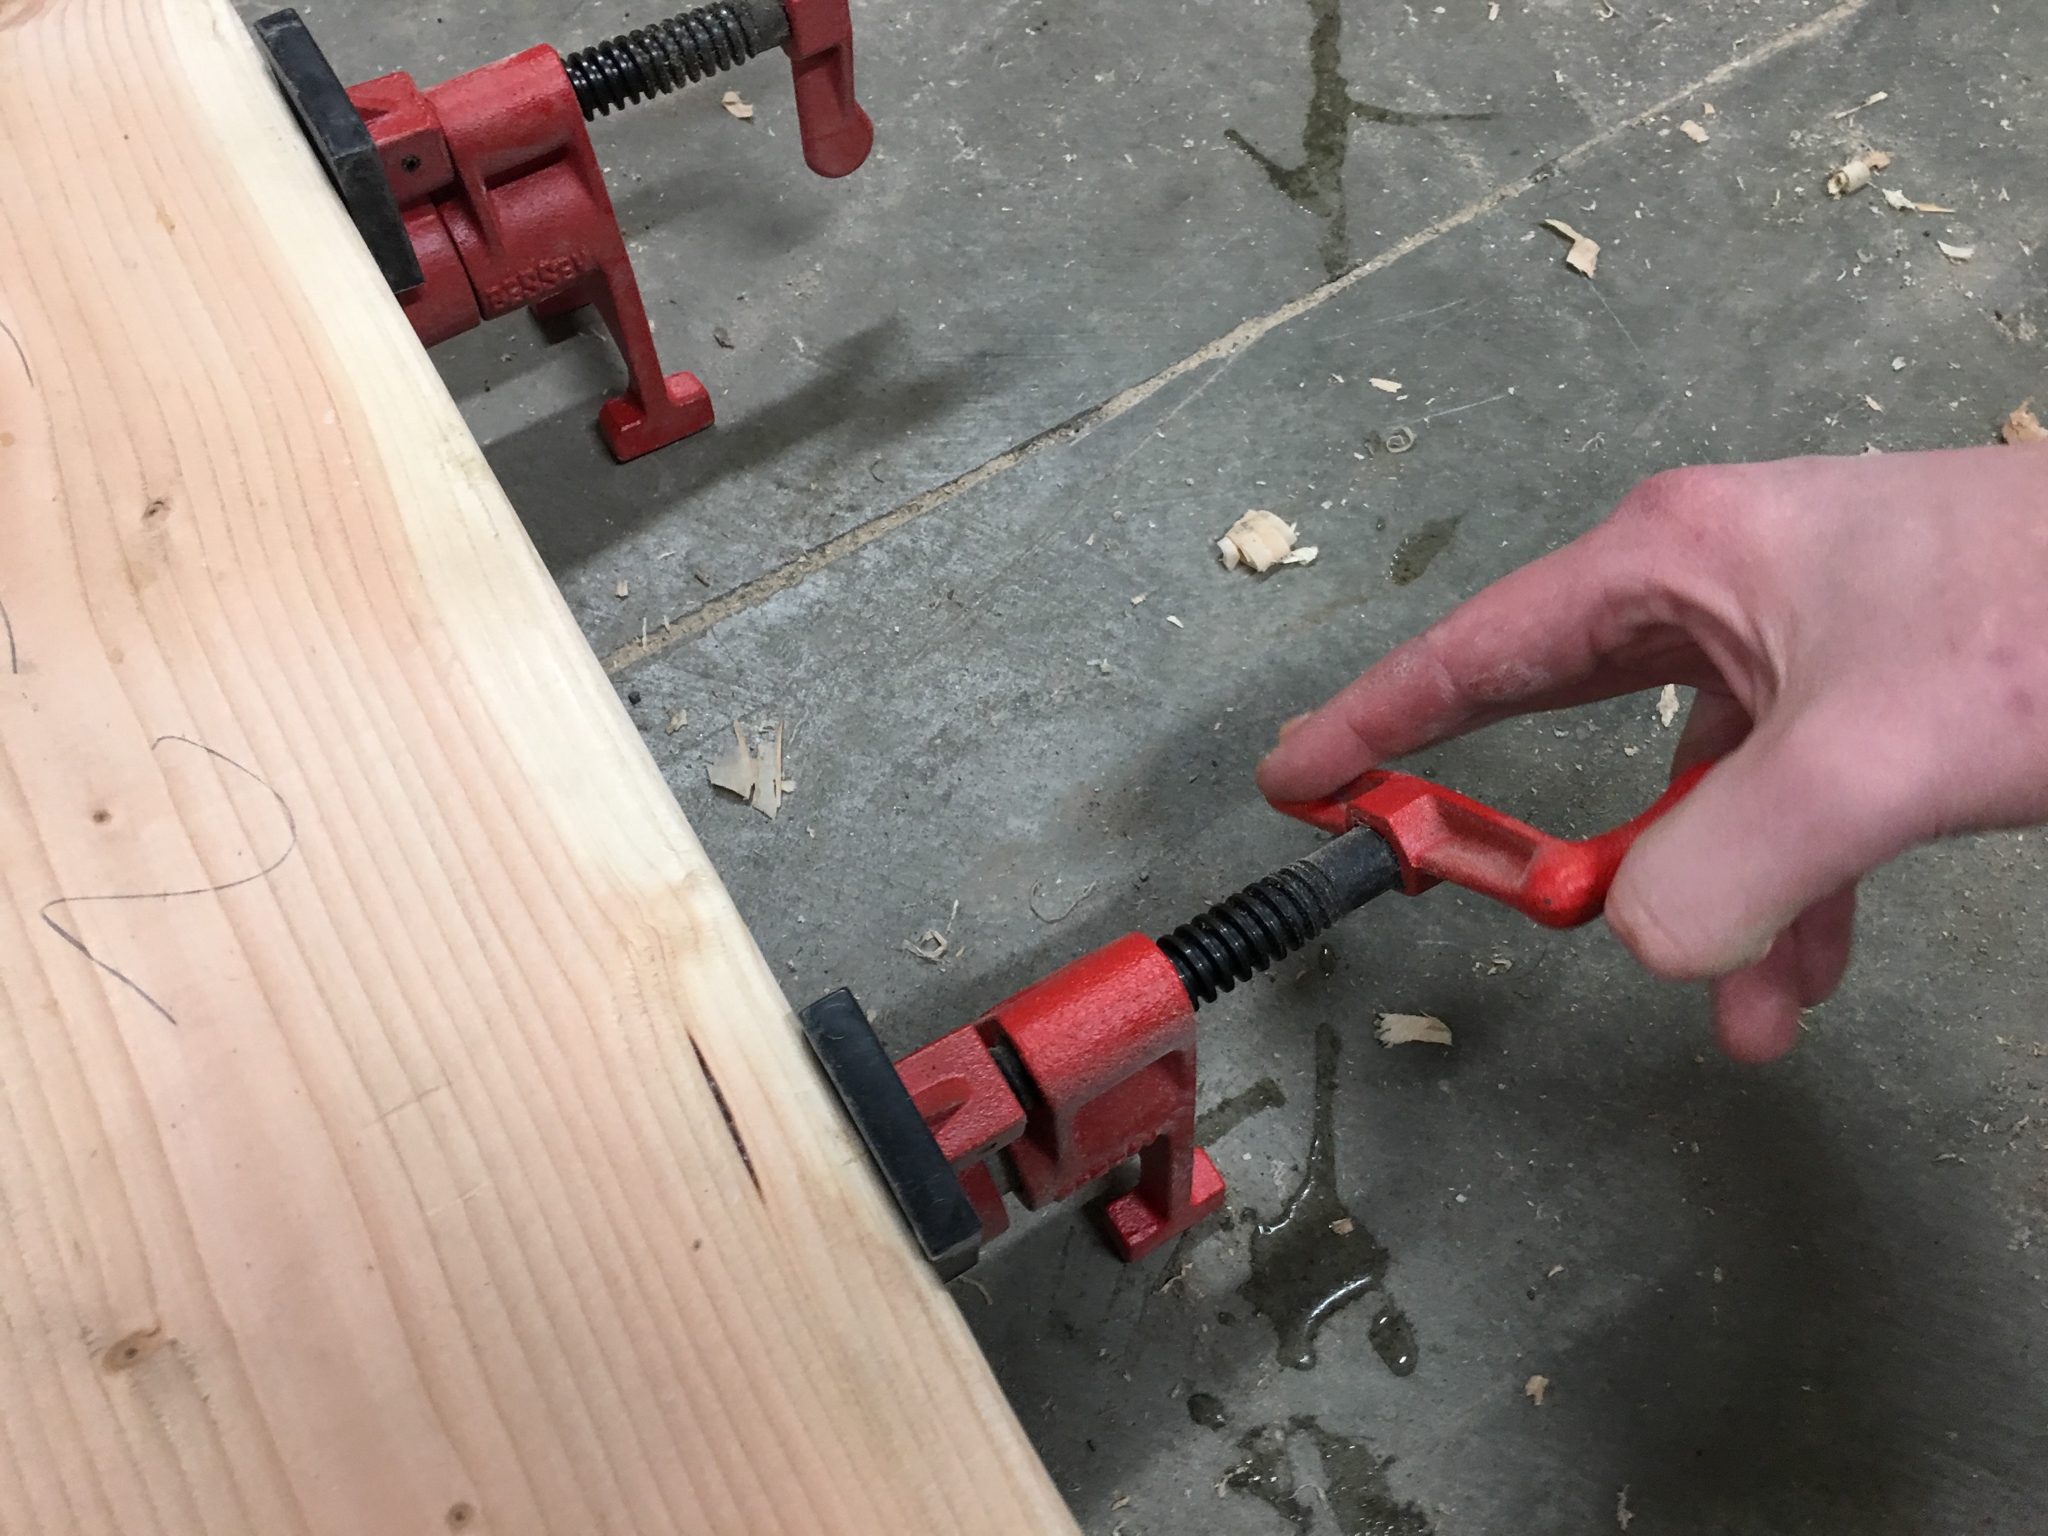
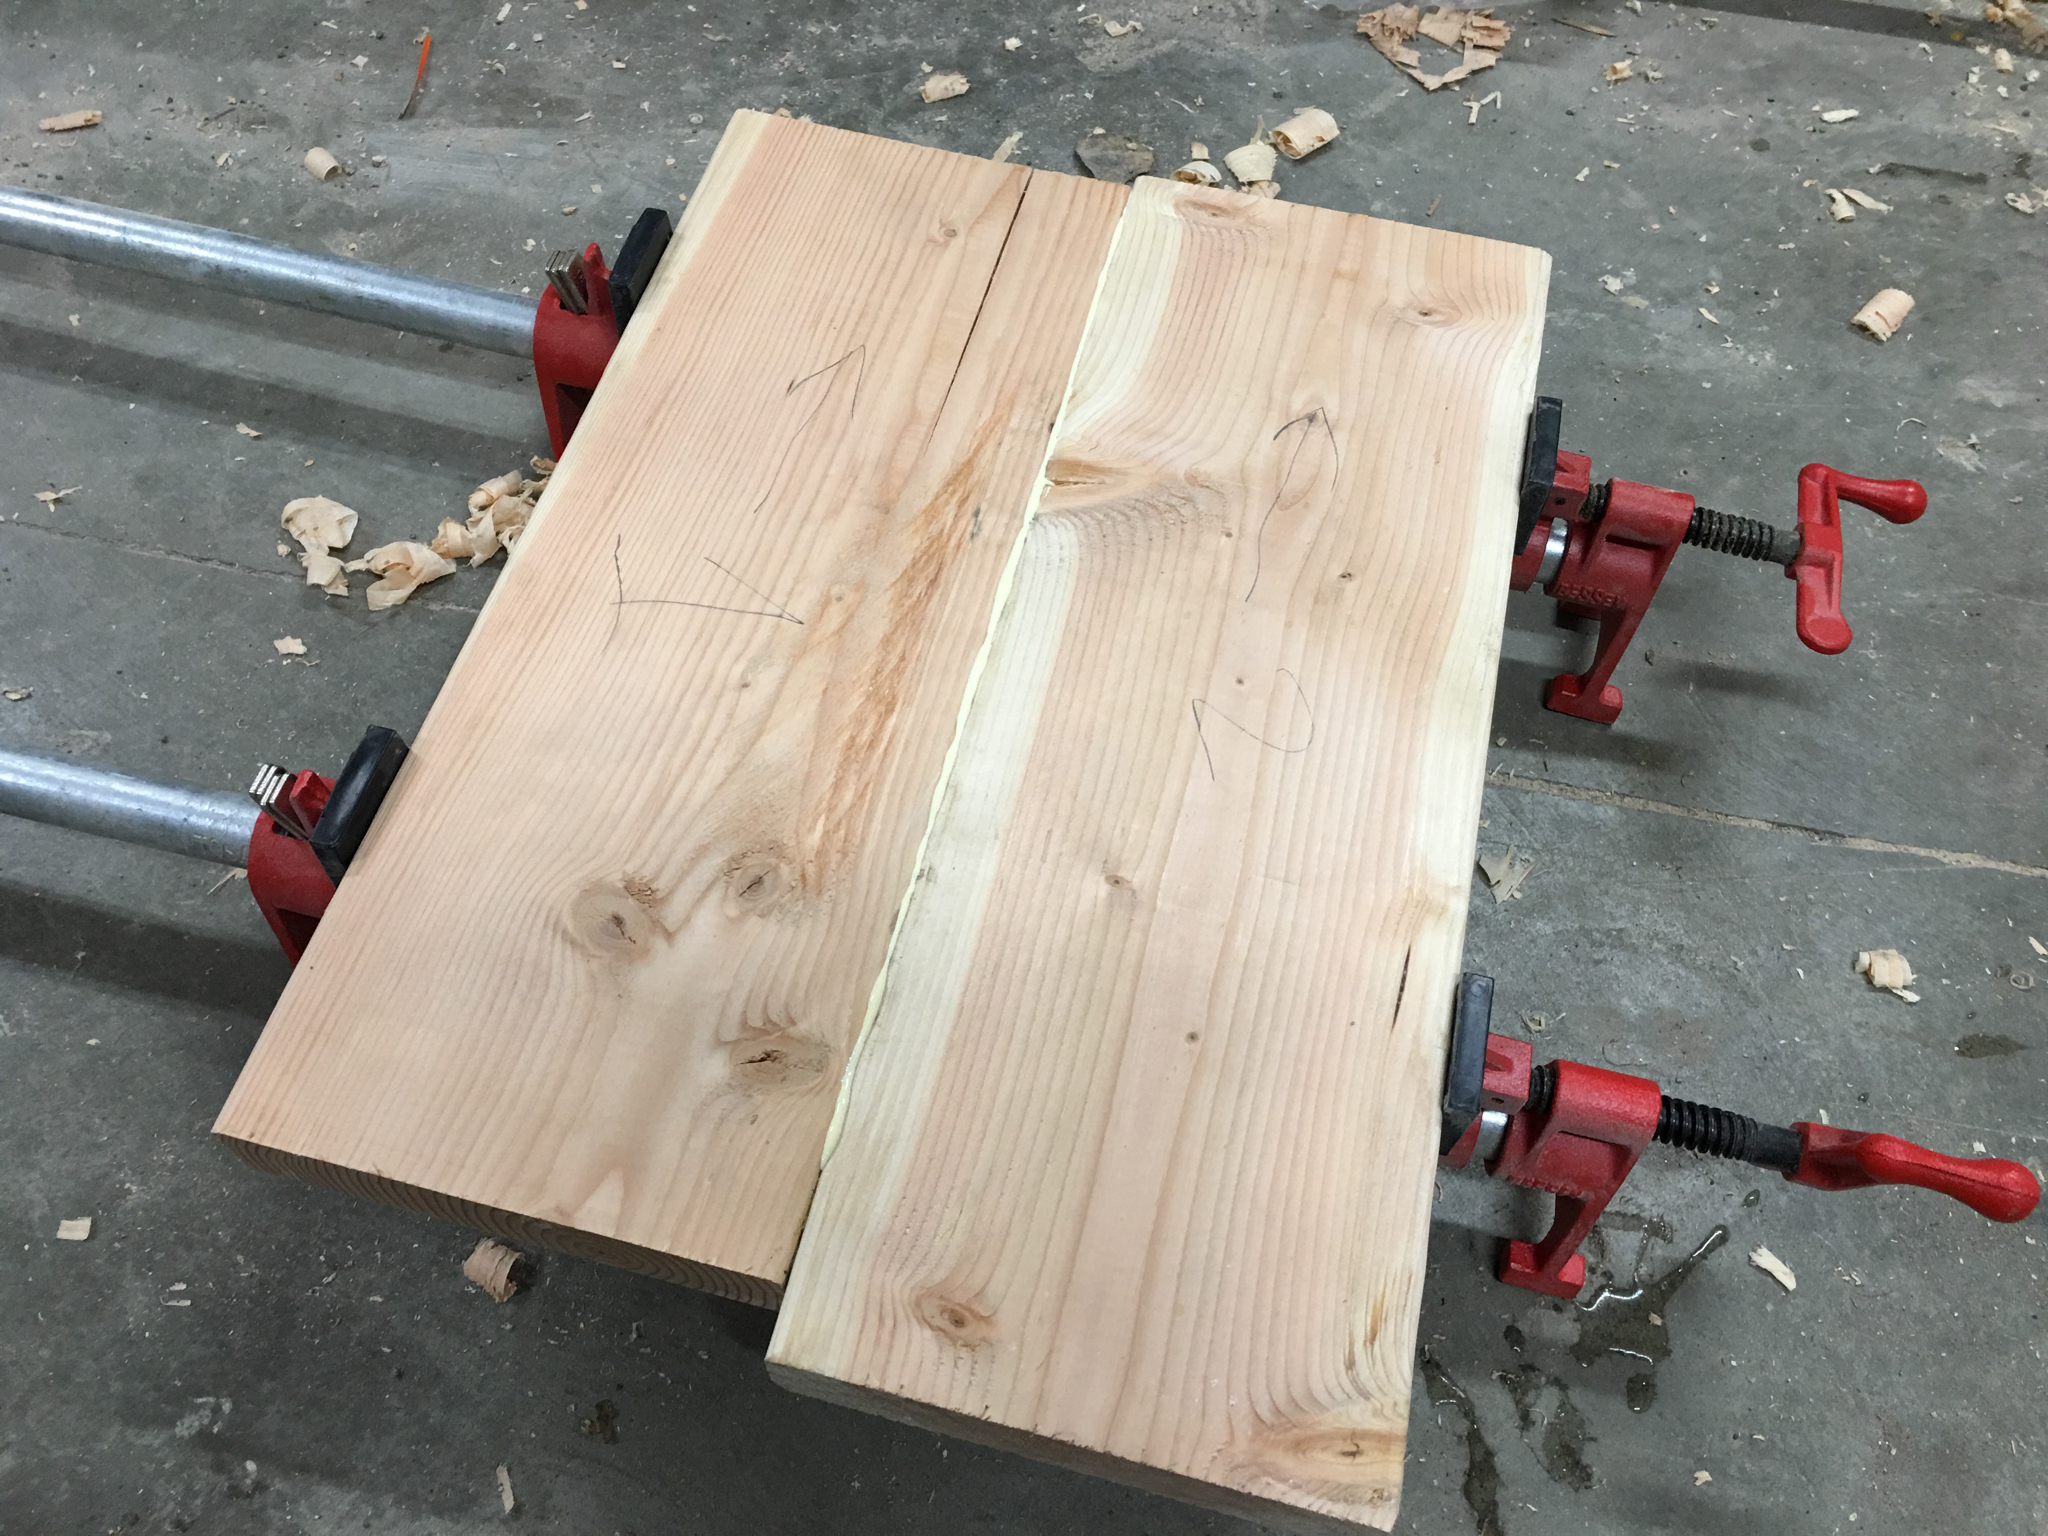
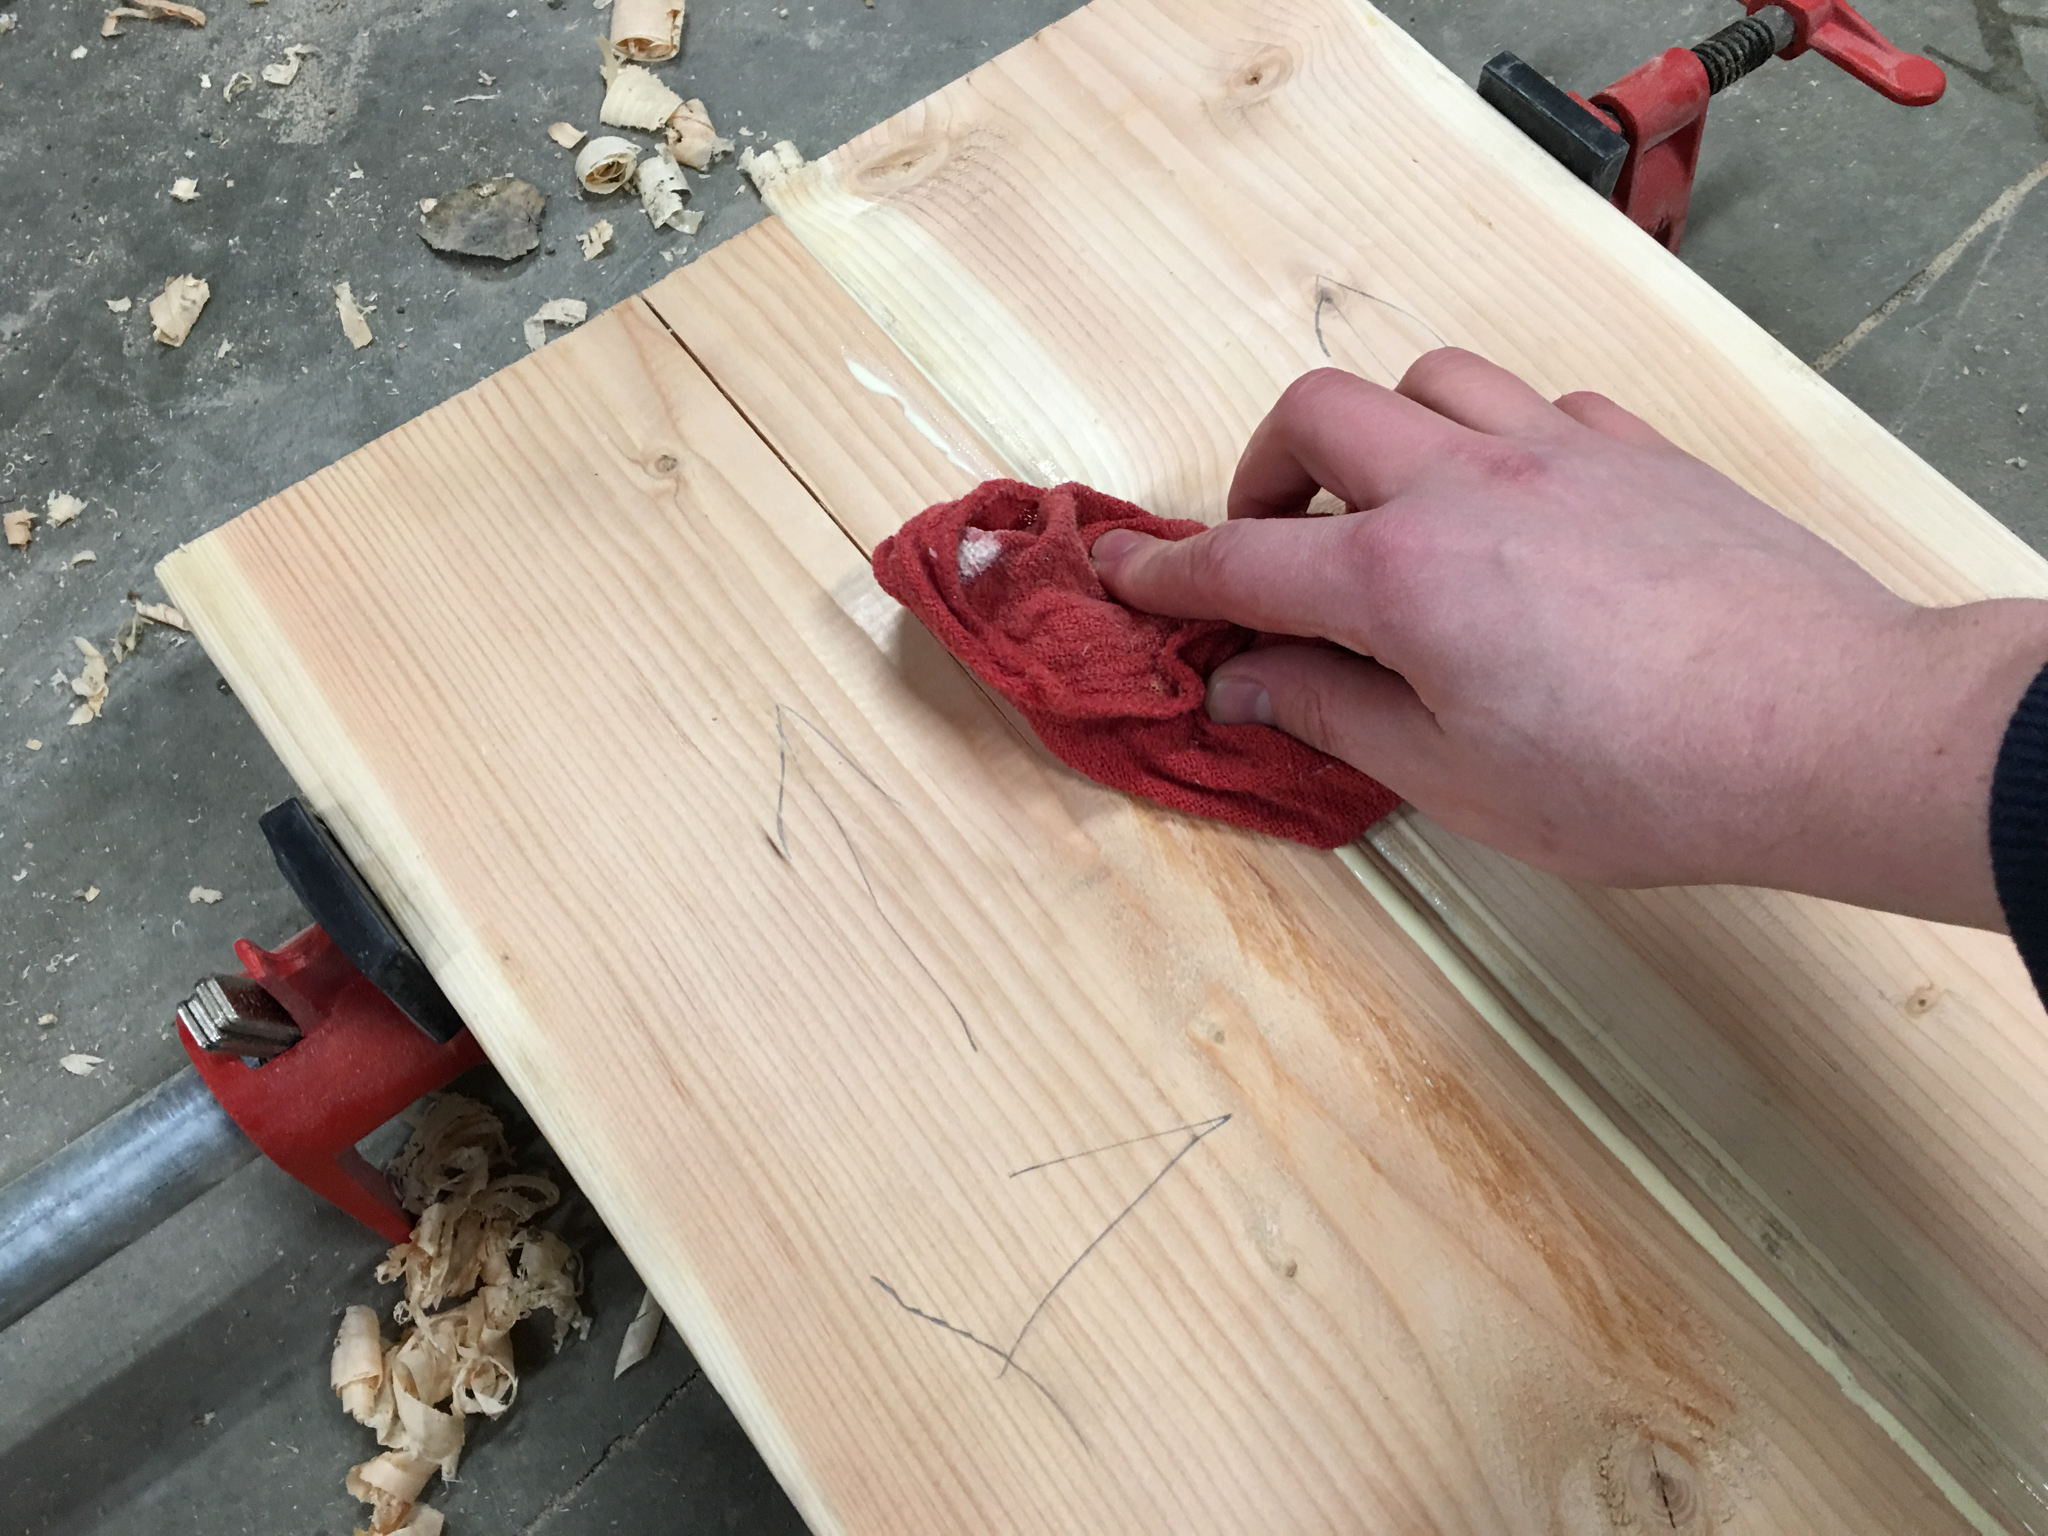
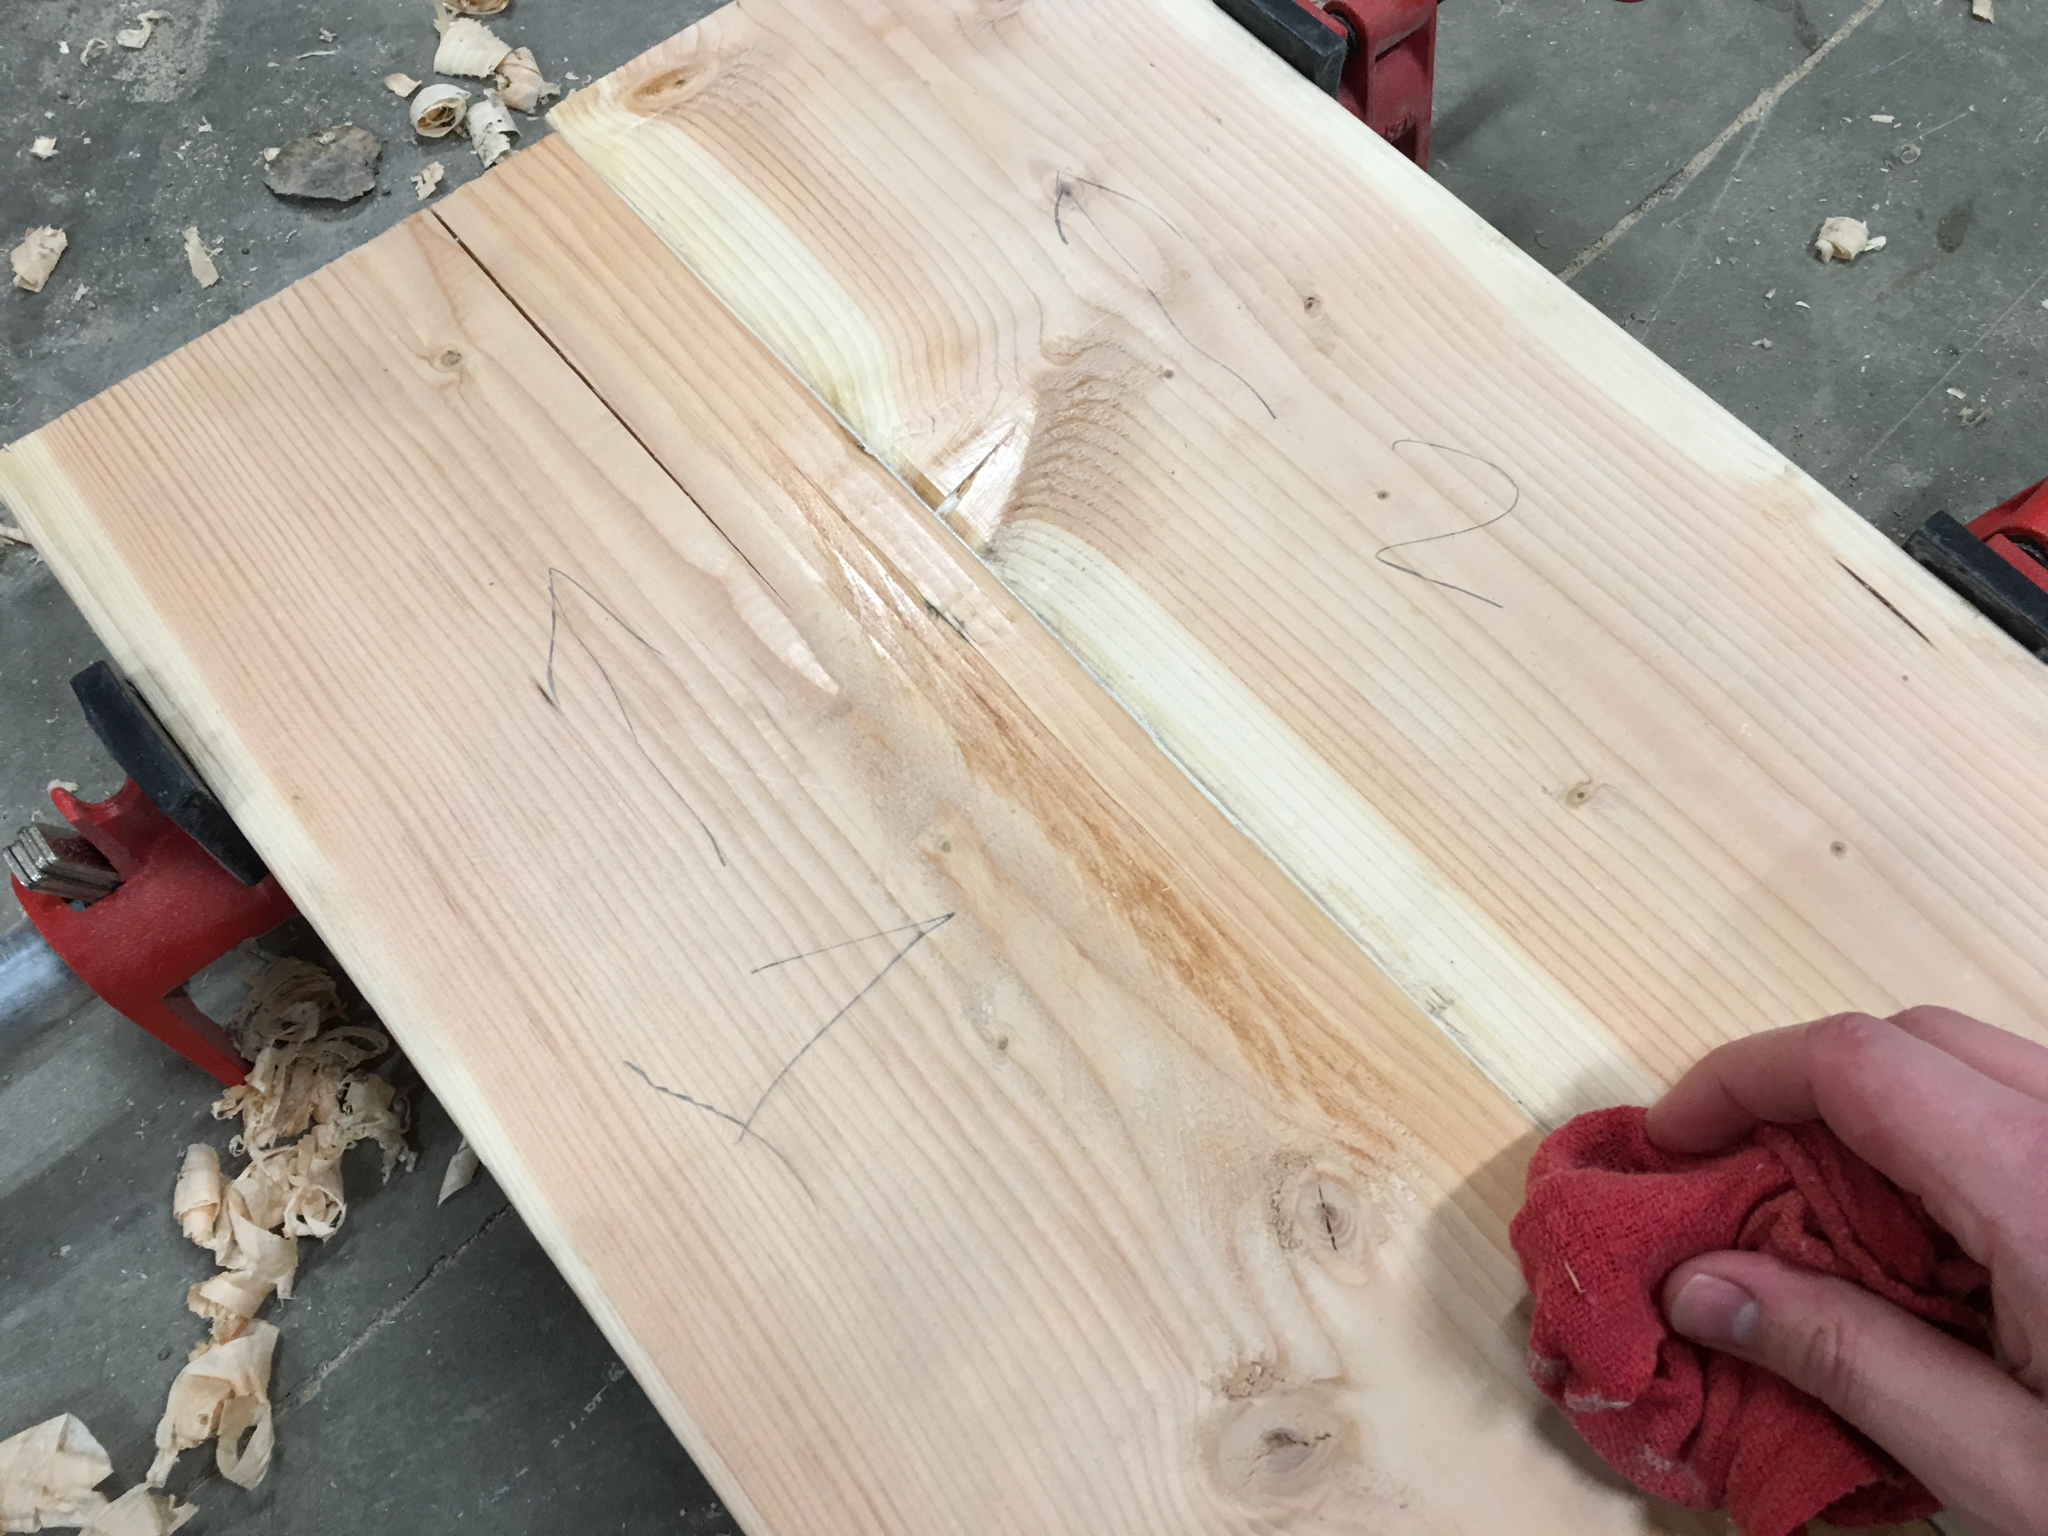
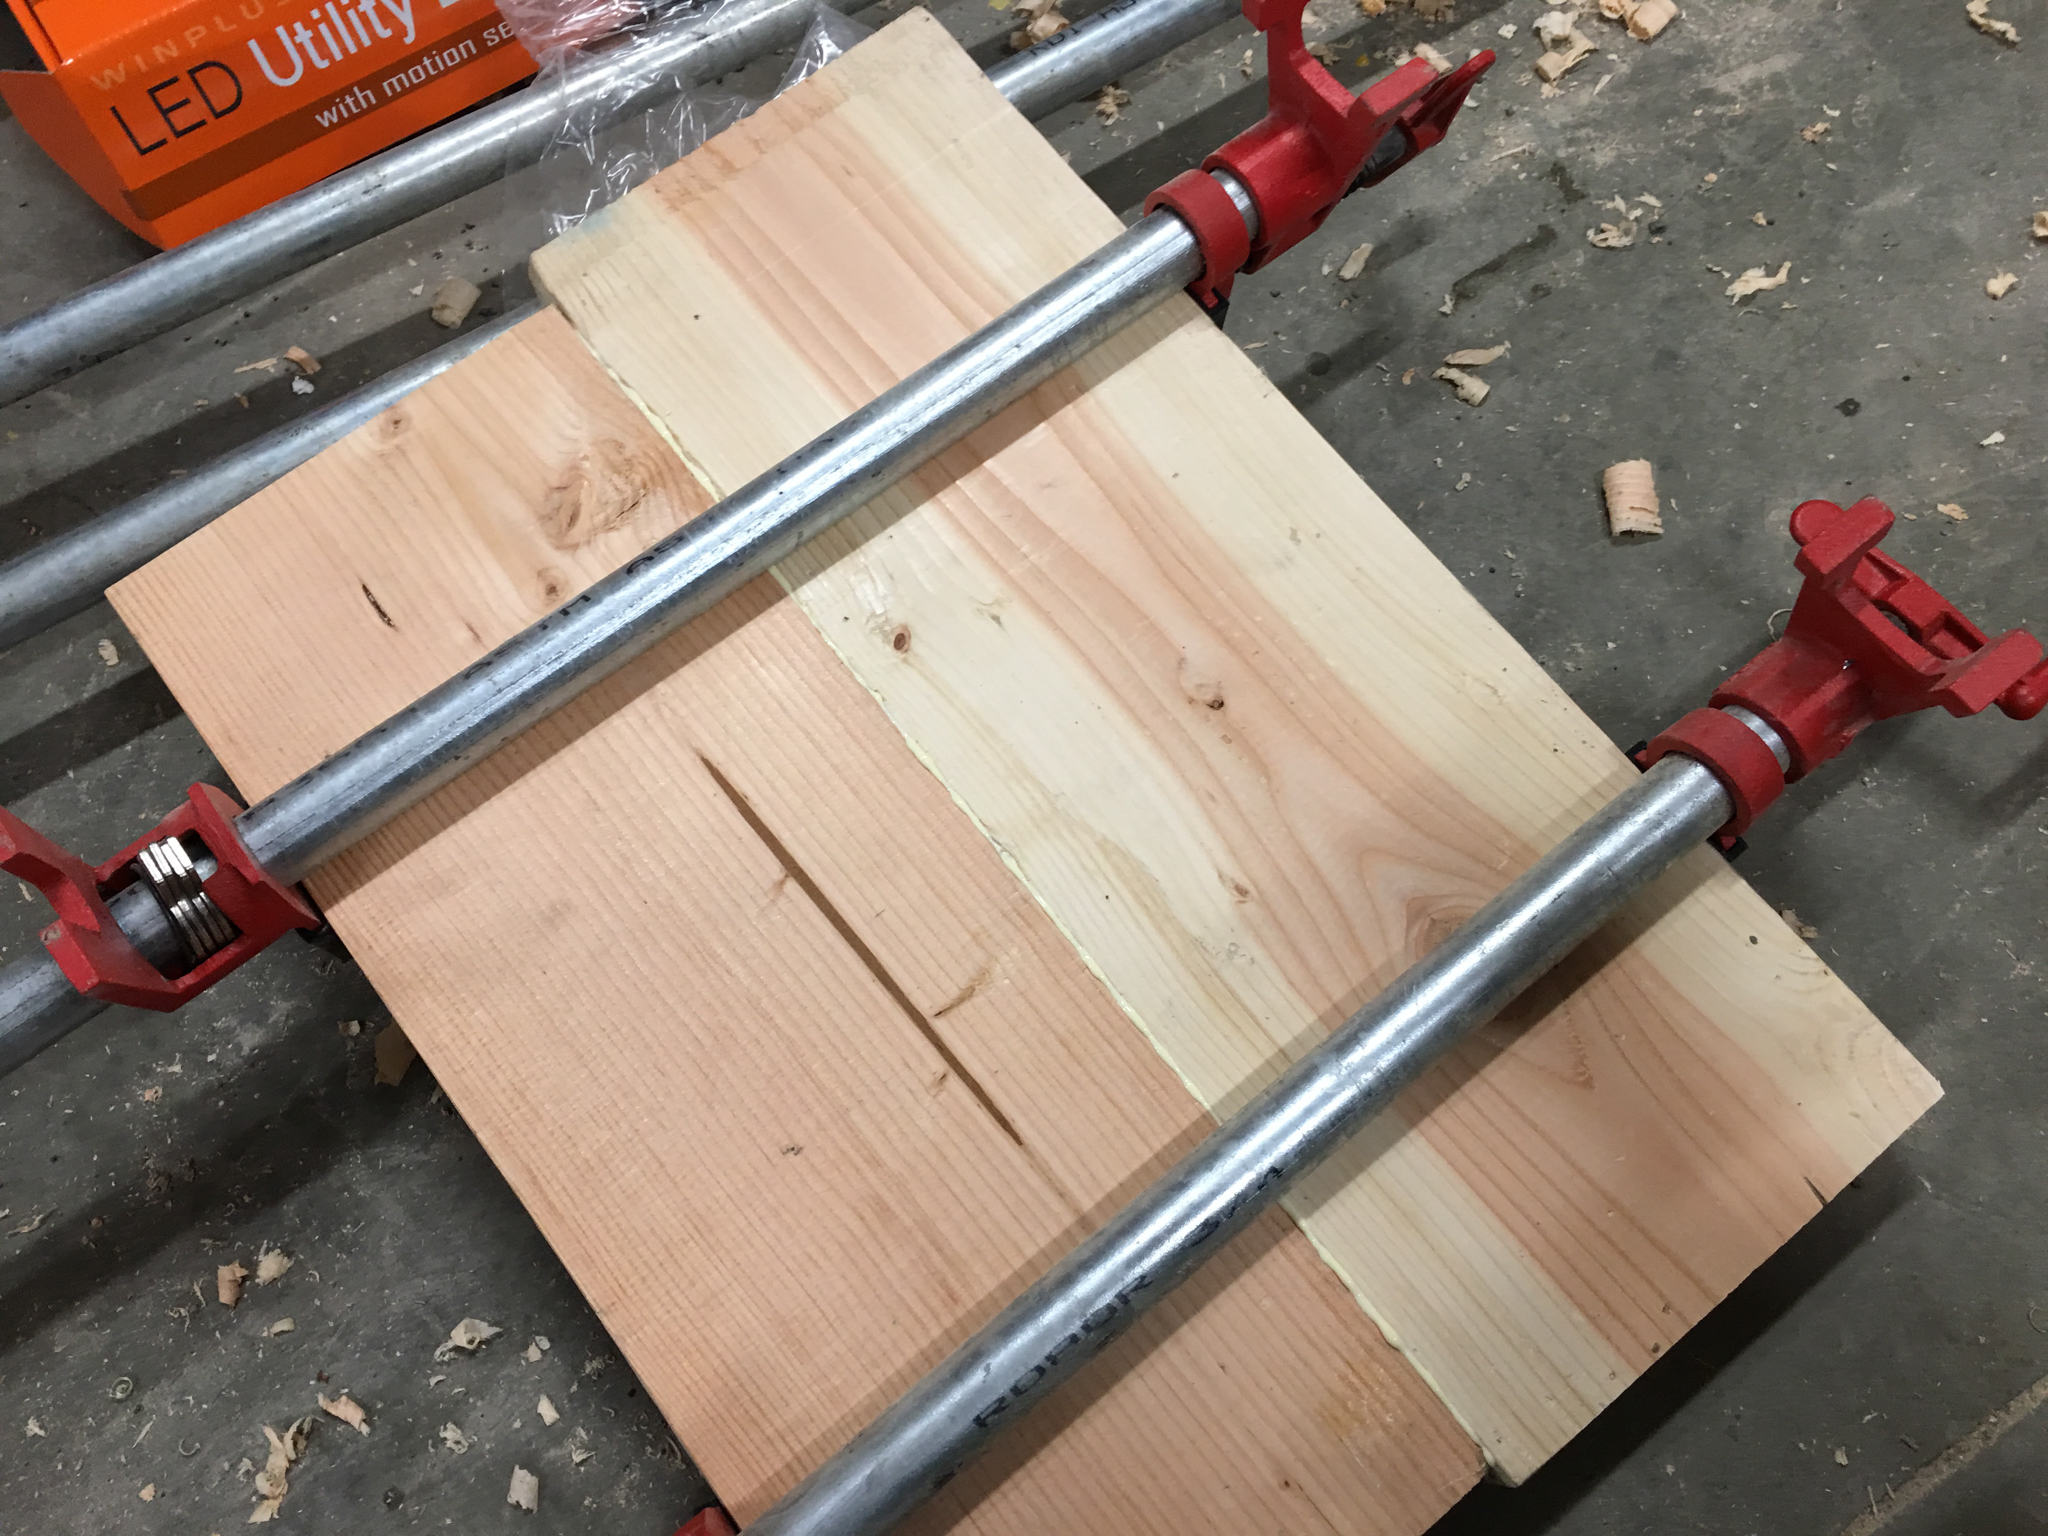

Let the glue dry over night (or at least for a few hours). Now let's move on to the apron. We need to cut a 3/8" deep groove into the side apron boards (labeled C) 1/2" from the top of the board. You'll need to adjust the height of your circular saw blade to 3/8" and clamp a straight edge and your apron board so the cut is 1/2" from the top. It should look like this:
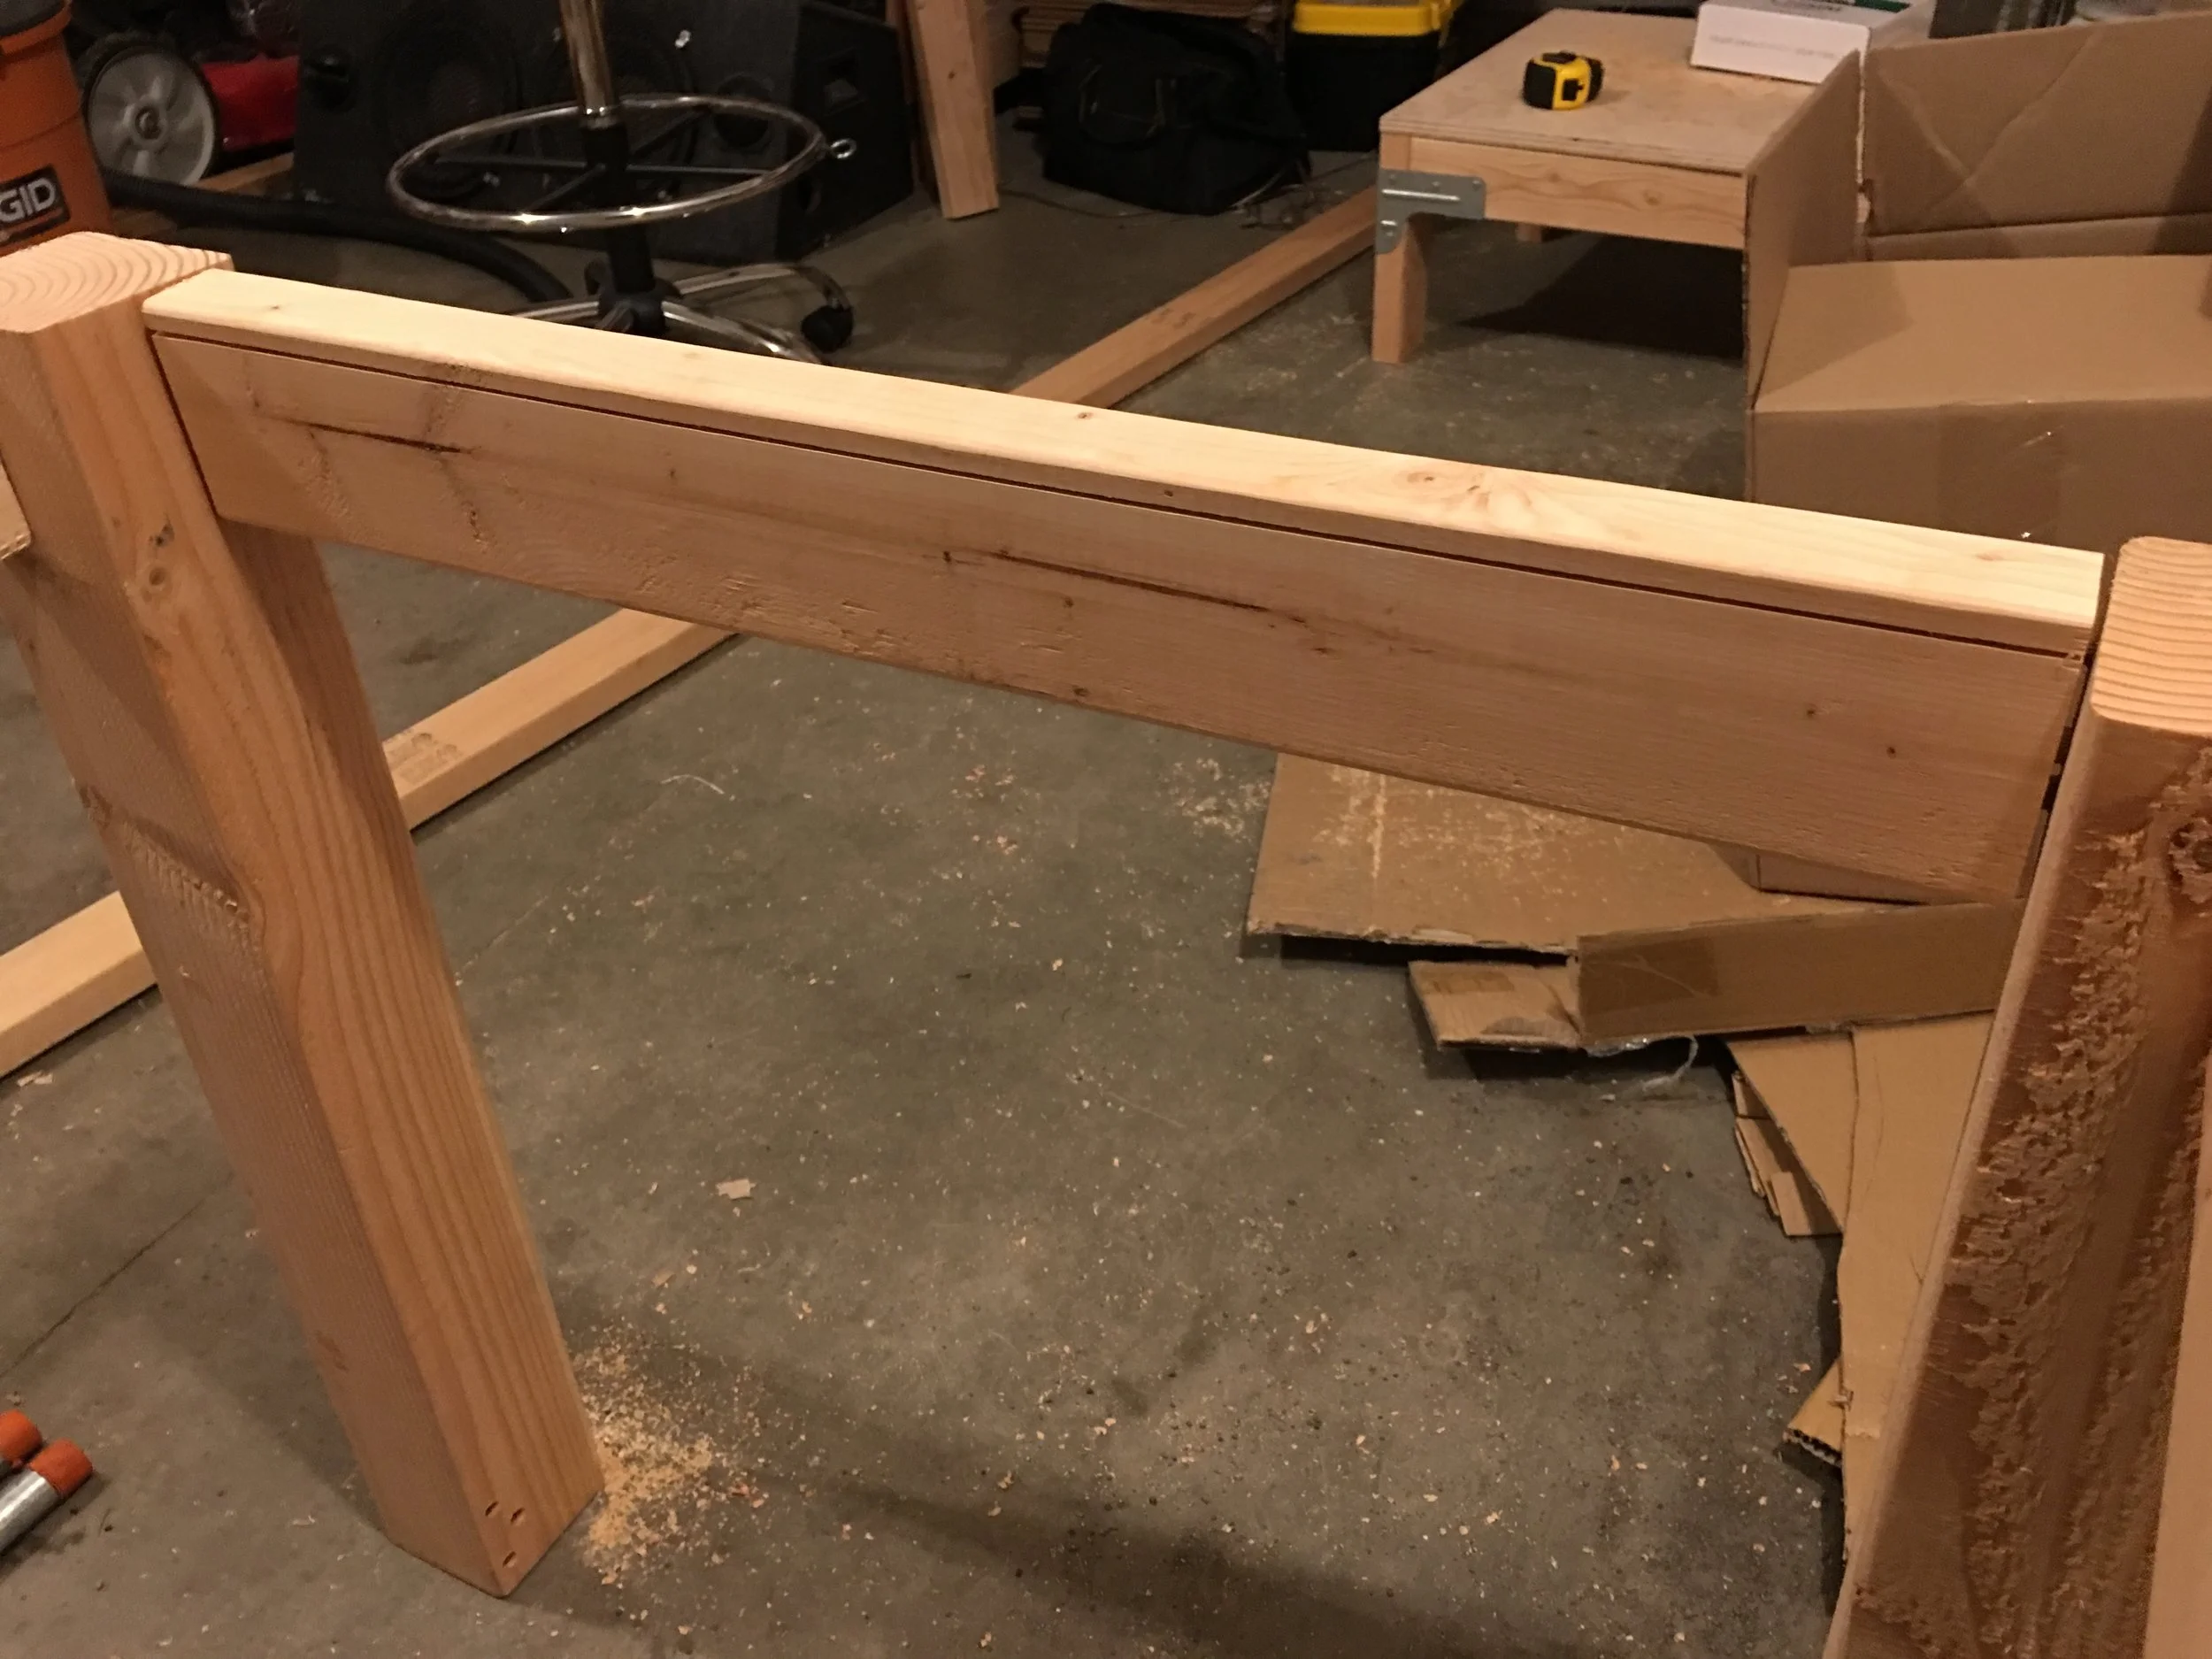
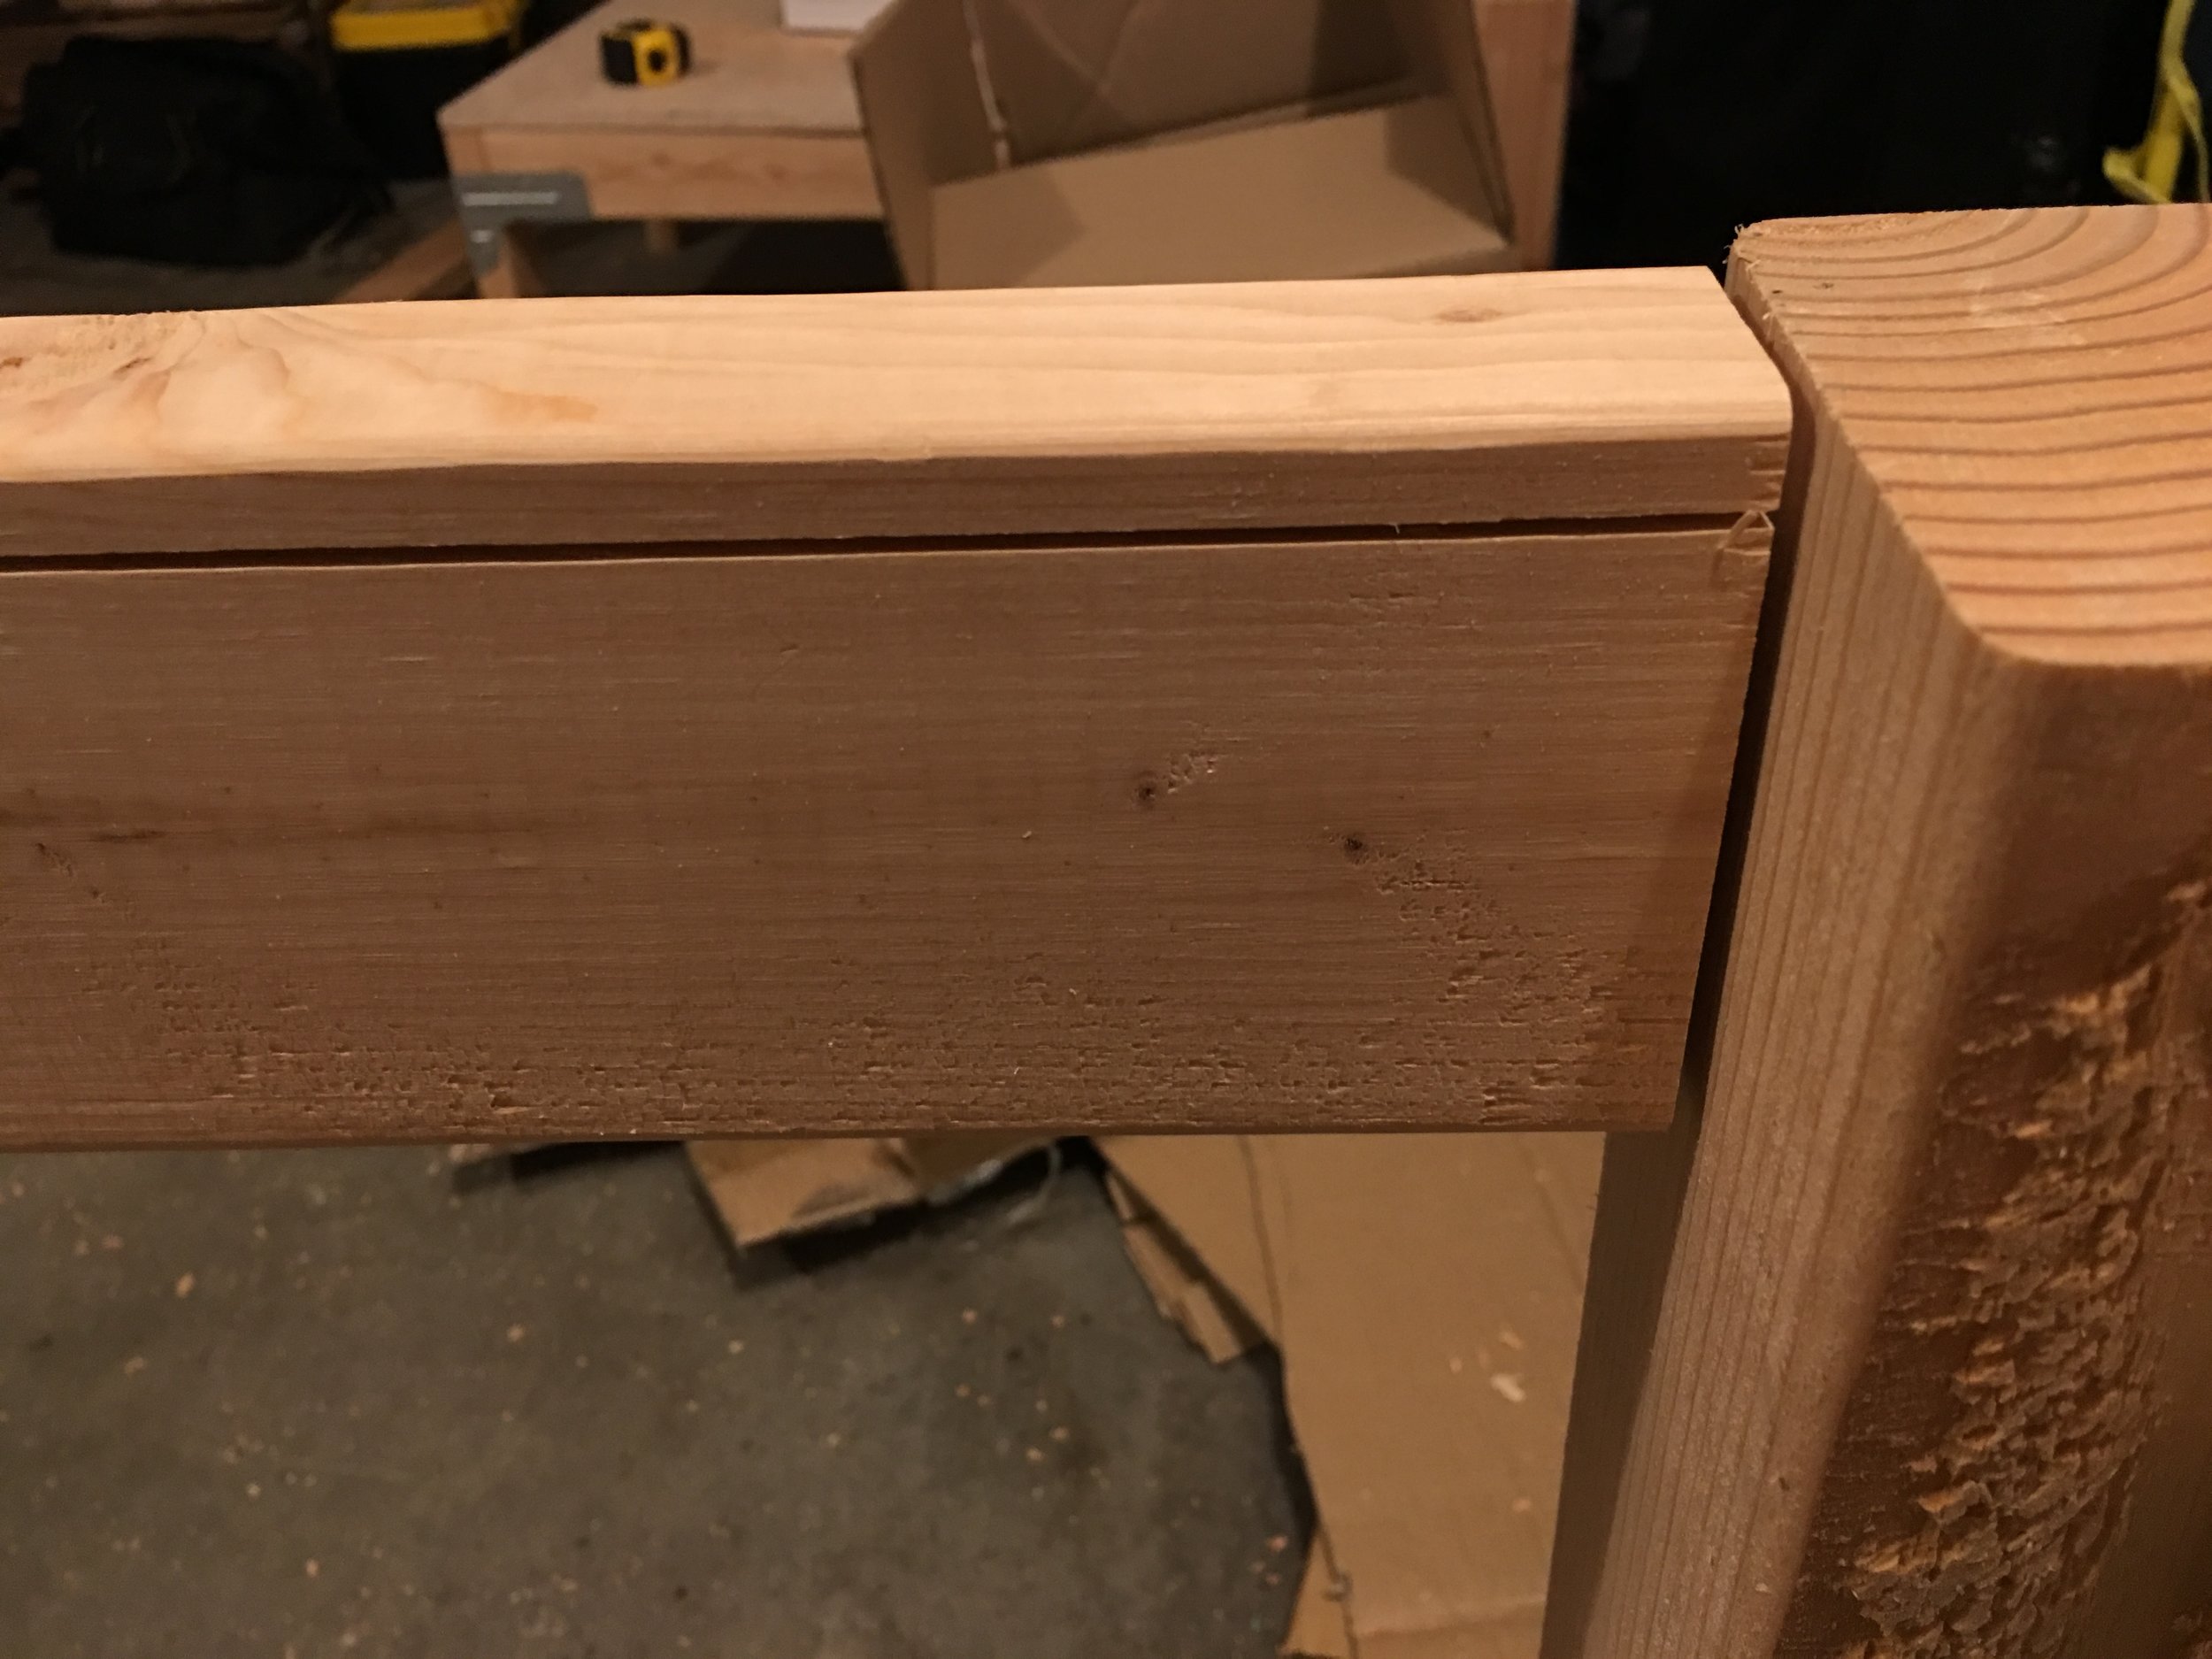
3D print these doweling jigs, one for the 4x4 and one for the 2x4. If you don't have a 3D printer, look around for a local Makerspace or library. They often provide free, or cheap access to a 3D printer. It's probably cost prohibitive to order one through an online 3D printing service, but that's an option as well. You could also choose a different method to drill your holes, or a different attachment method entirely, such as mortise and tenons (make sure you check the Use Tenons checkbox to include the necessary extra length) or pocket hole screws.
Use the jigs to drill holes in your legs and apron. You'll need to adjust the stop on your drill bit again to make sure it will make a hole that is just over half way as long as your dowels. Loosen the drill stop, place it on the drill and slide it through one of the holes and compare it with your dowel. Then tighten the stop. After drilling the holes, make sure the dowels pins fit loosely in the holes. You don't want them to be tight as you want a good, even layer of glue all the way around each dowel. If the fit is too snug all the glue will be pushed down to the end, forming a very weak joint.
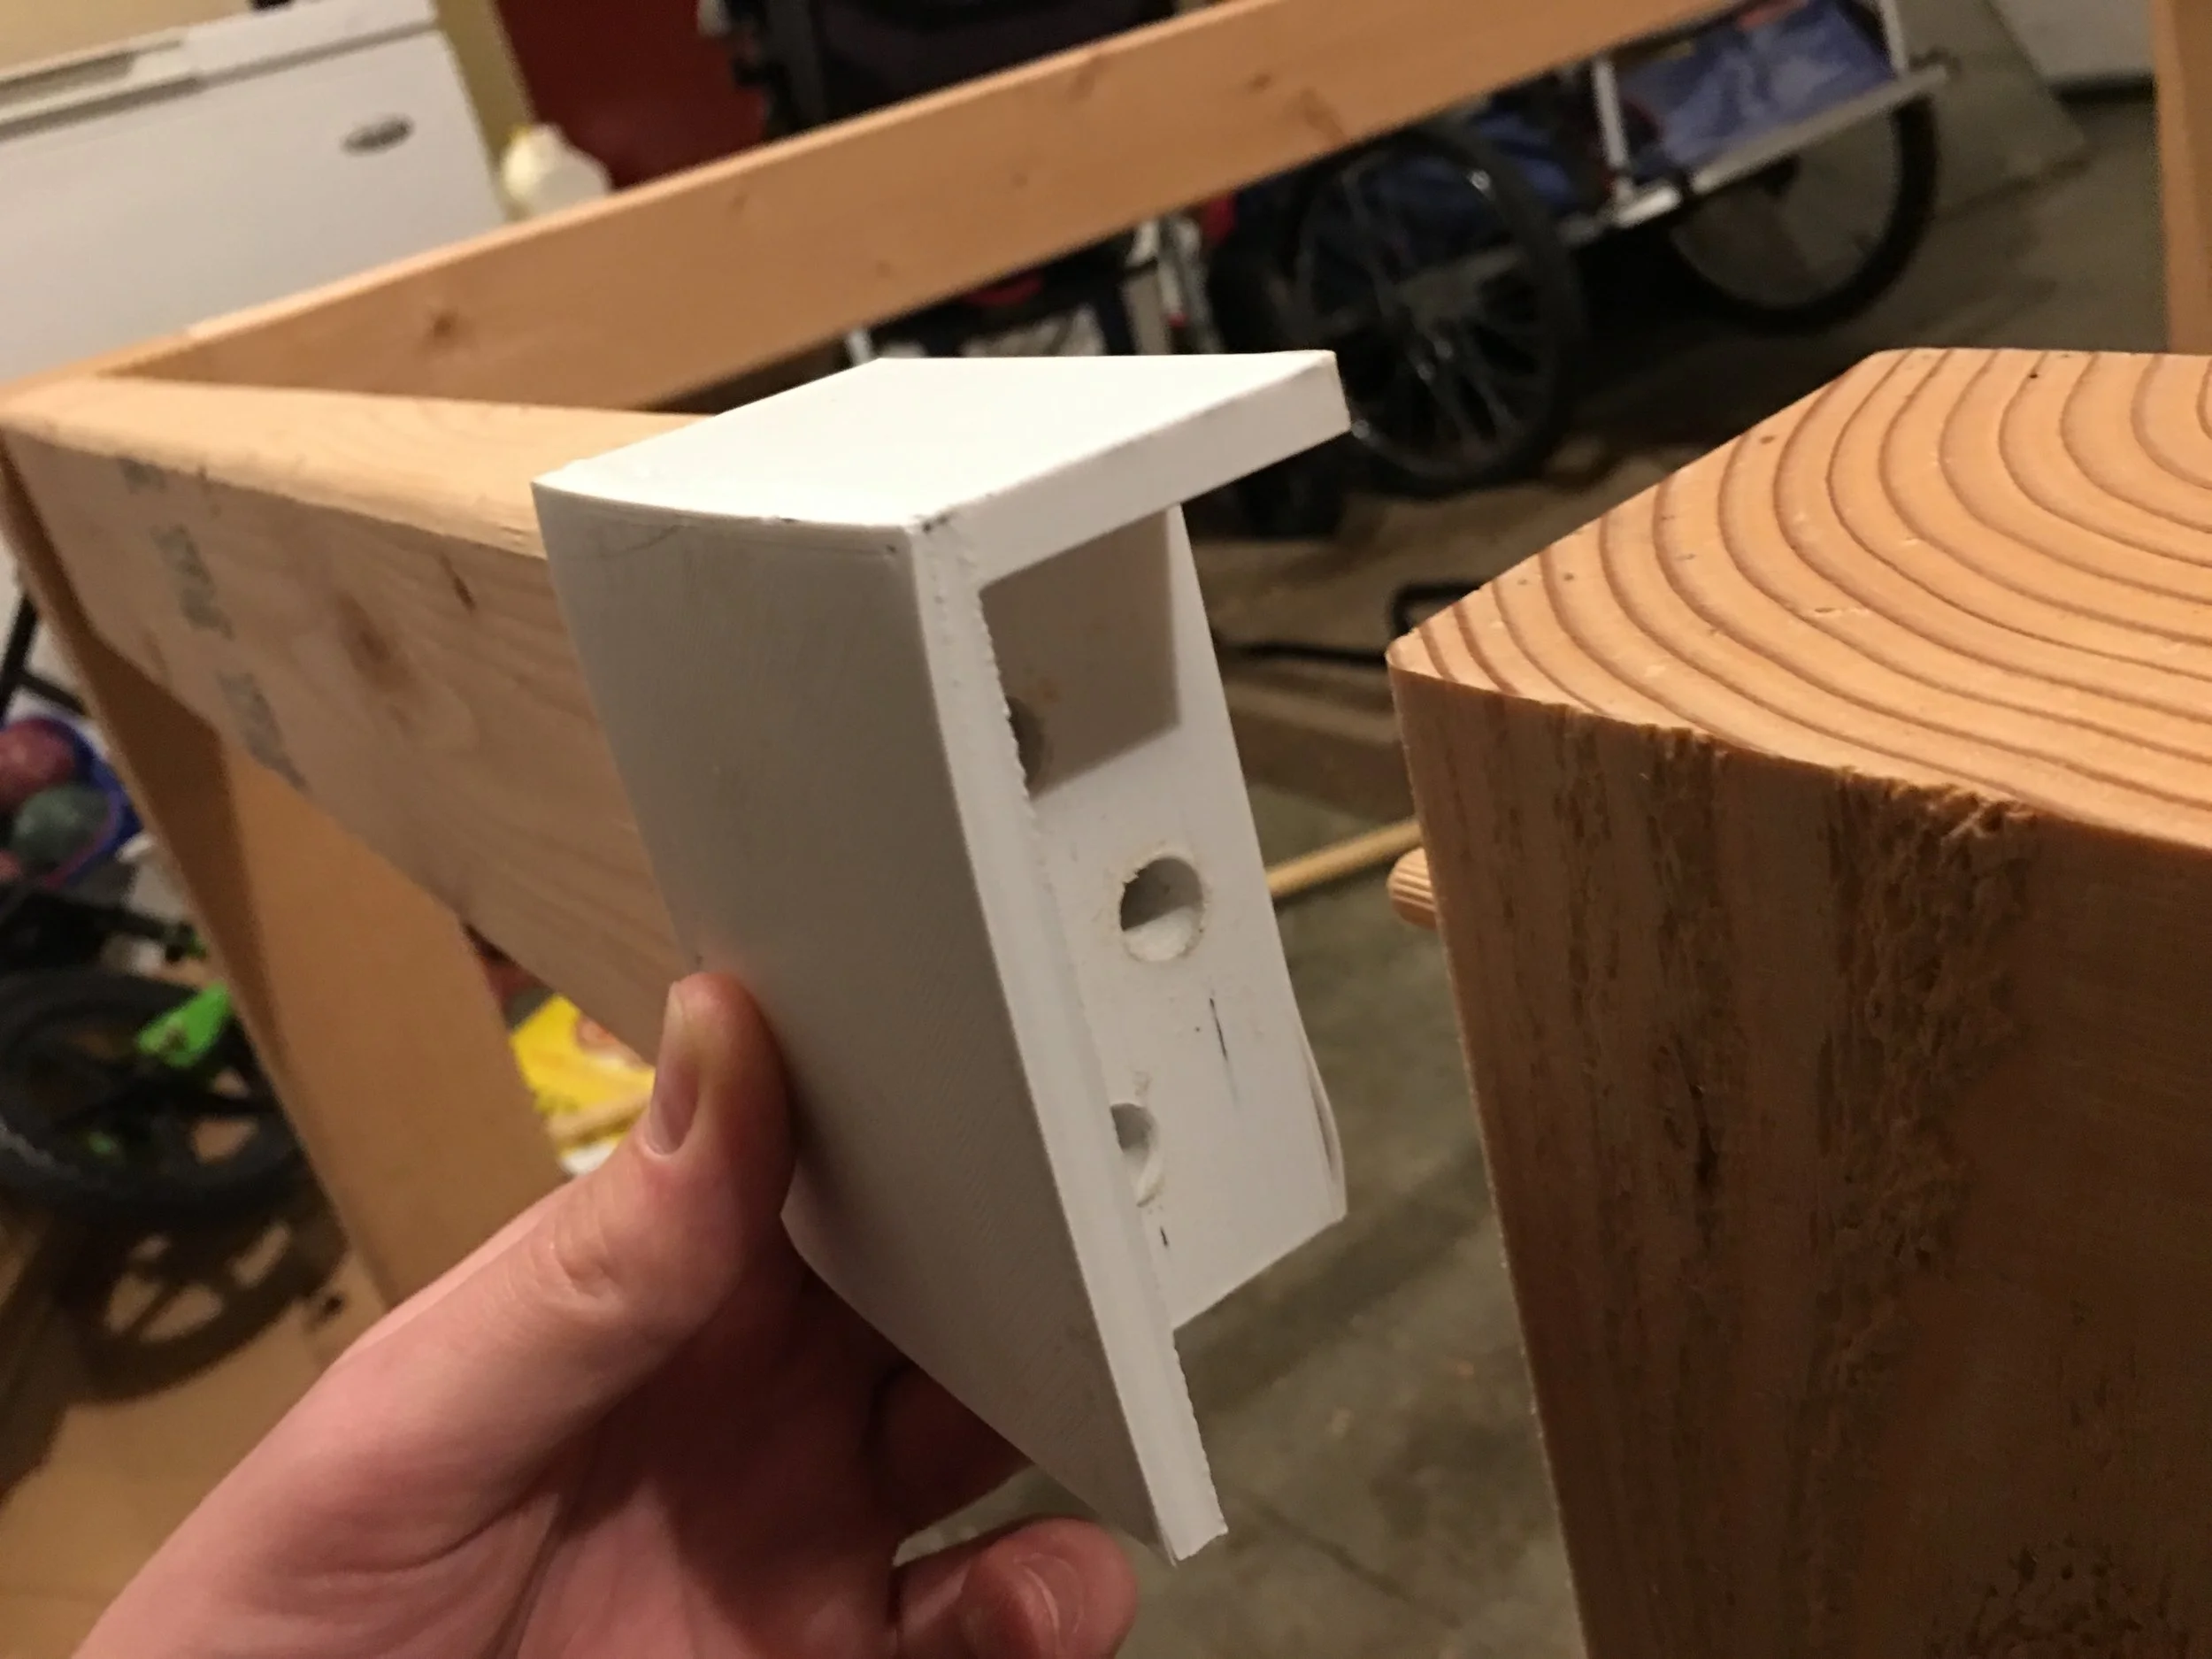
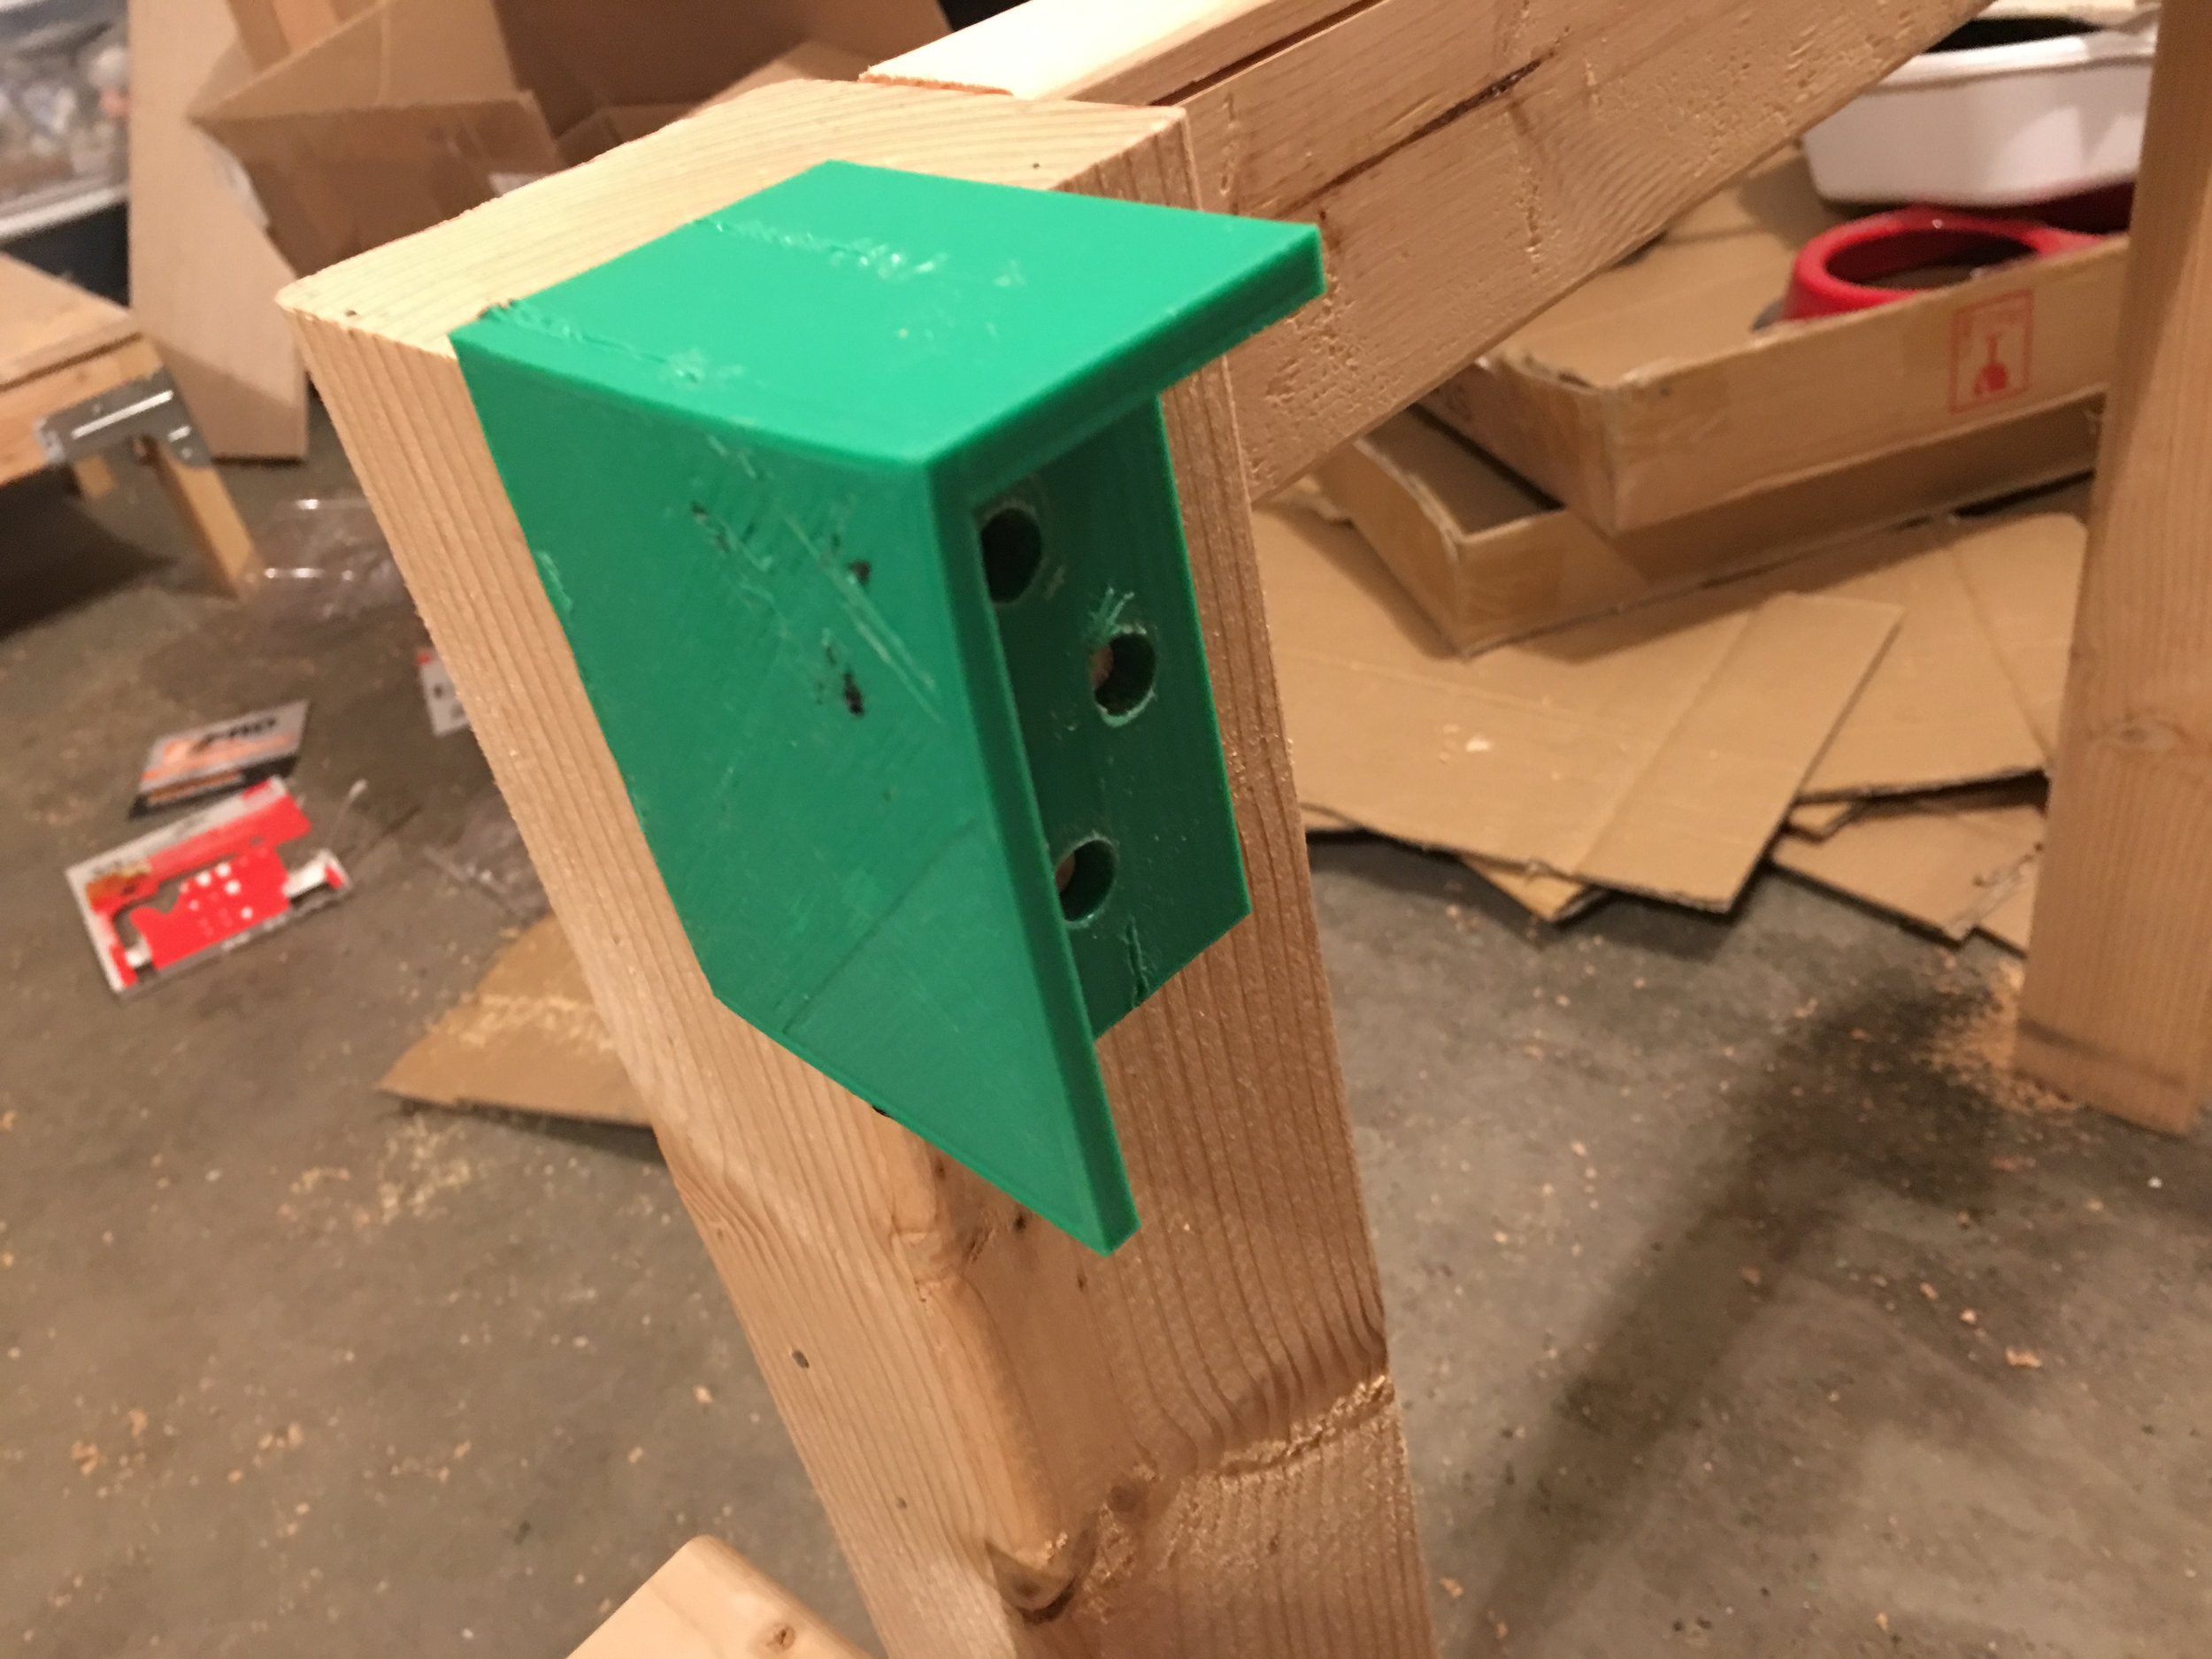
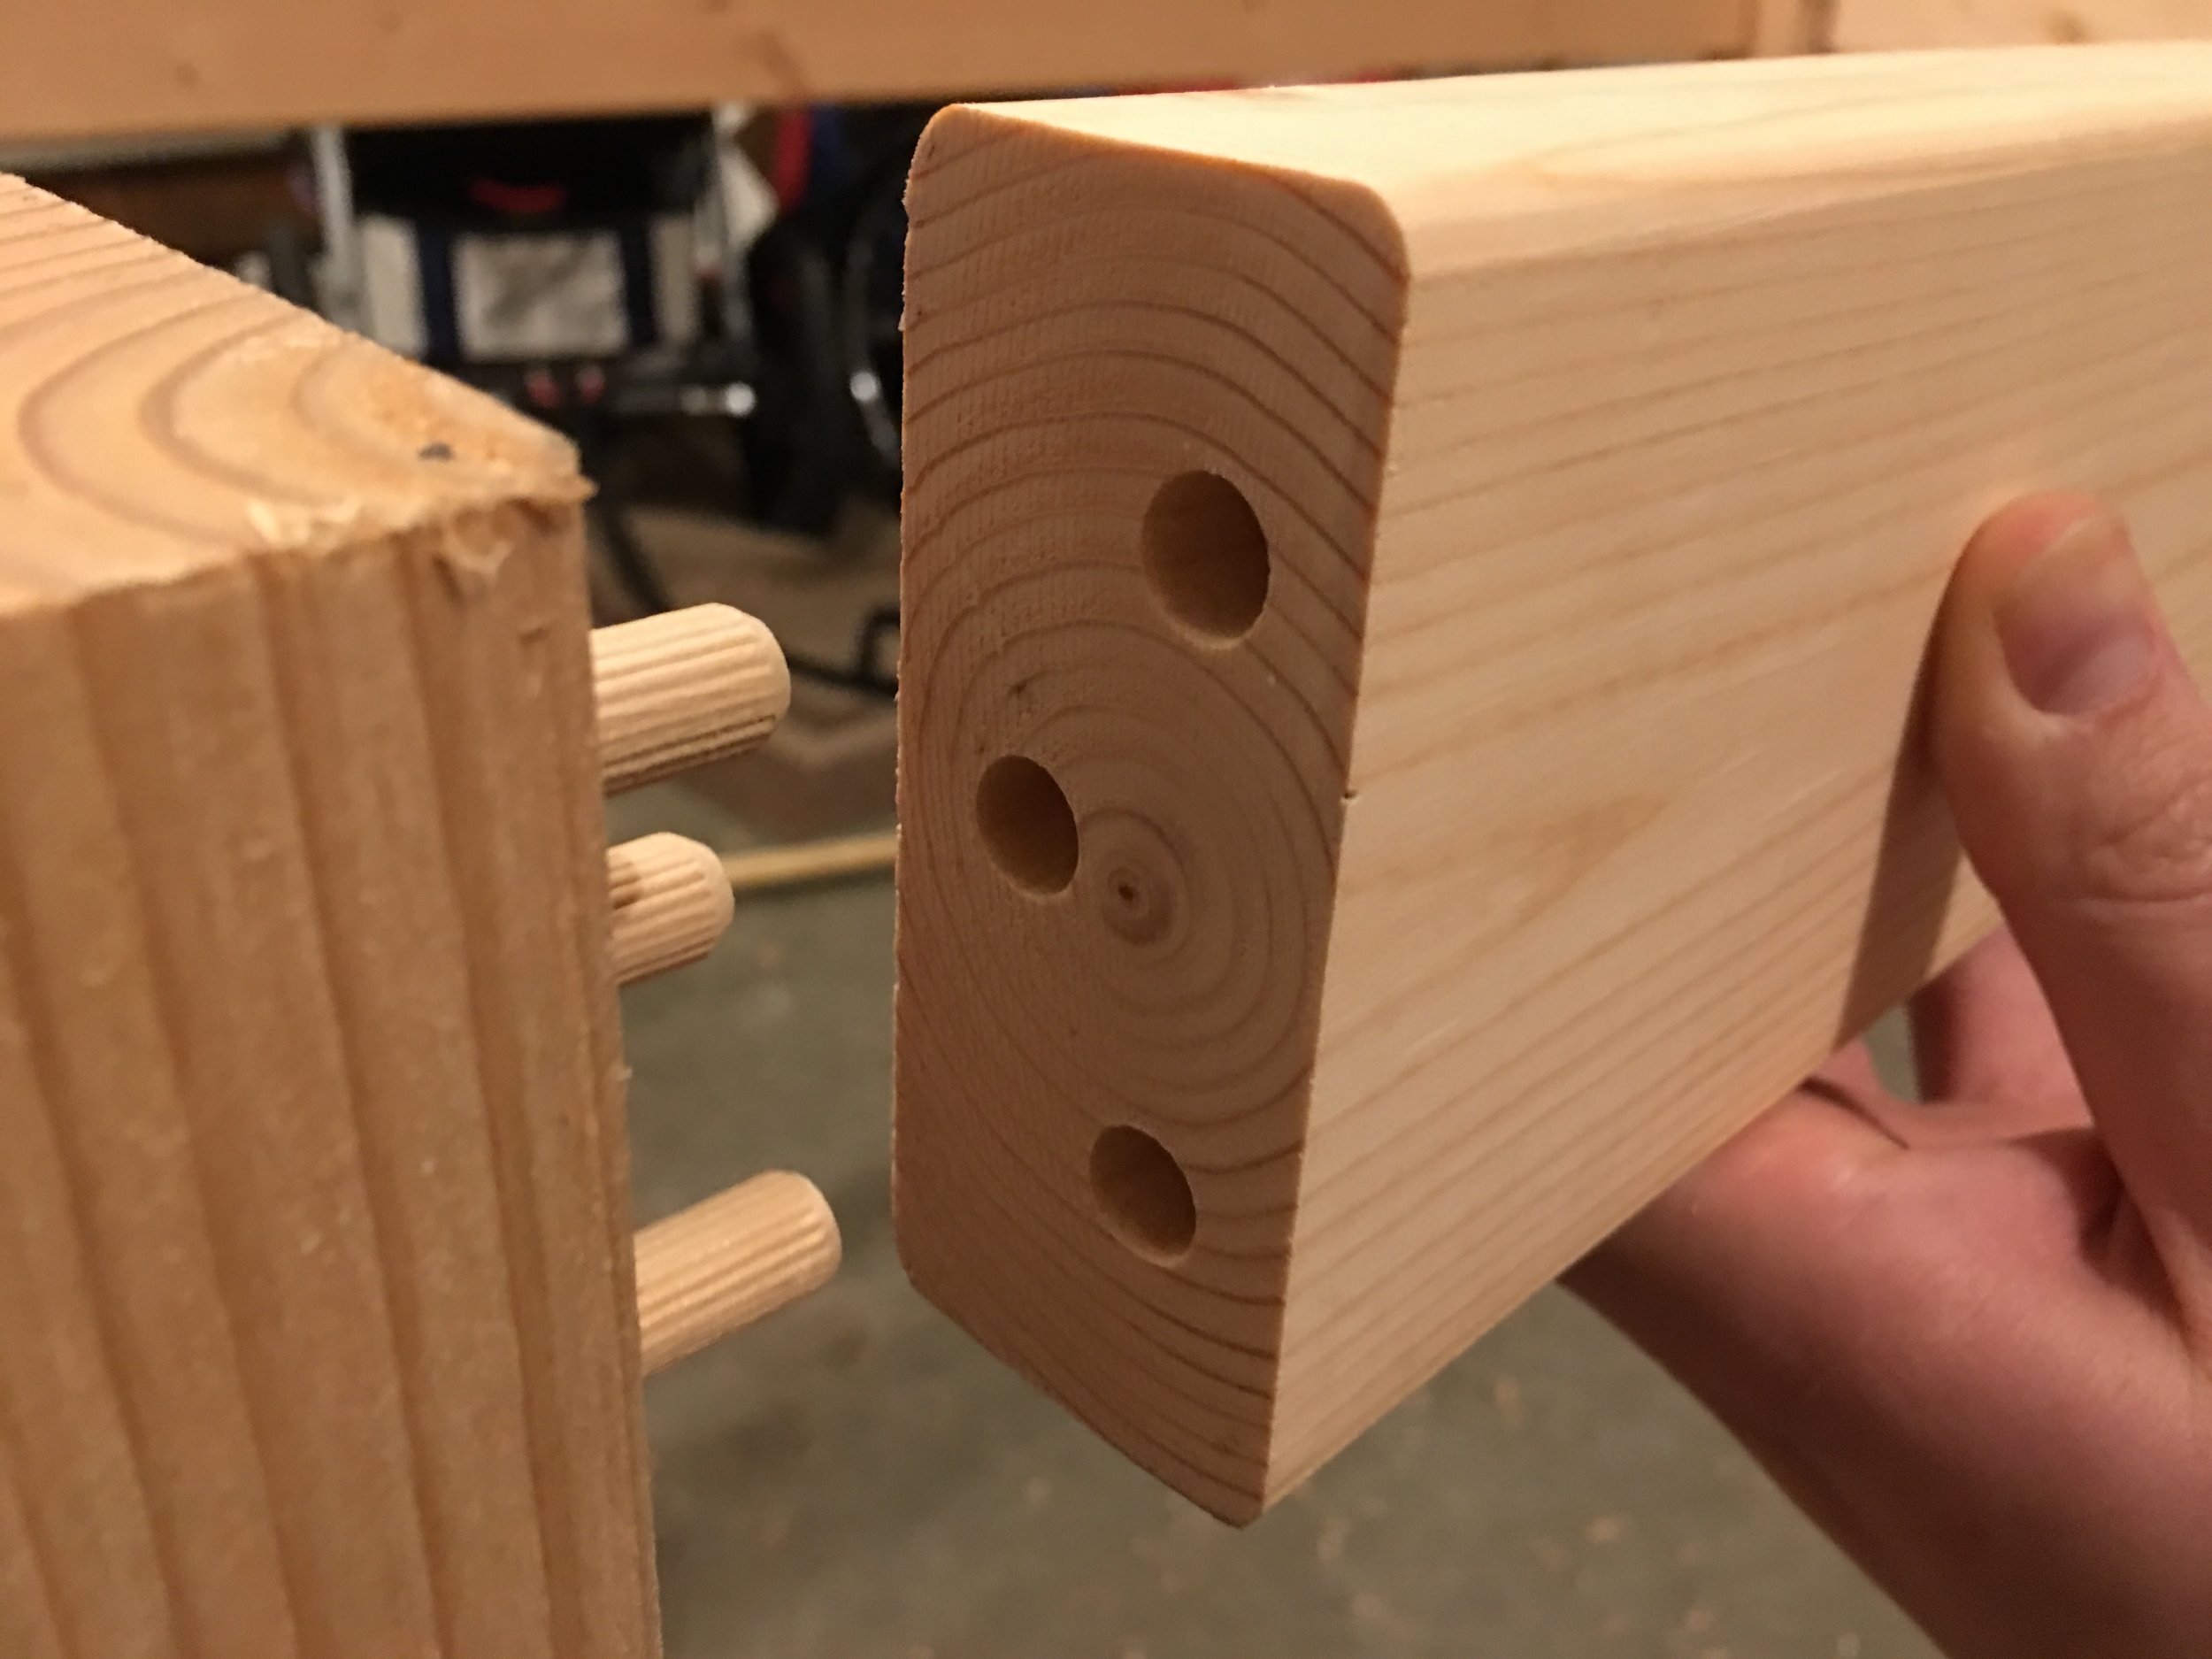
Cover the dowels with glue and clamp everything together. Again, I used my 4 pipe clamps, 2 of them with a 5 foot lengths of pipe and 2 of them with 10 foot lengths. I wish I had a couple more for this, but it worked out.
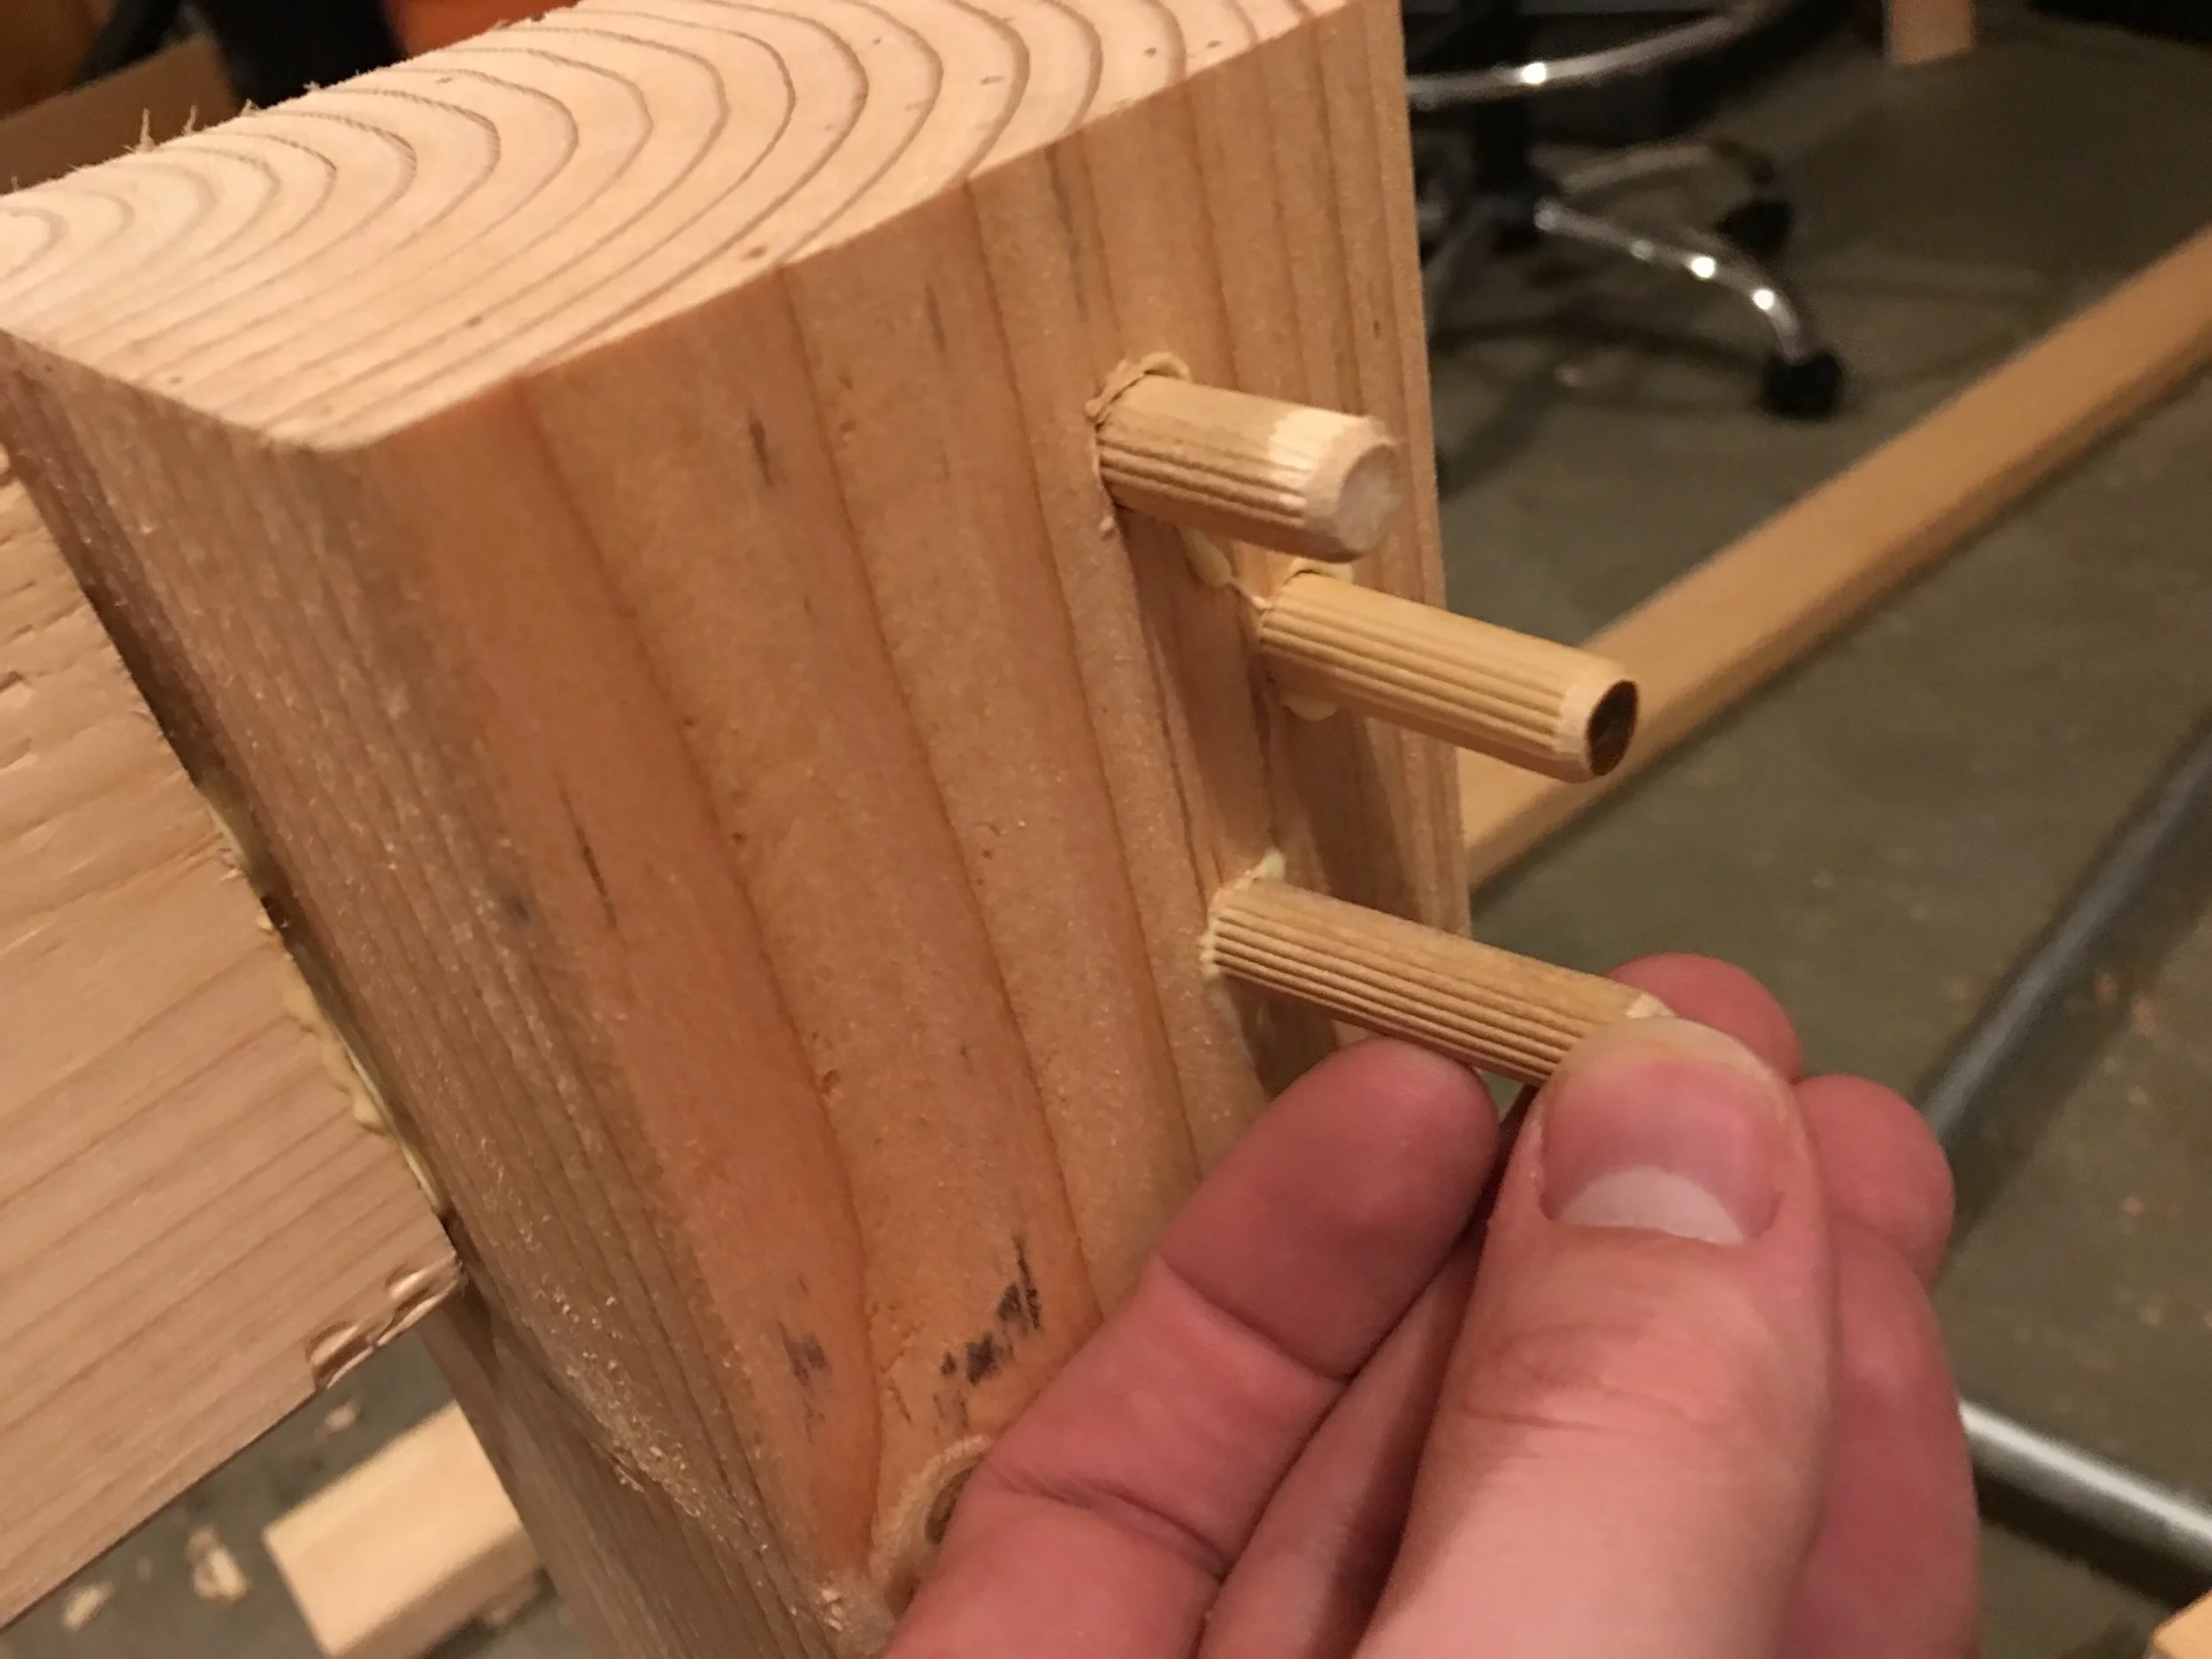
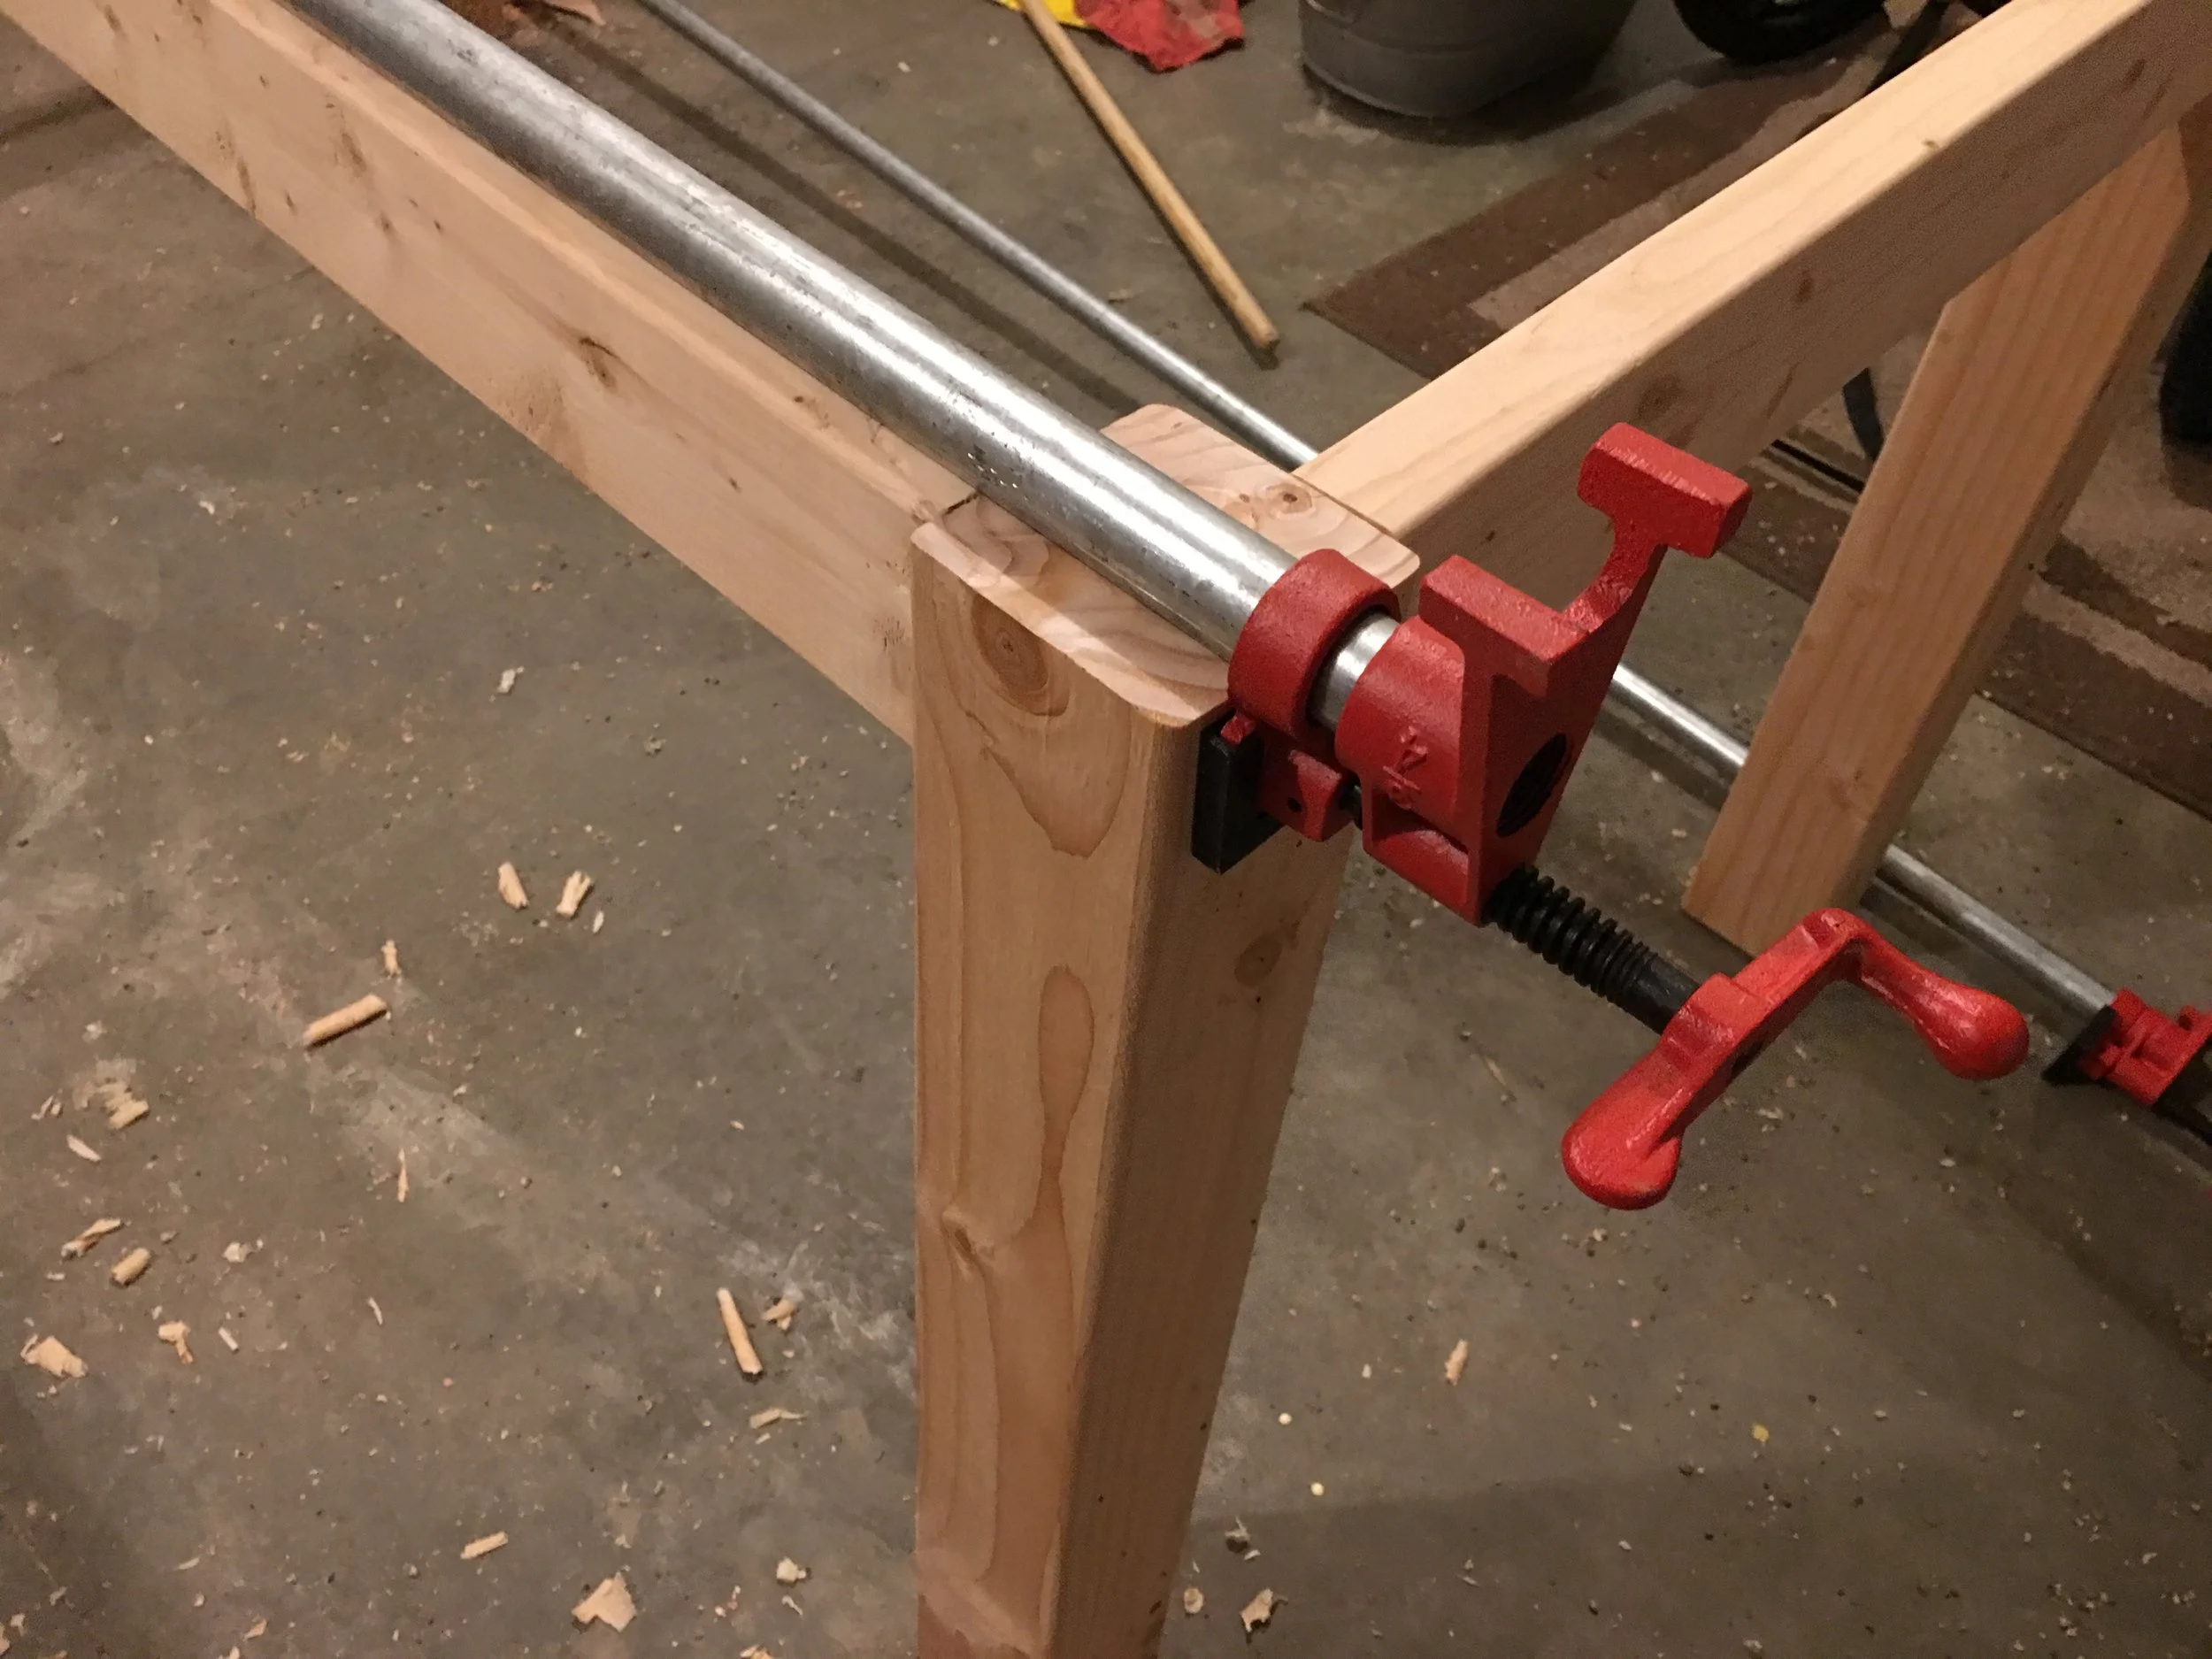
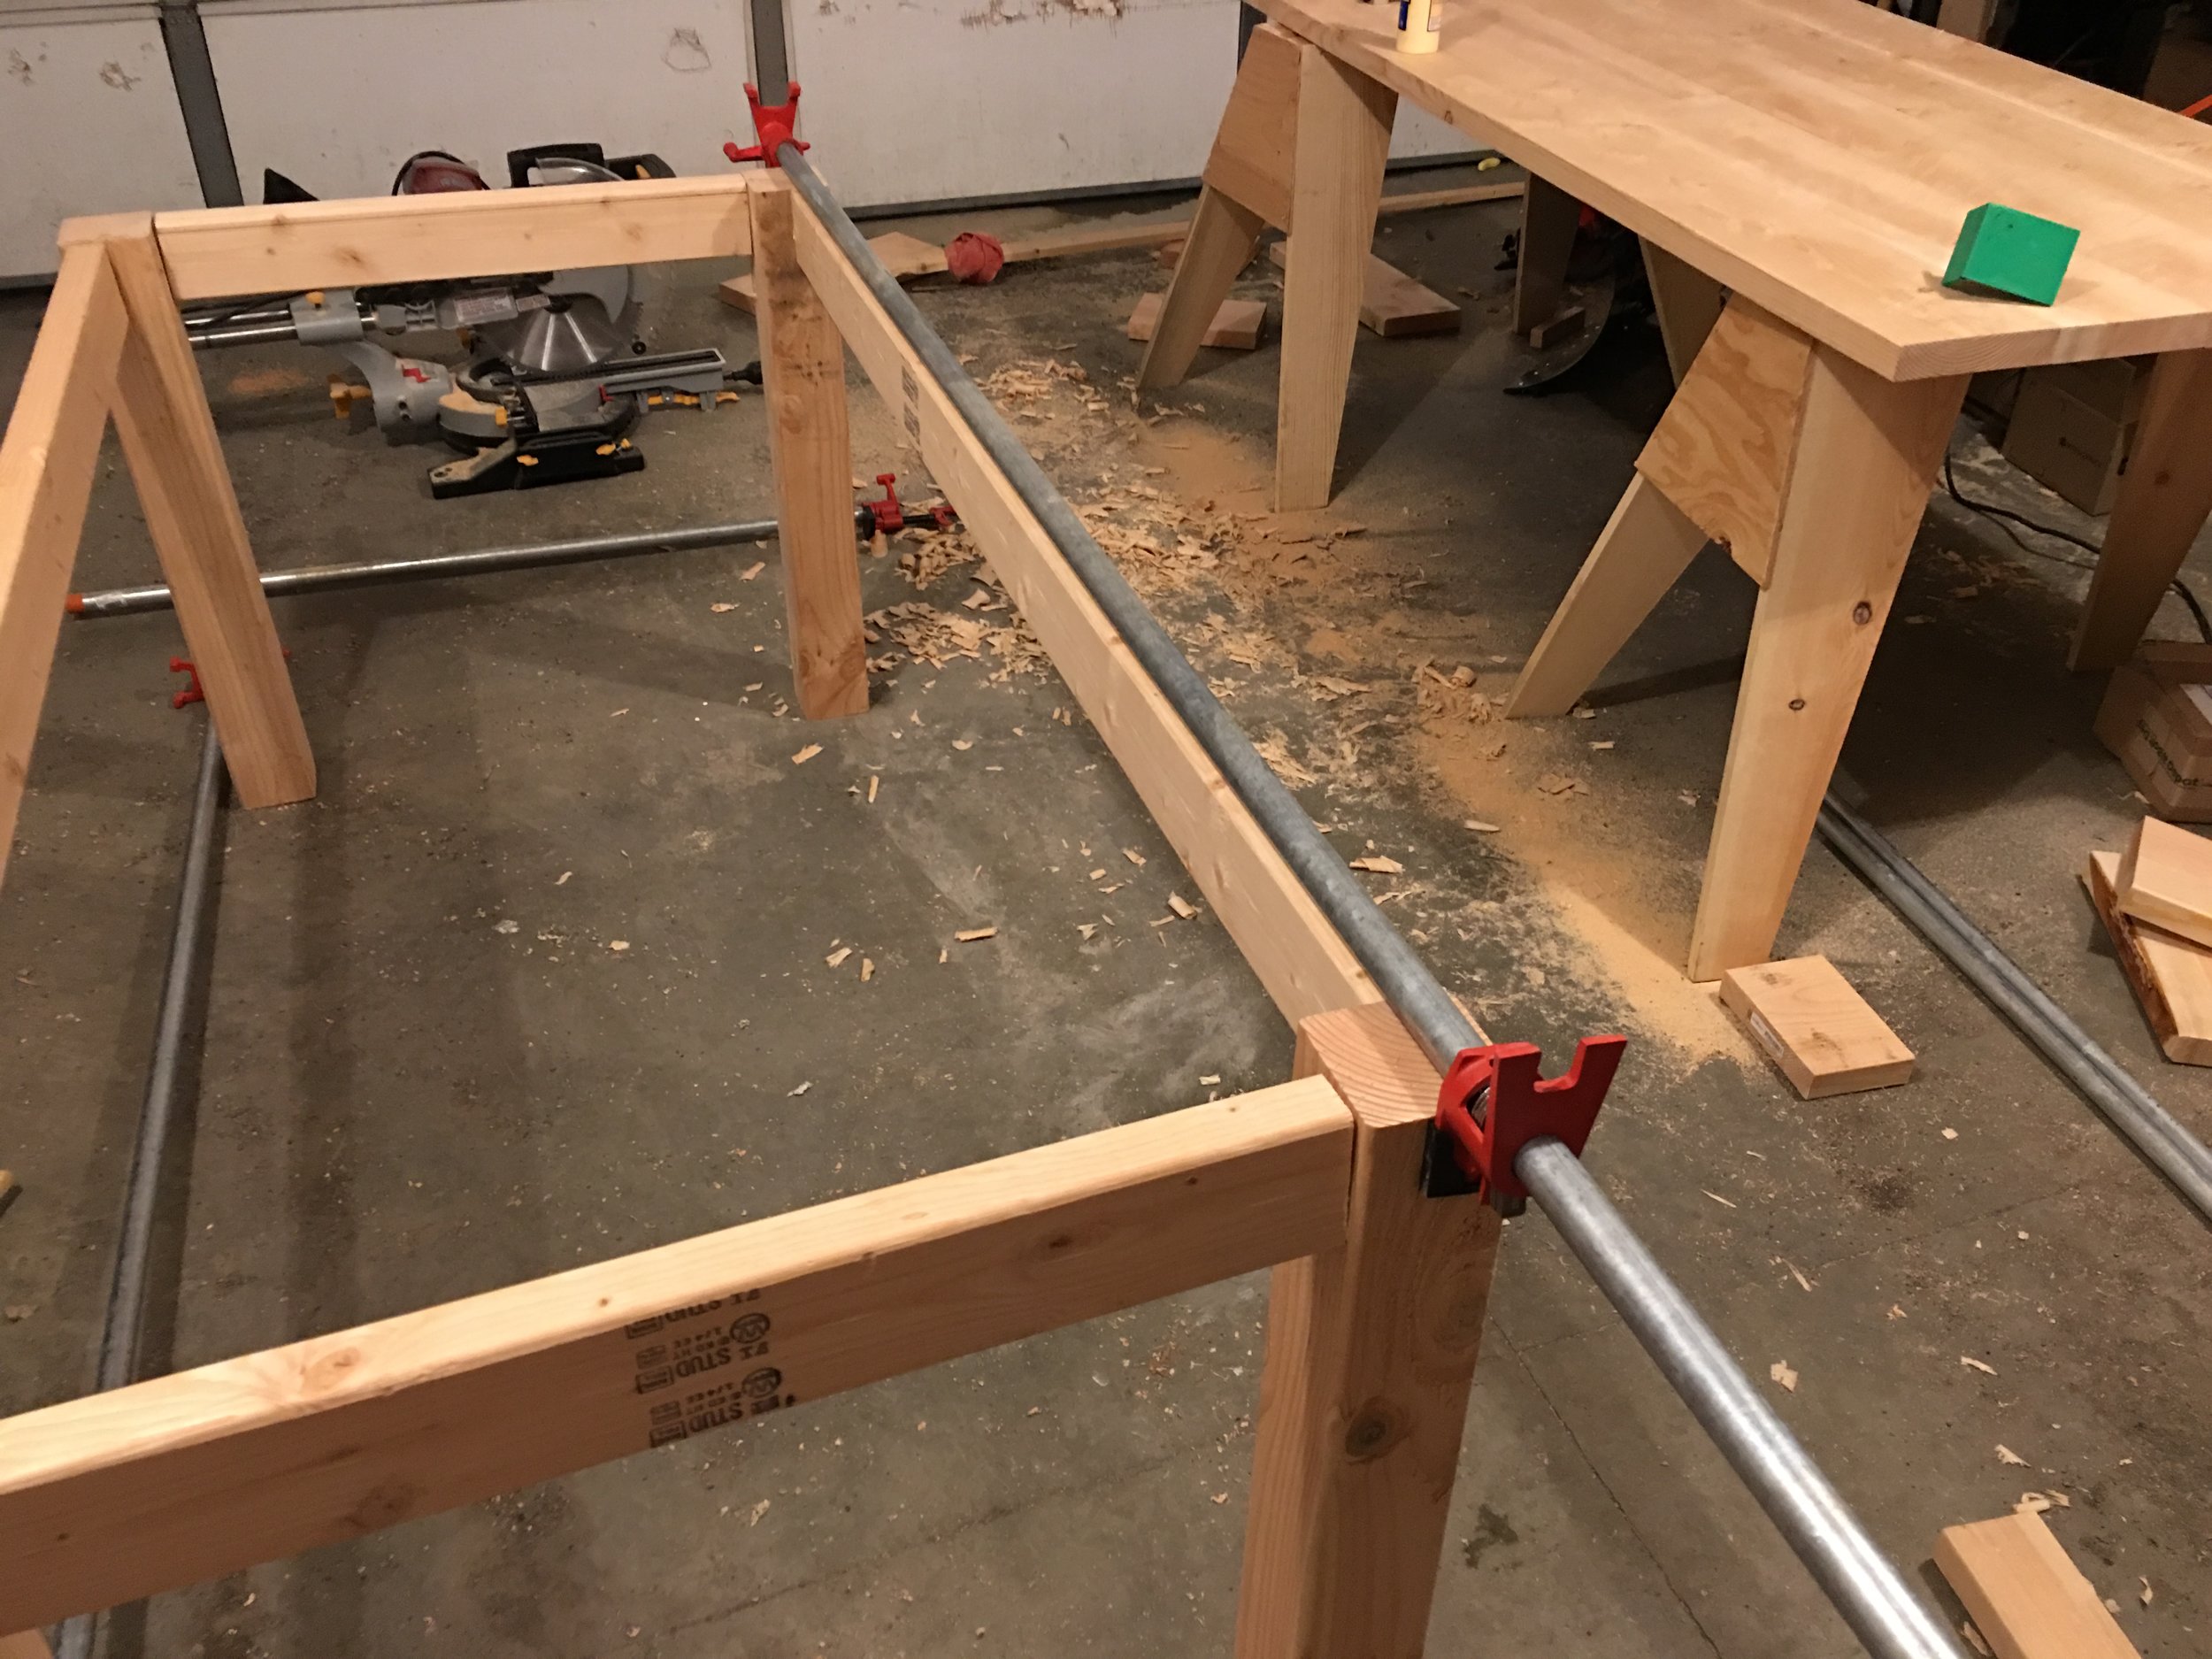
This next part is optional, but recommended if you want a nice smooth table. Standard dimensional lumber has rounded corners. If you didn't rip your boards, like me, then you're going to have seams running down your table. That's fine if you're ok with it, but I don't like having those grooves. I decided to fill those grooves using my own makeshift wood filler using glue and wood dust from sanding the boards. I also used it to fill knots and cracks in the wood. I didn't pay attention to proportions, I just mixed some glue with the dust until it had a good consistency. That little container of Elmer's glue was not enough, so get a bigger container.
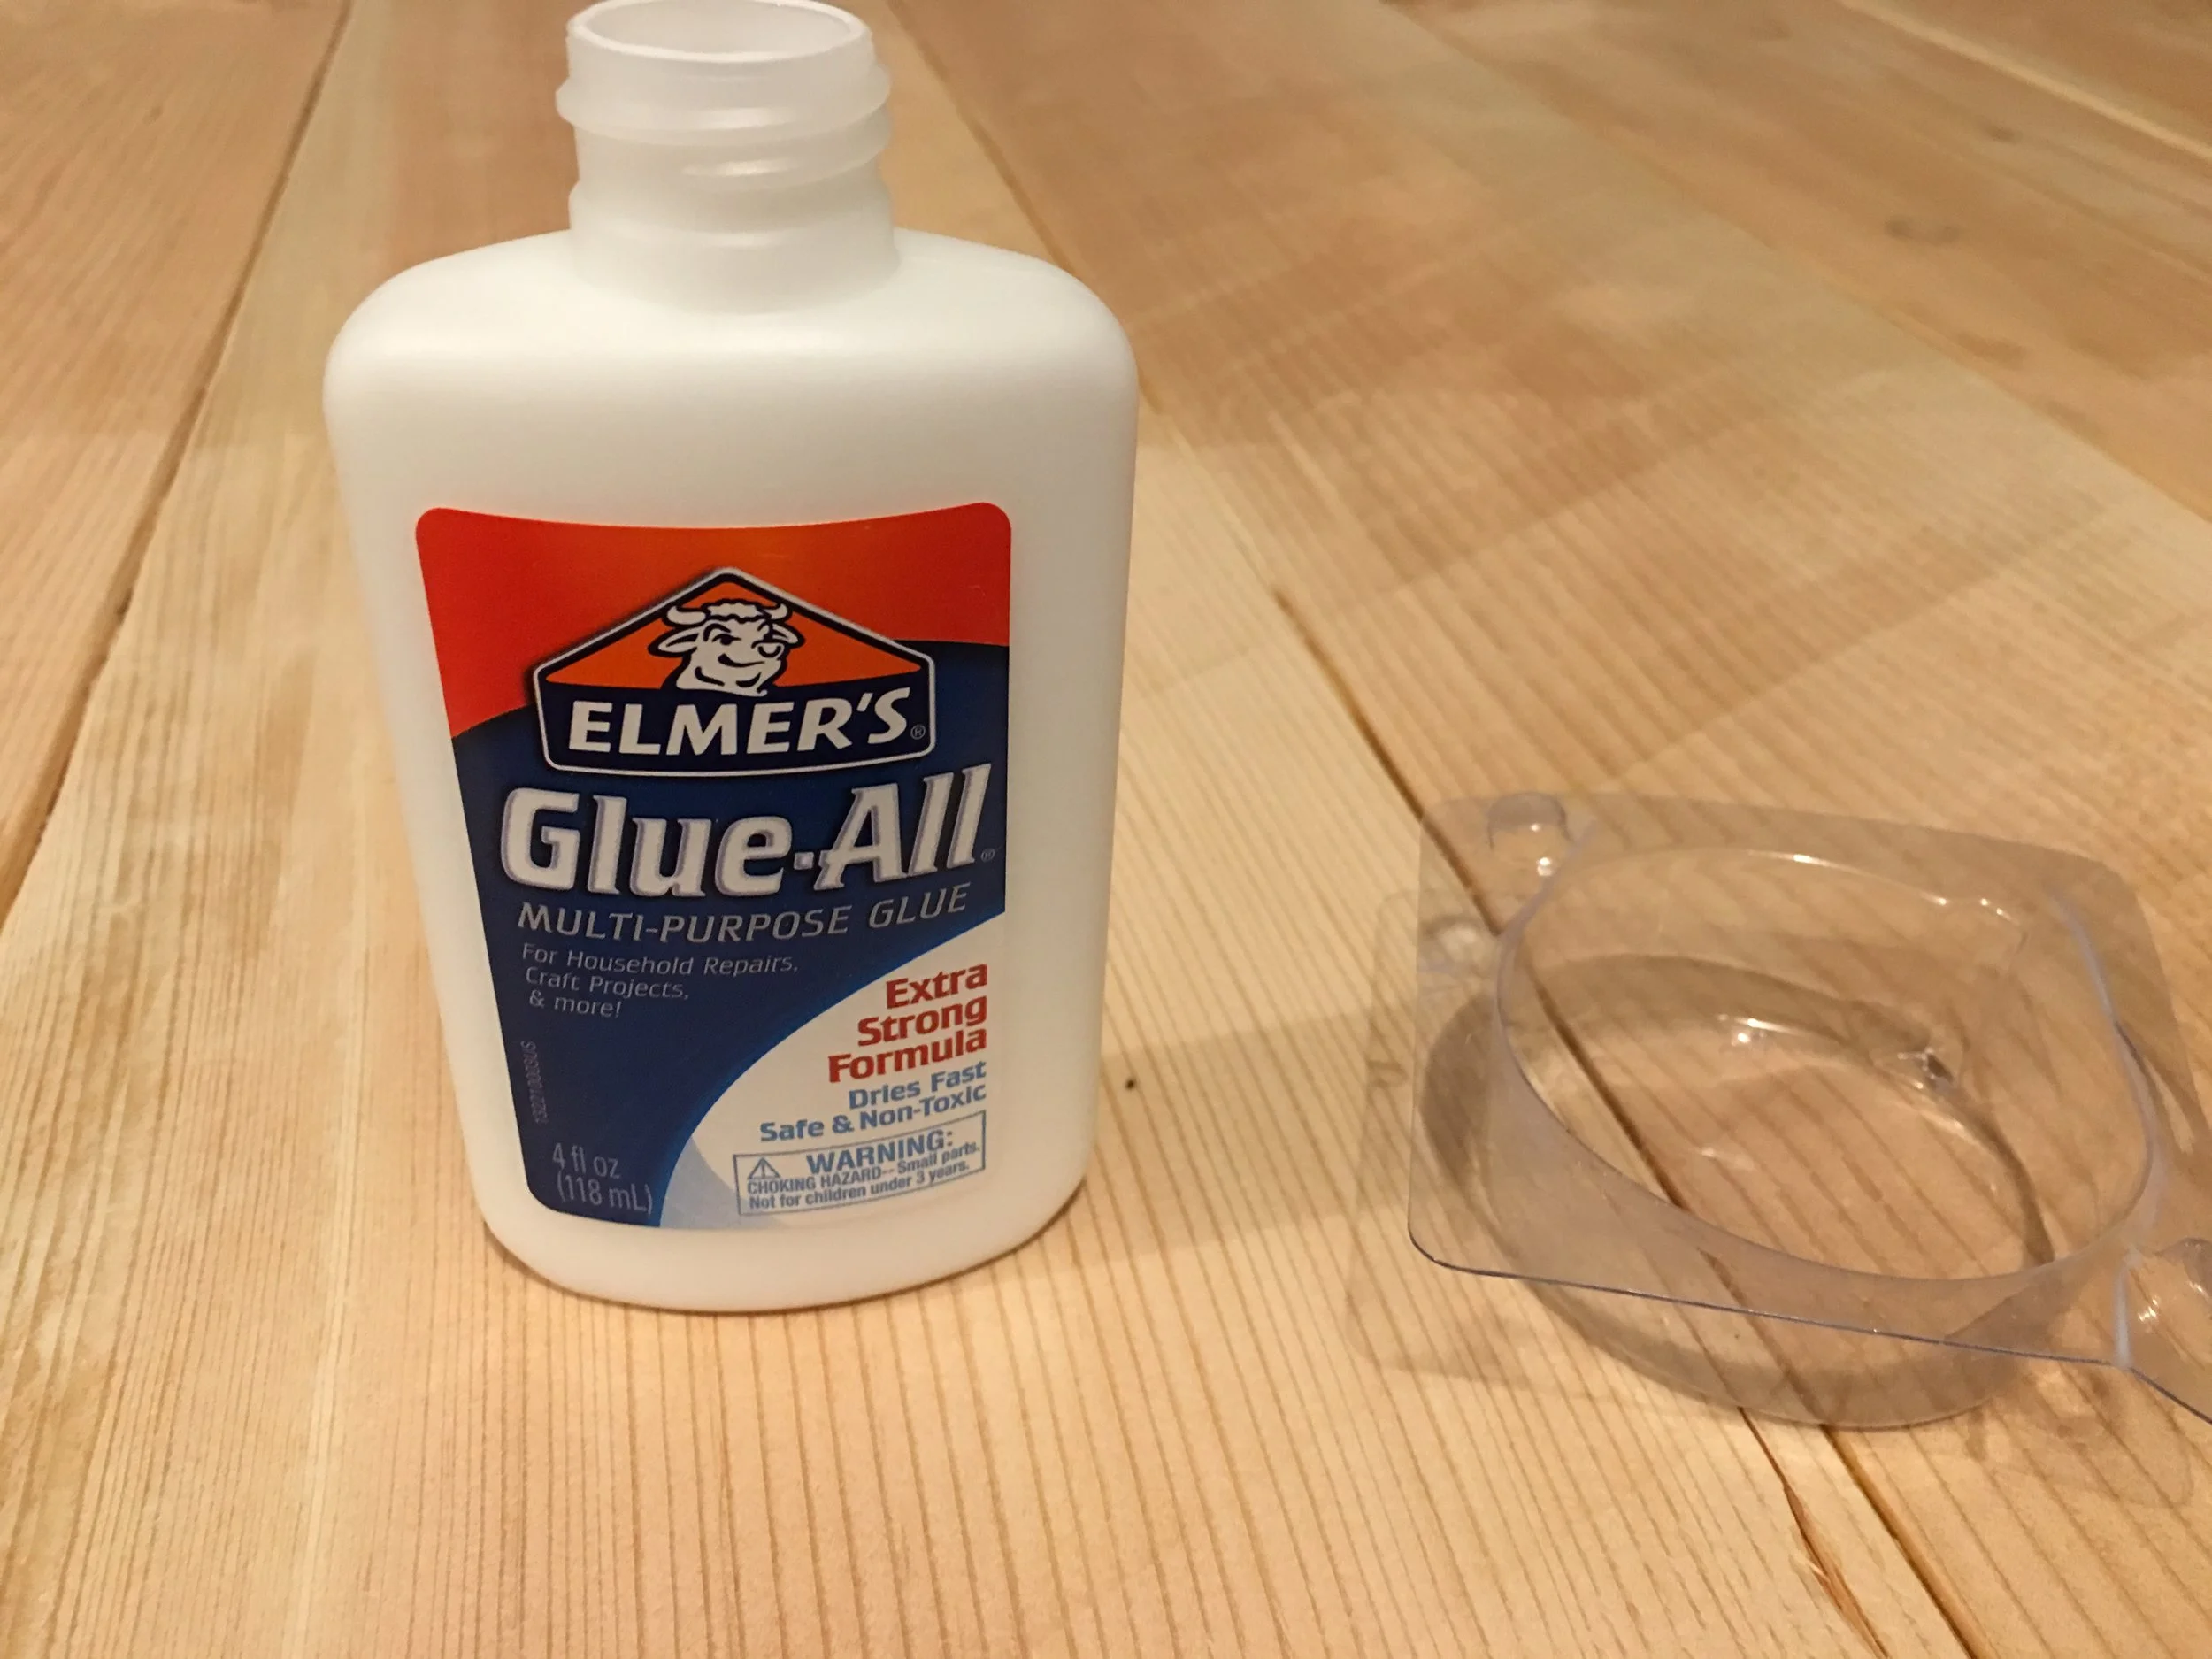
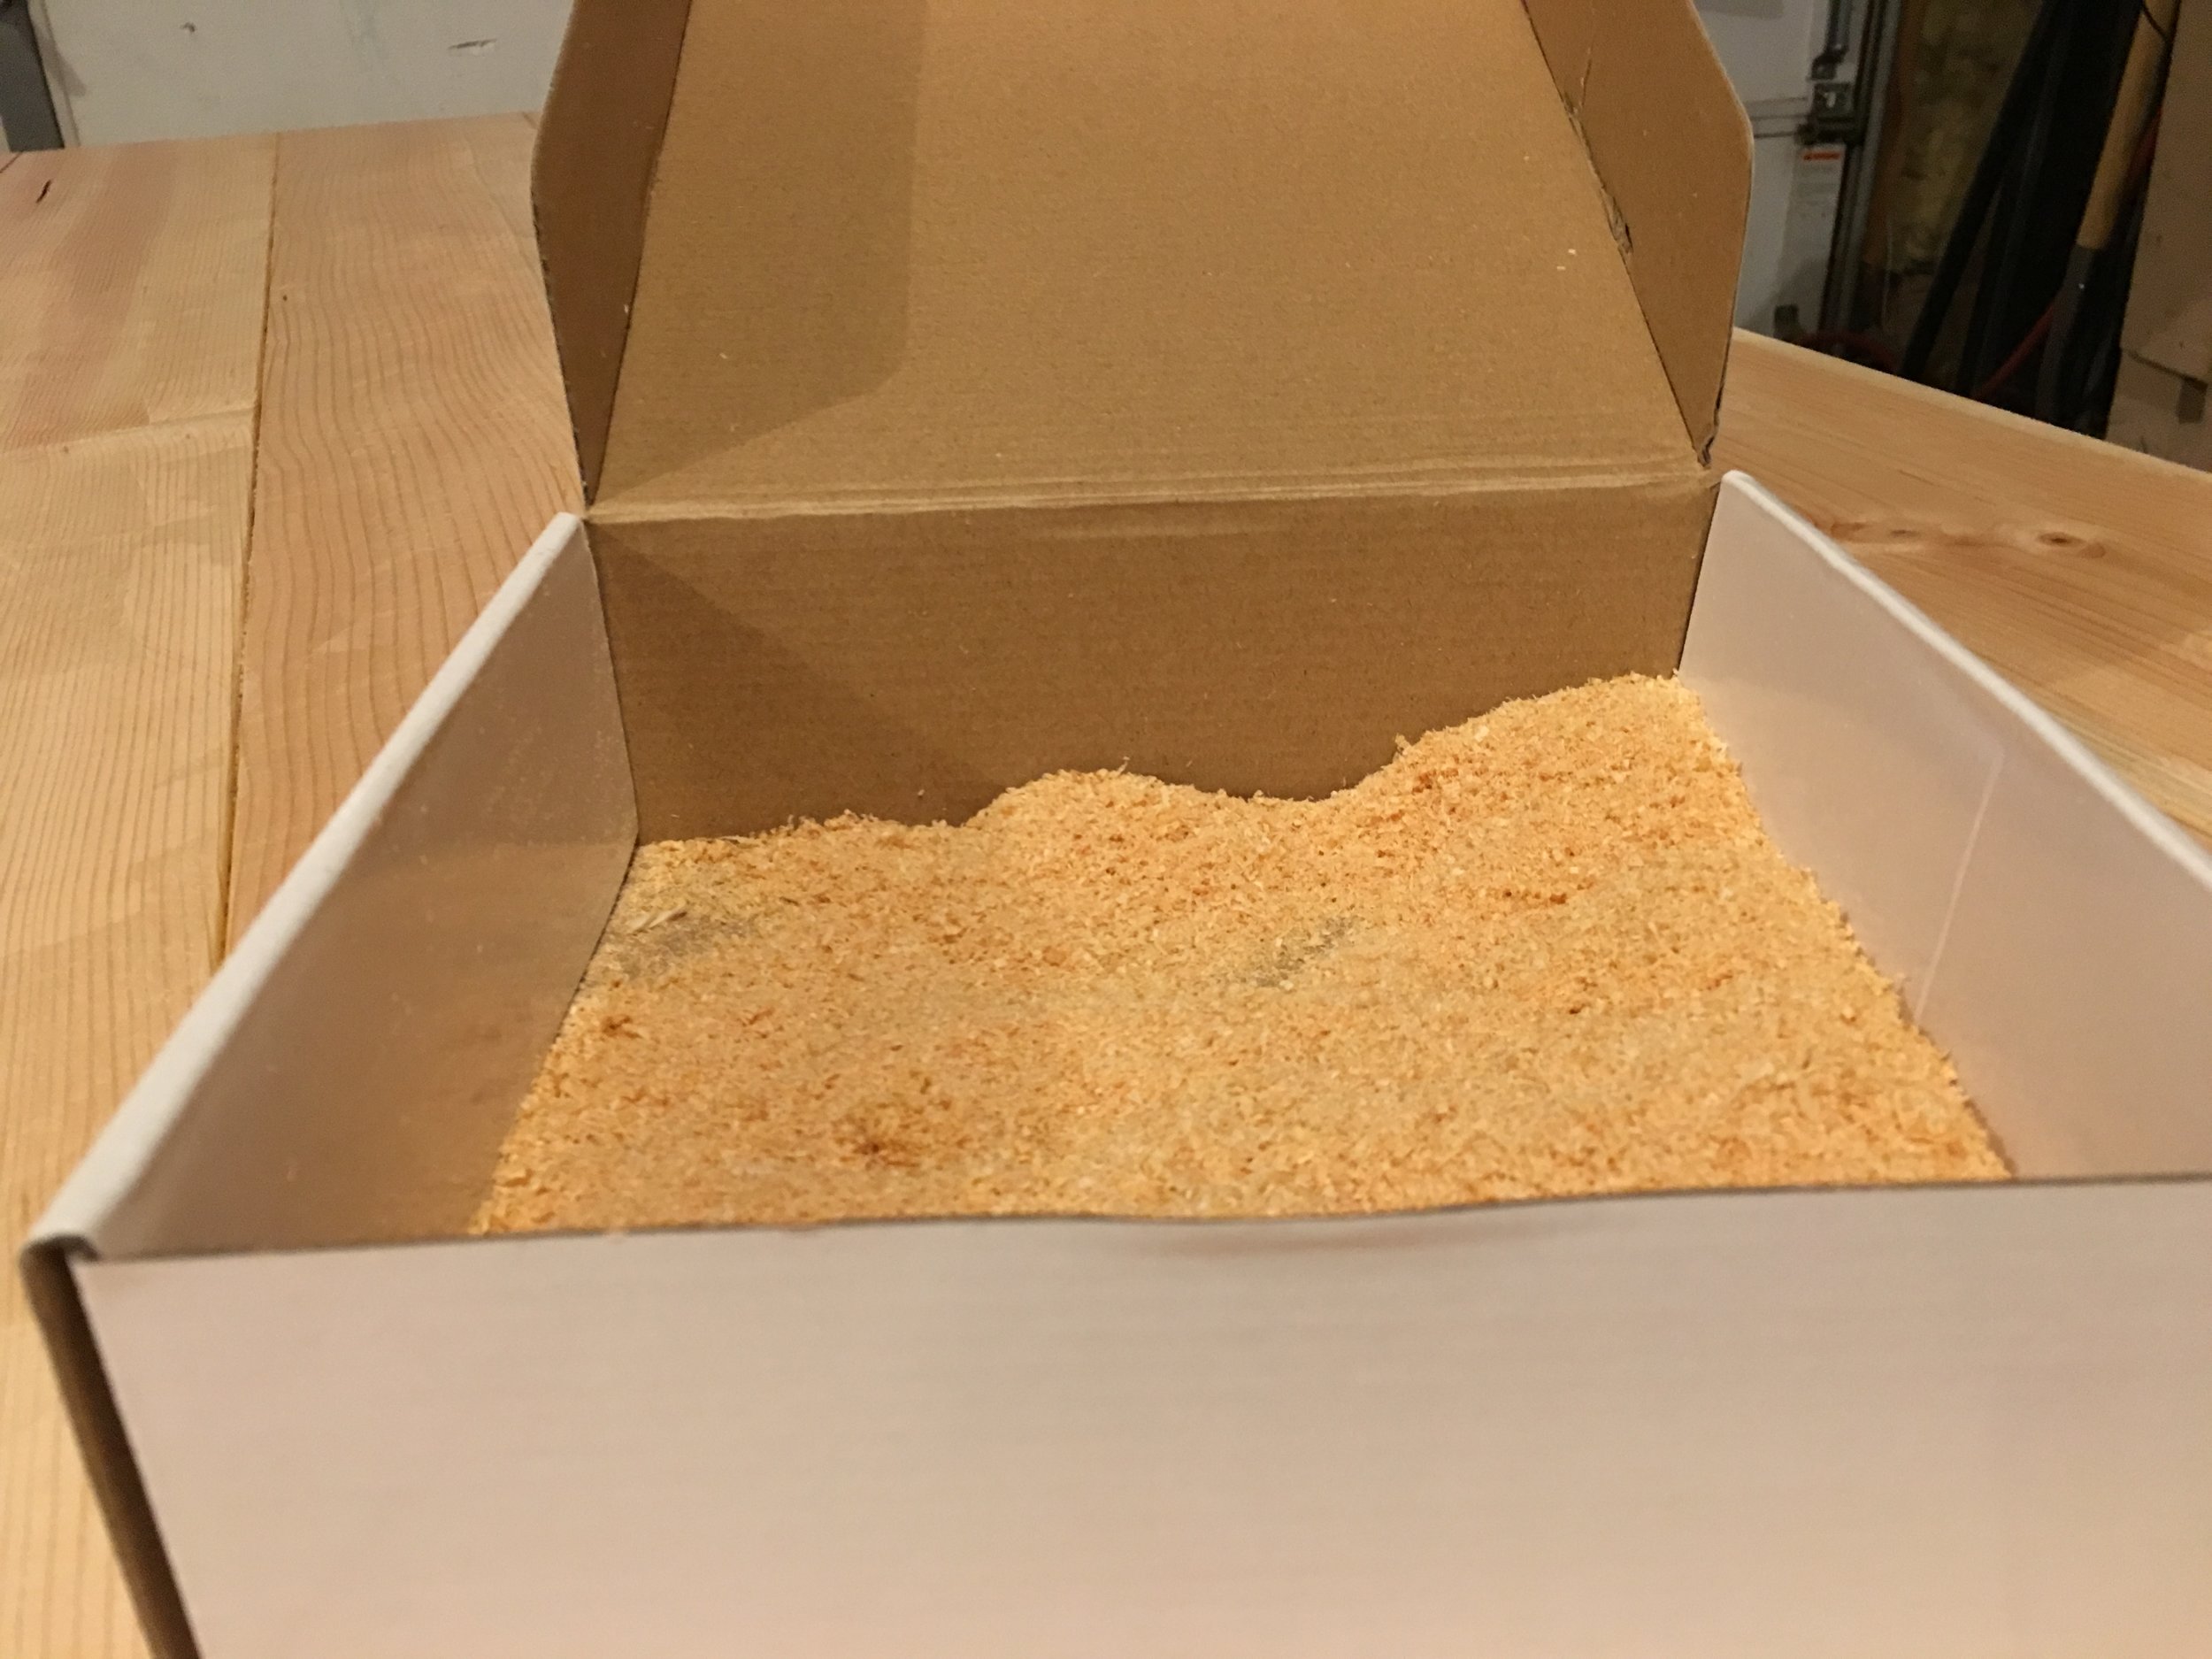
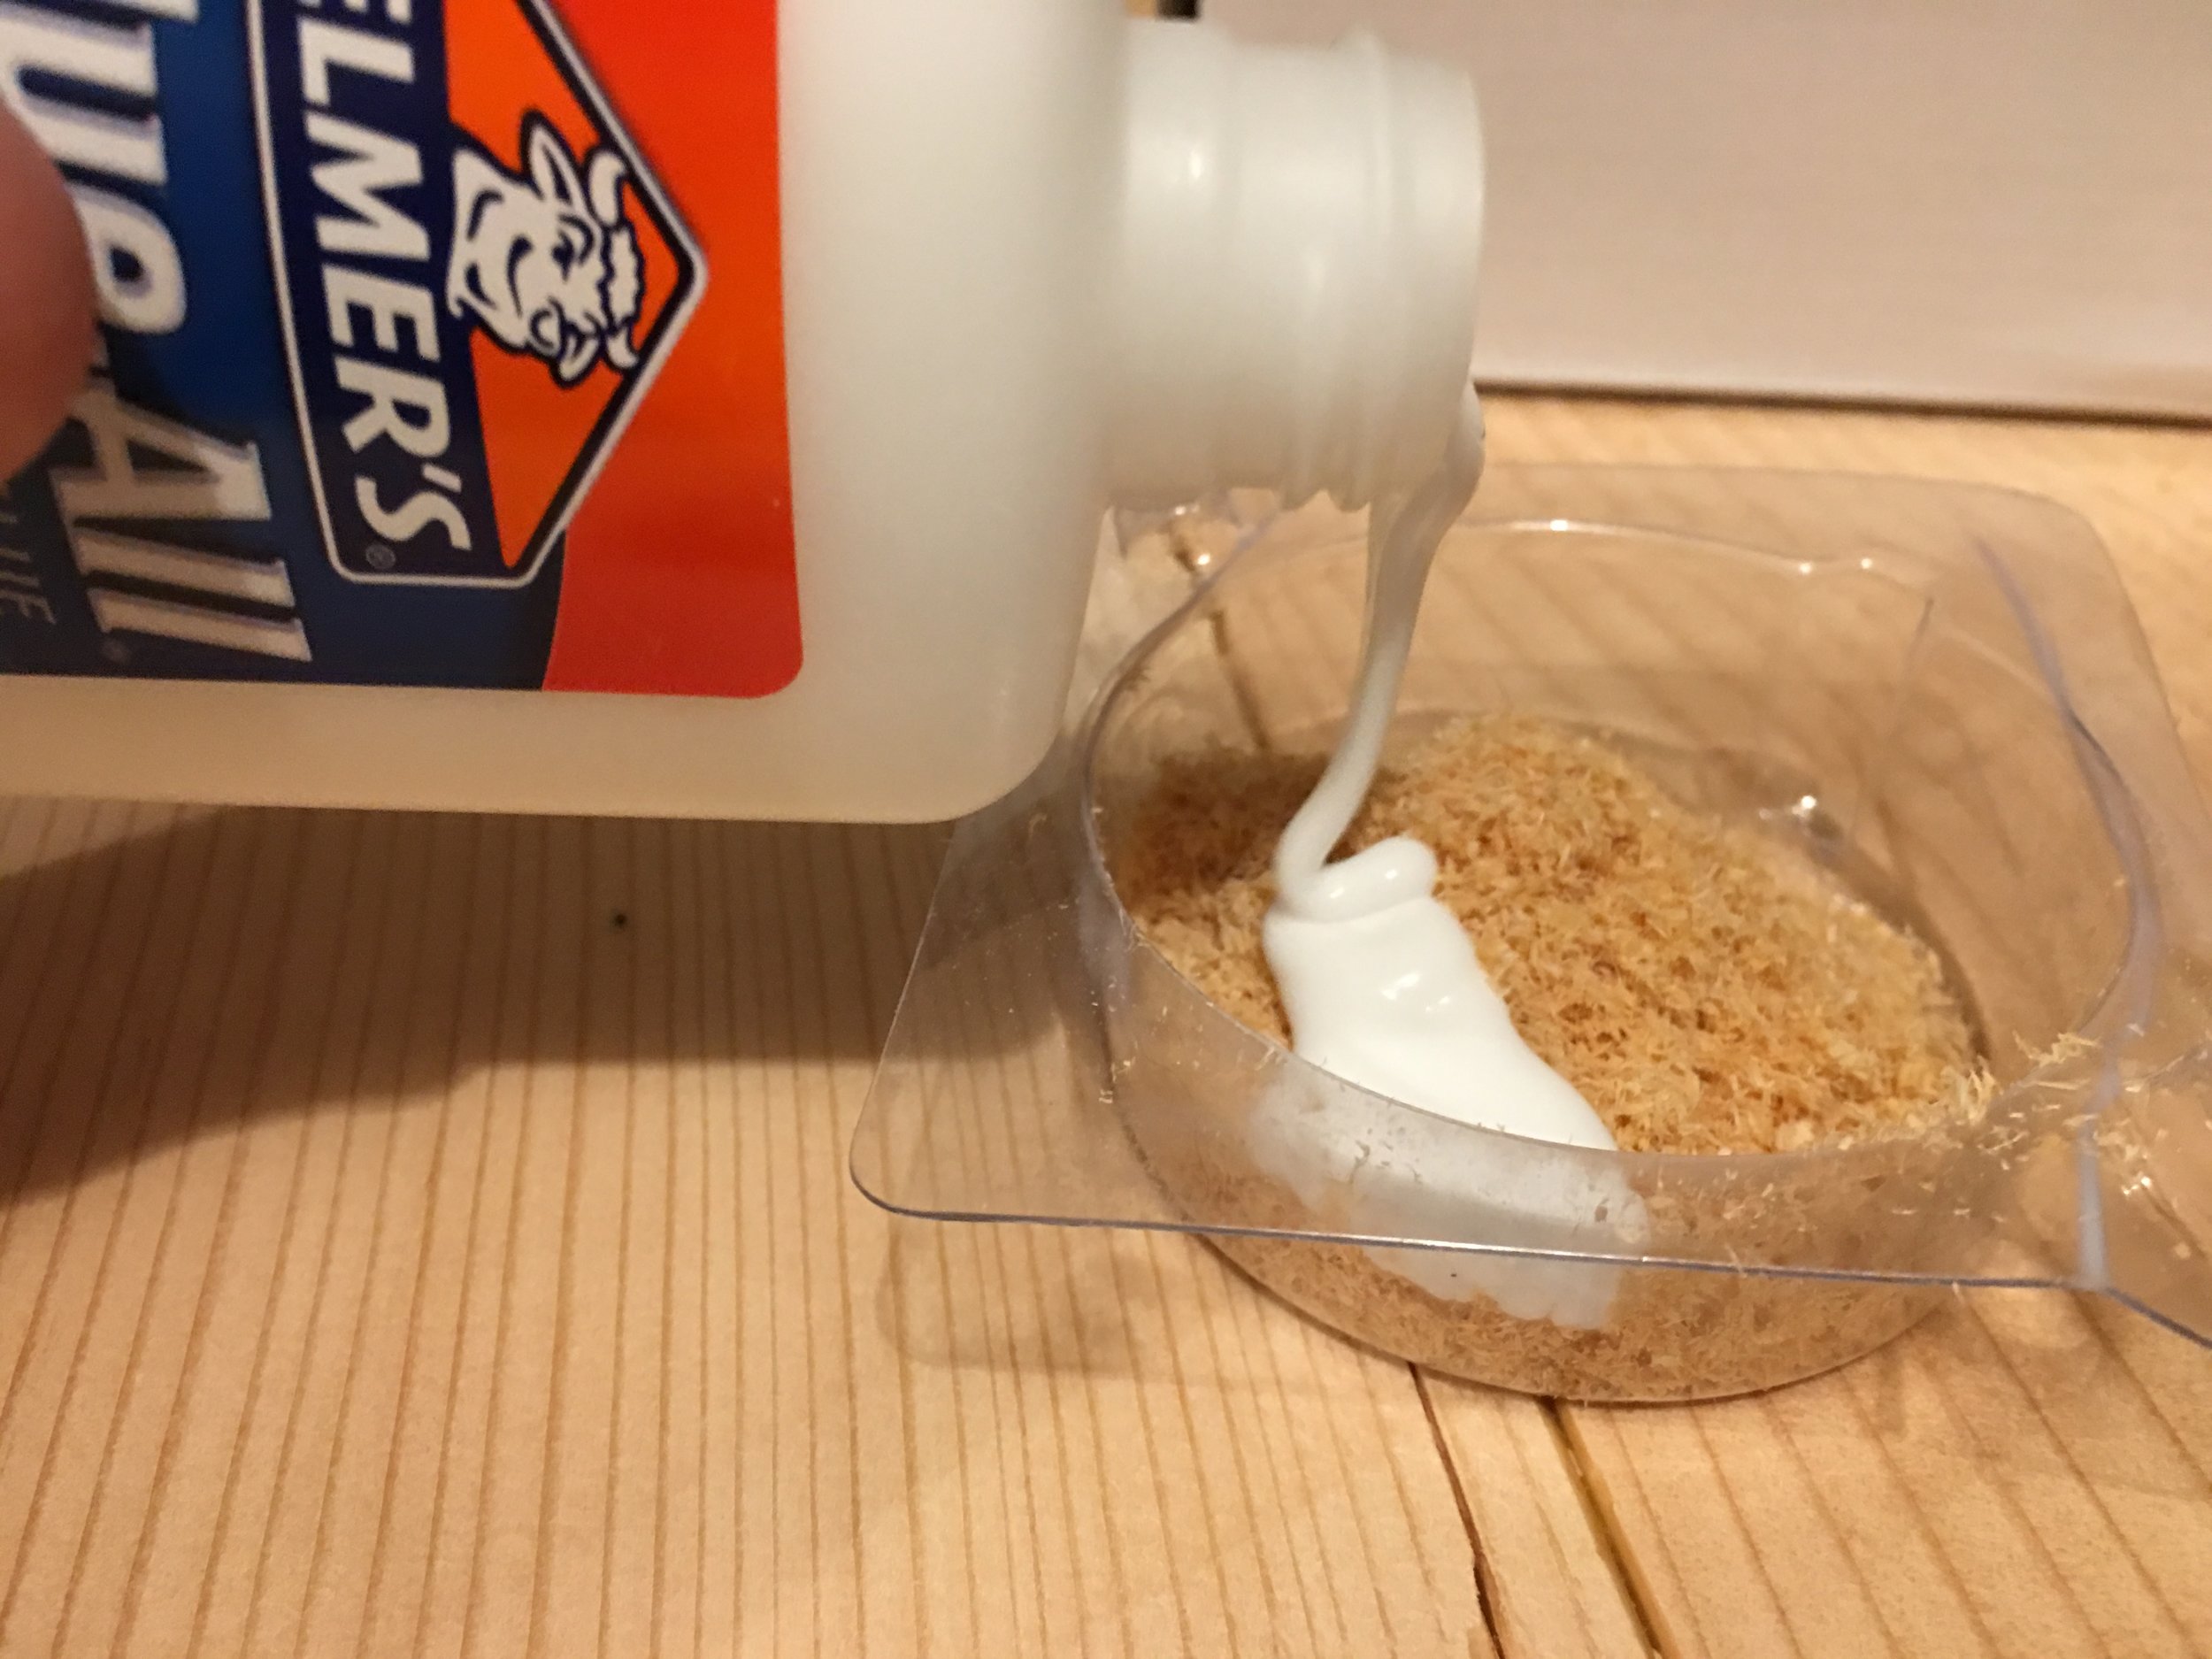
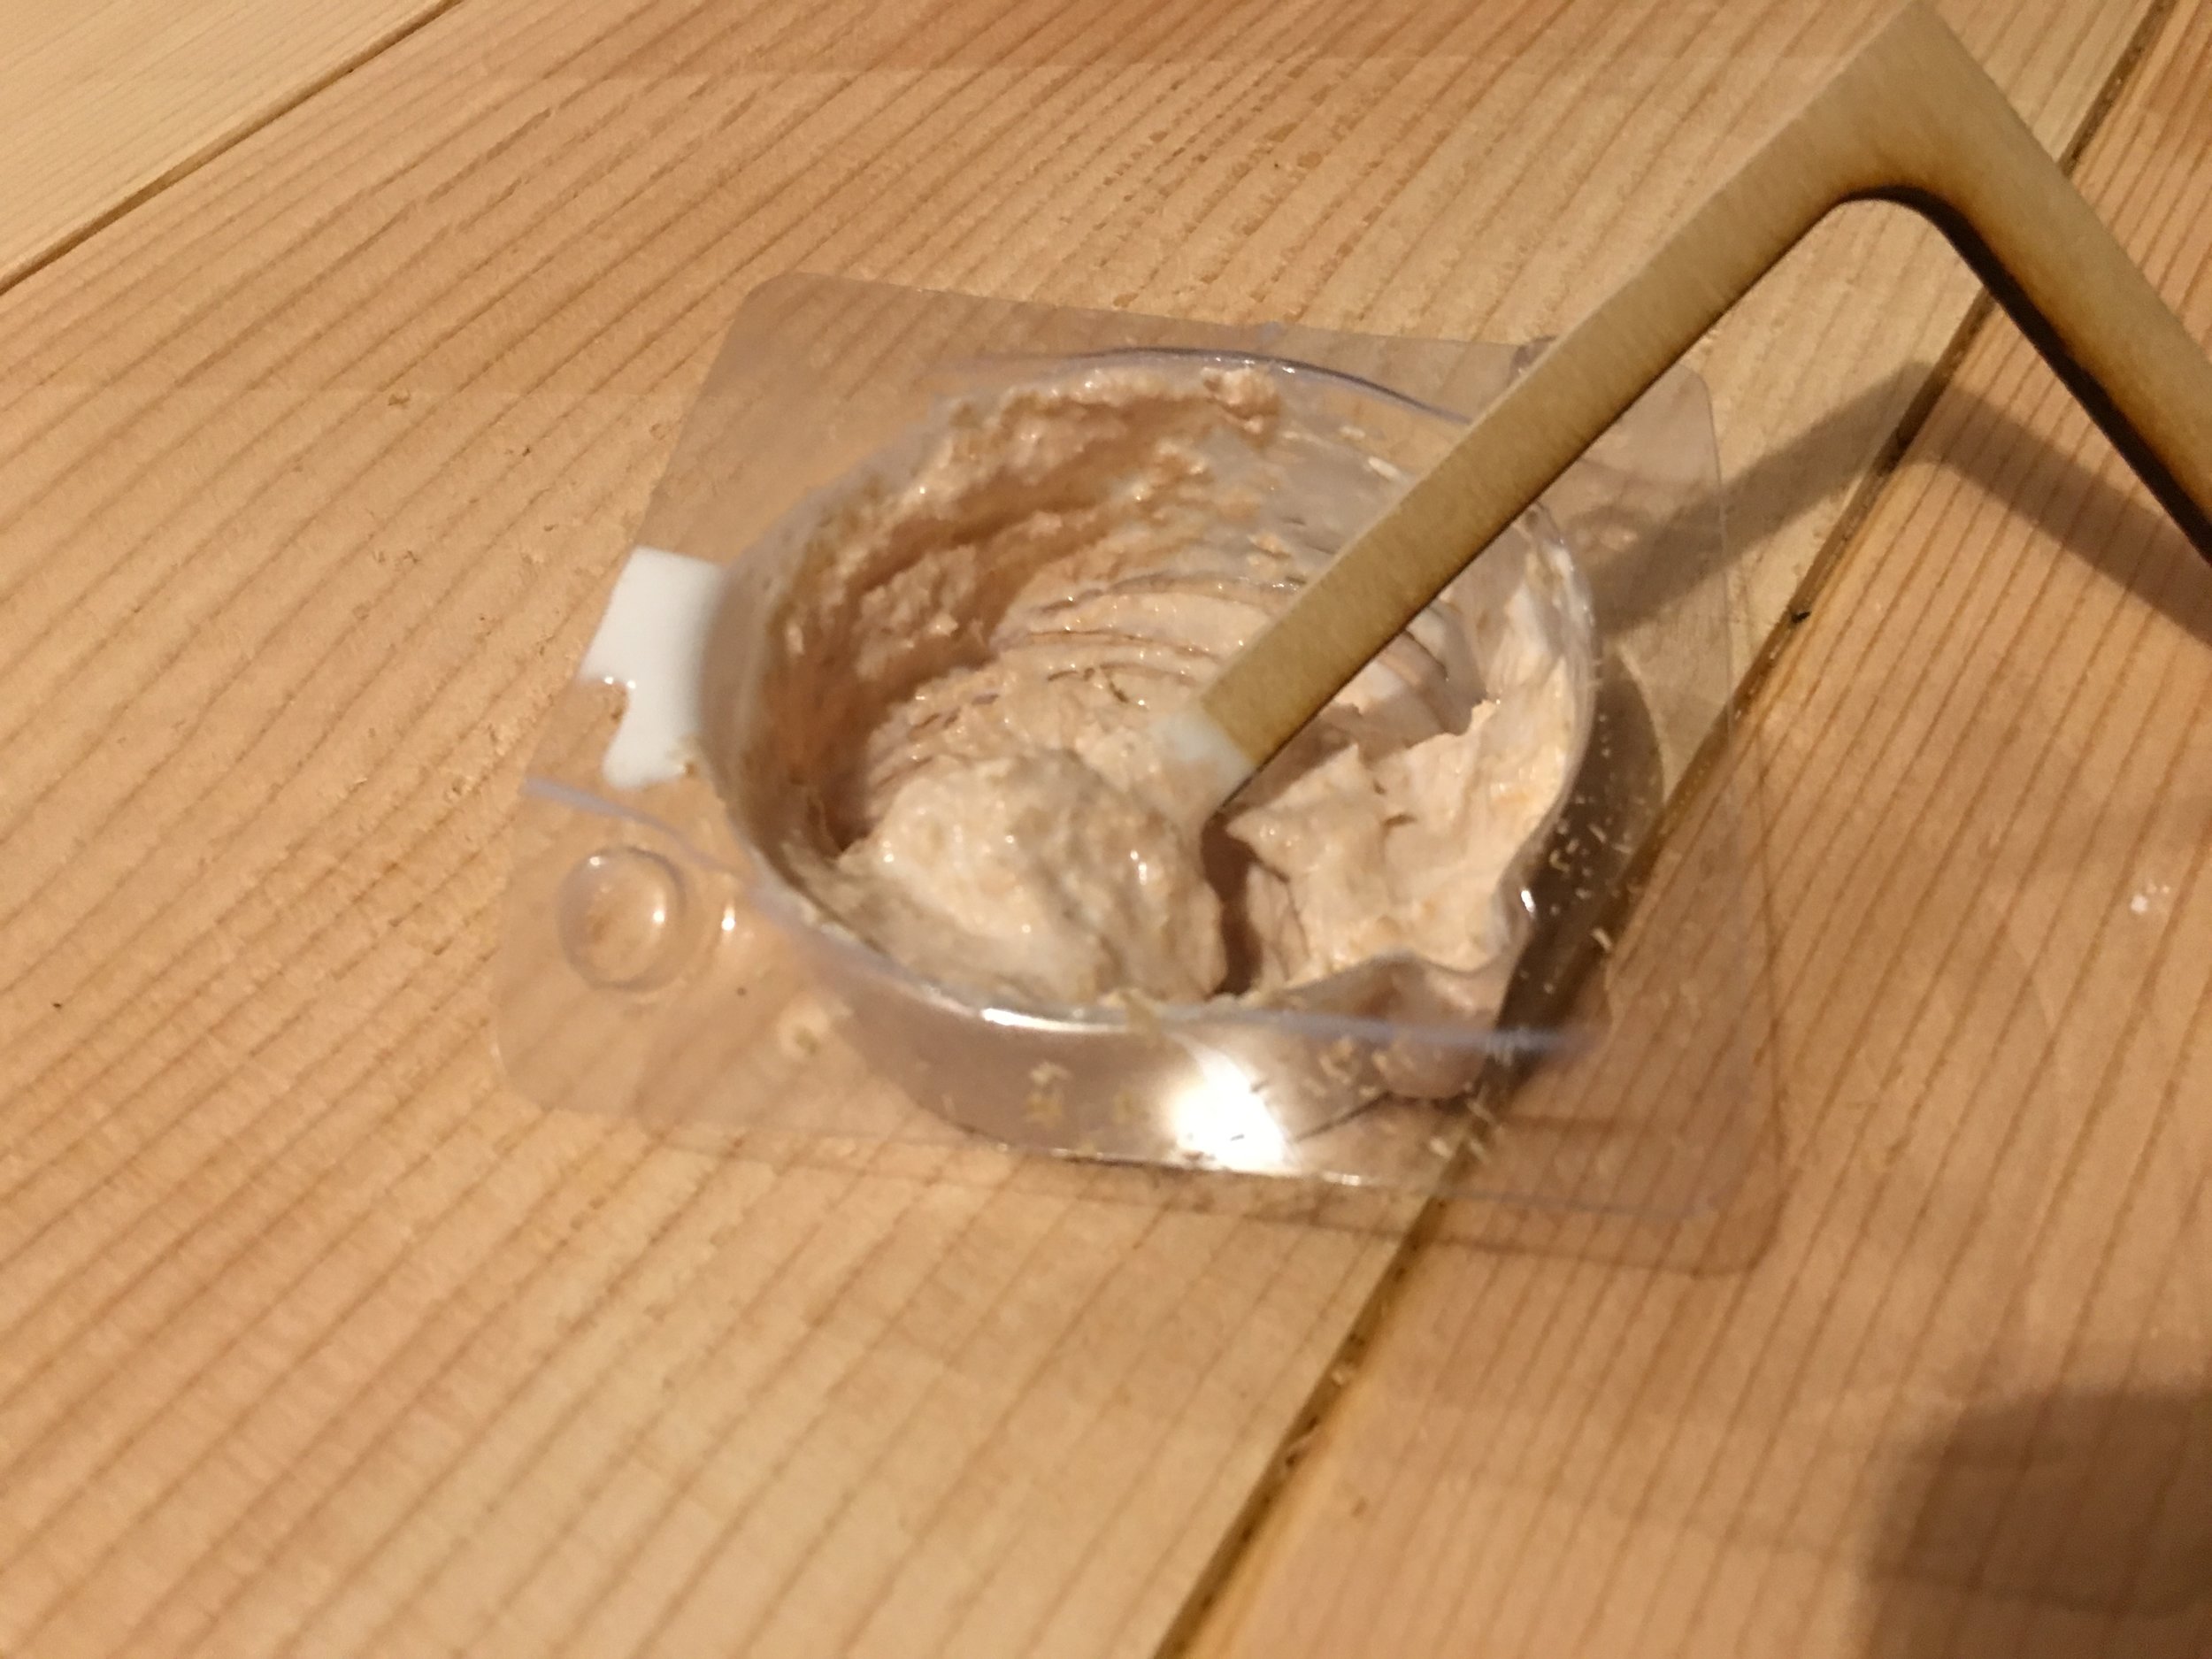
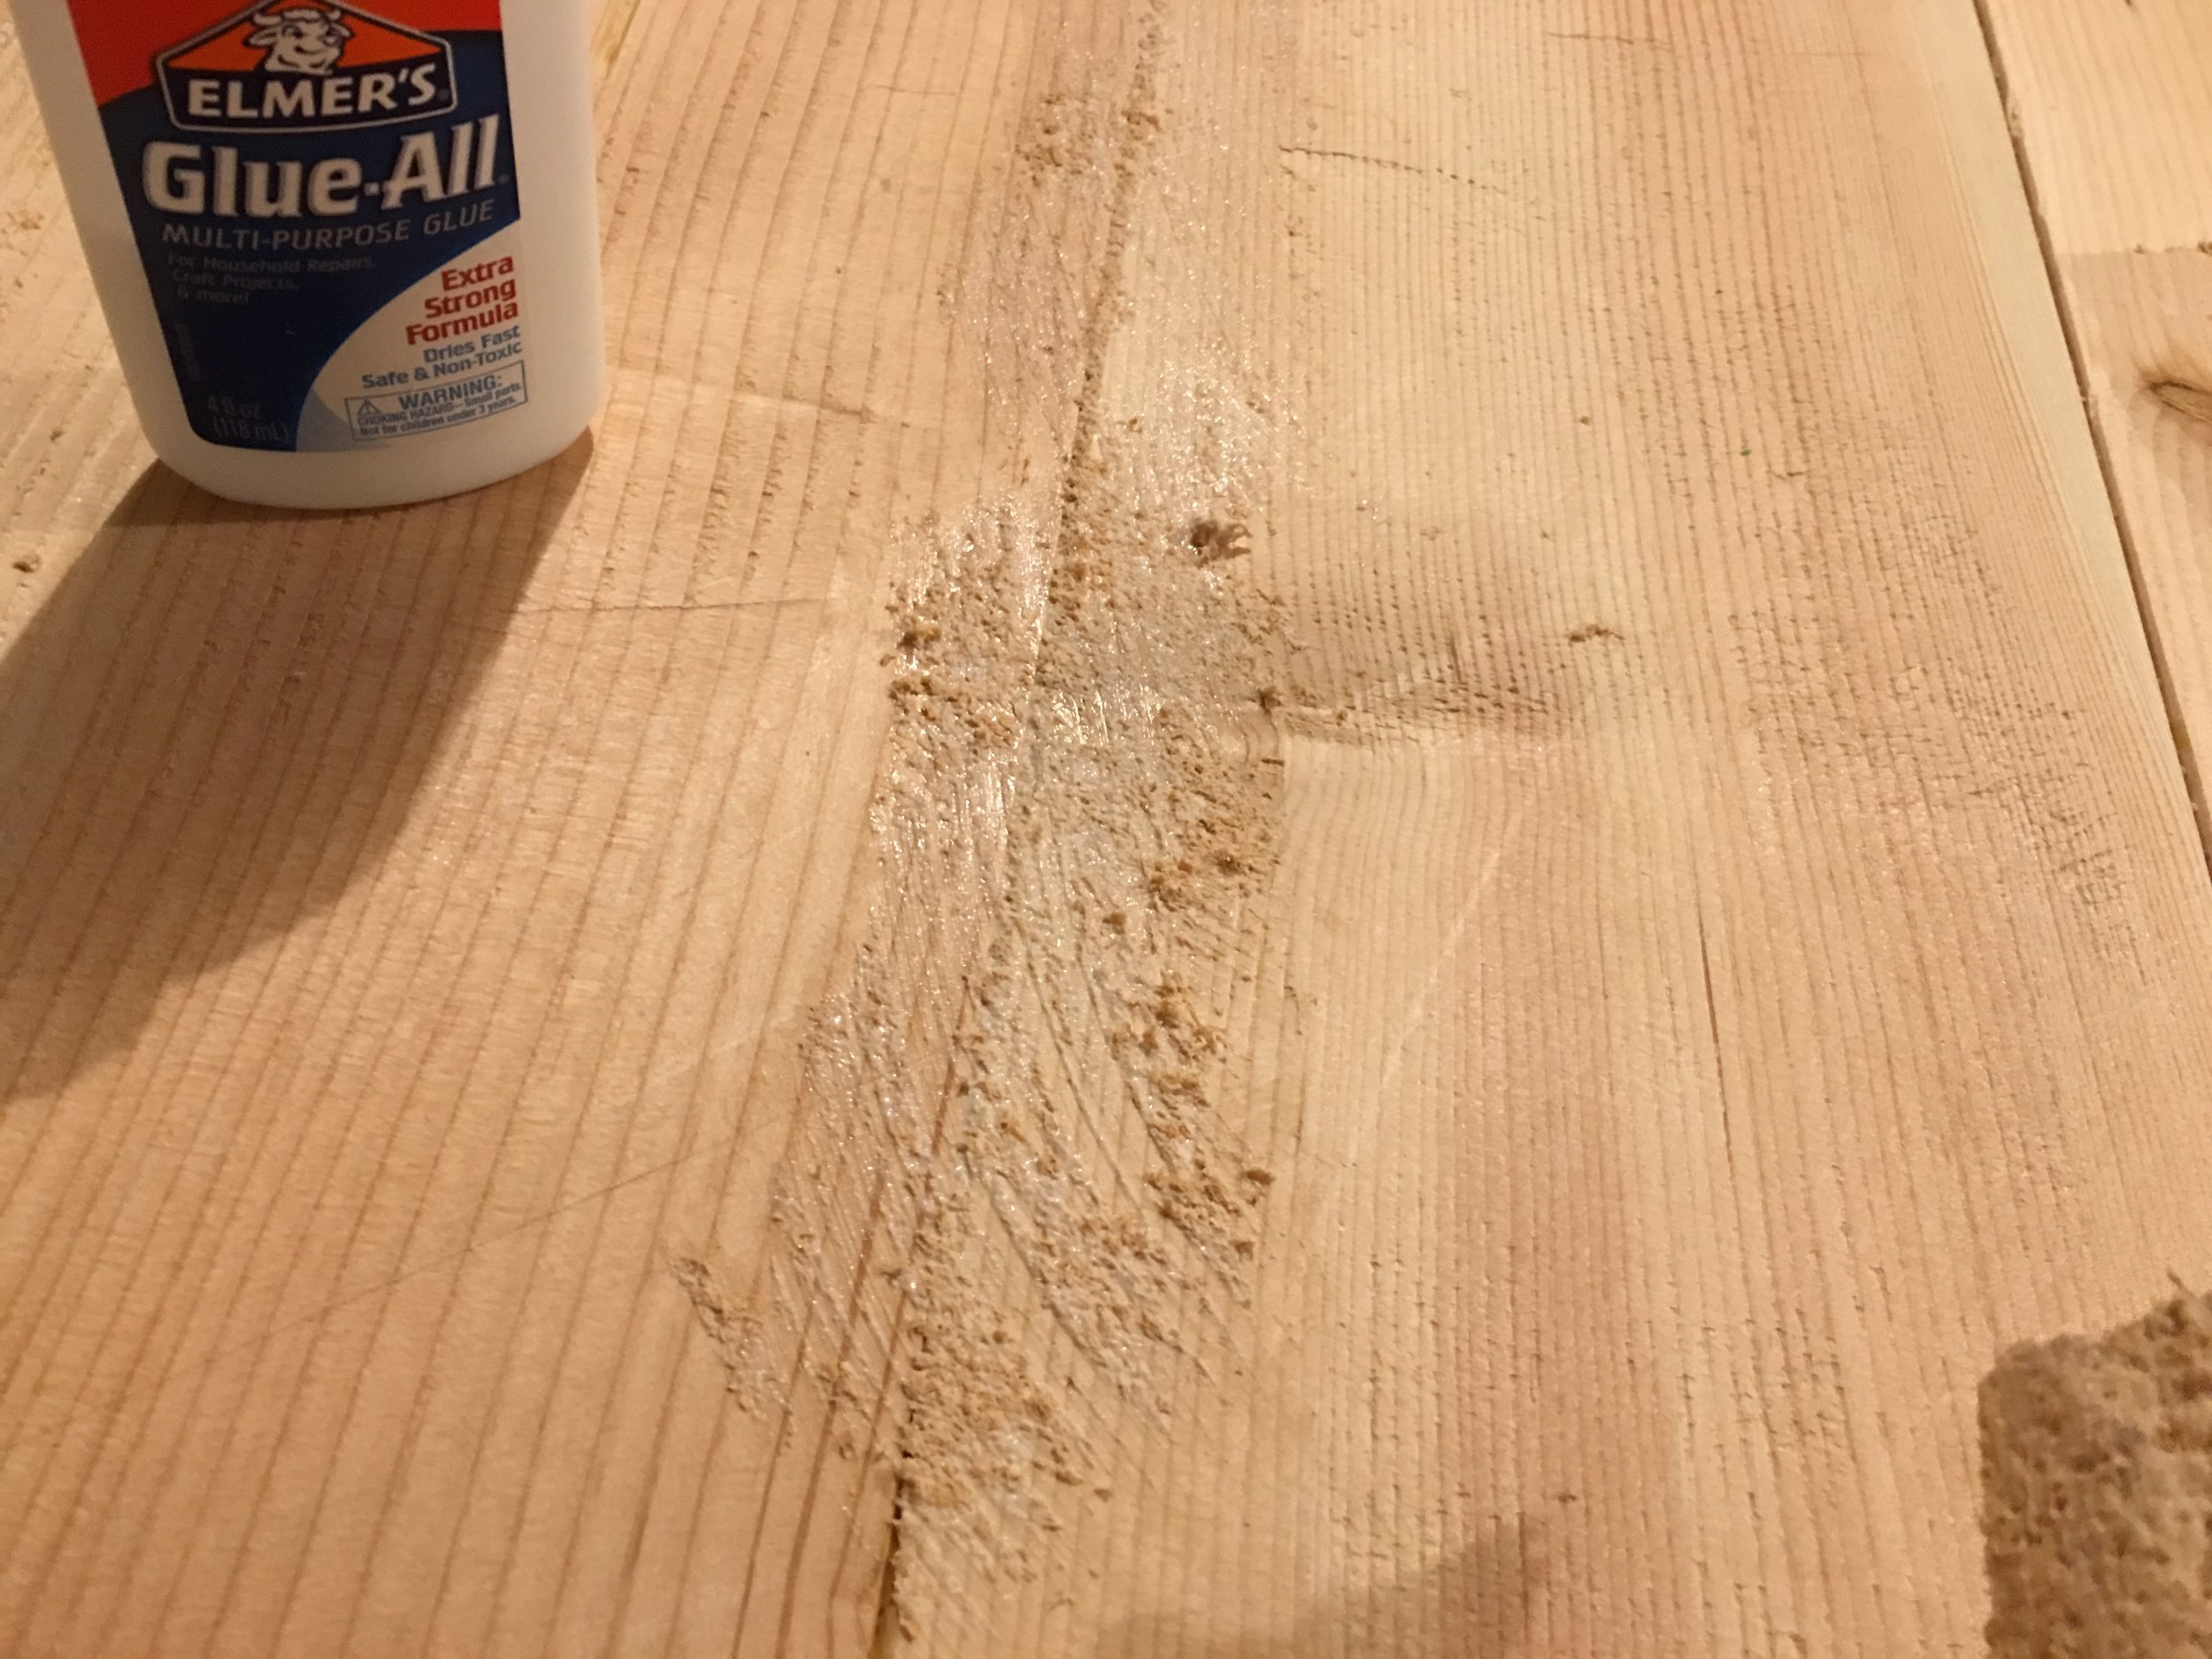
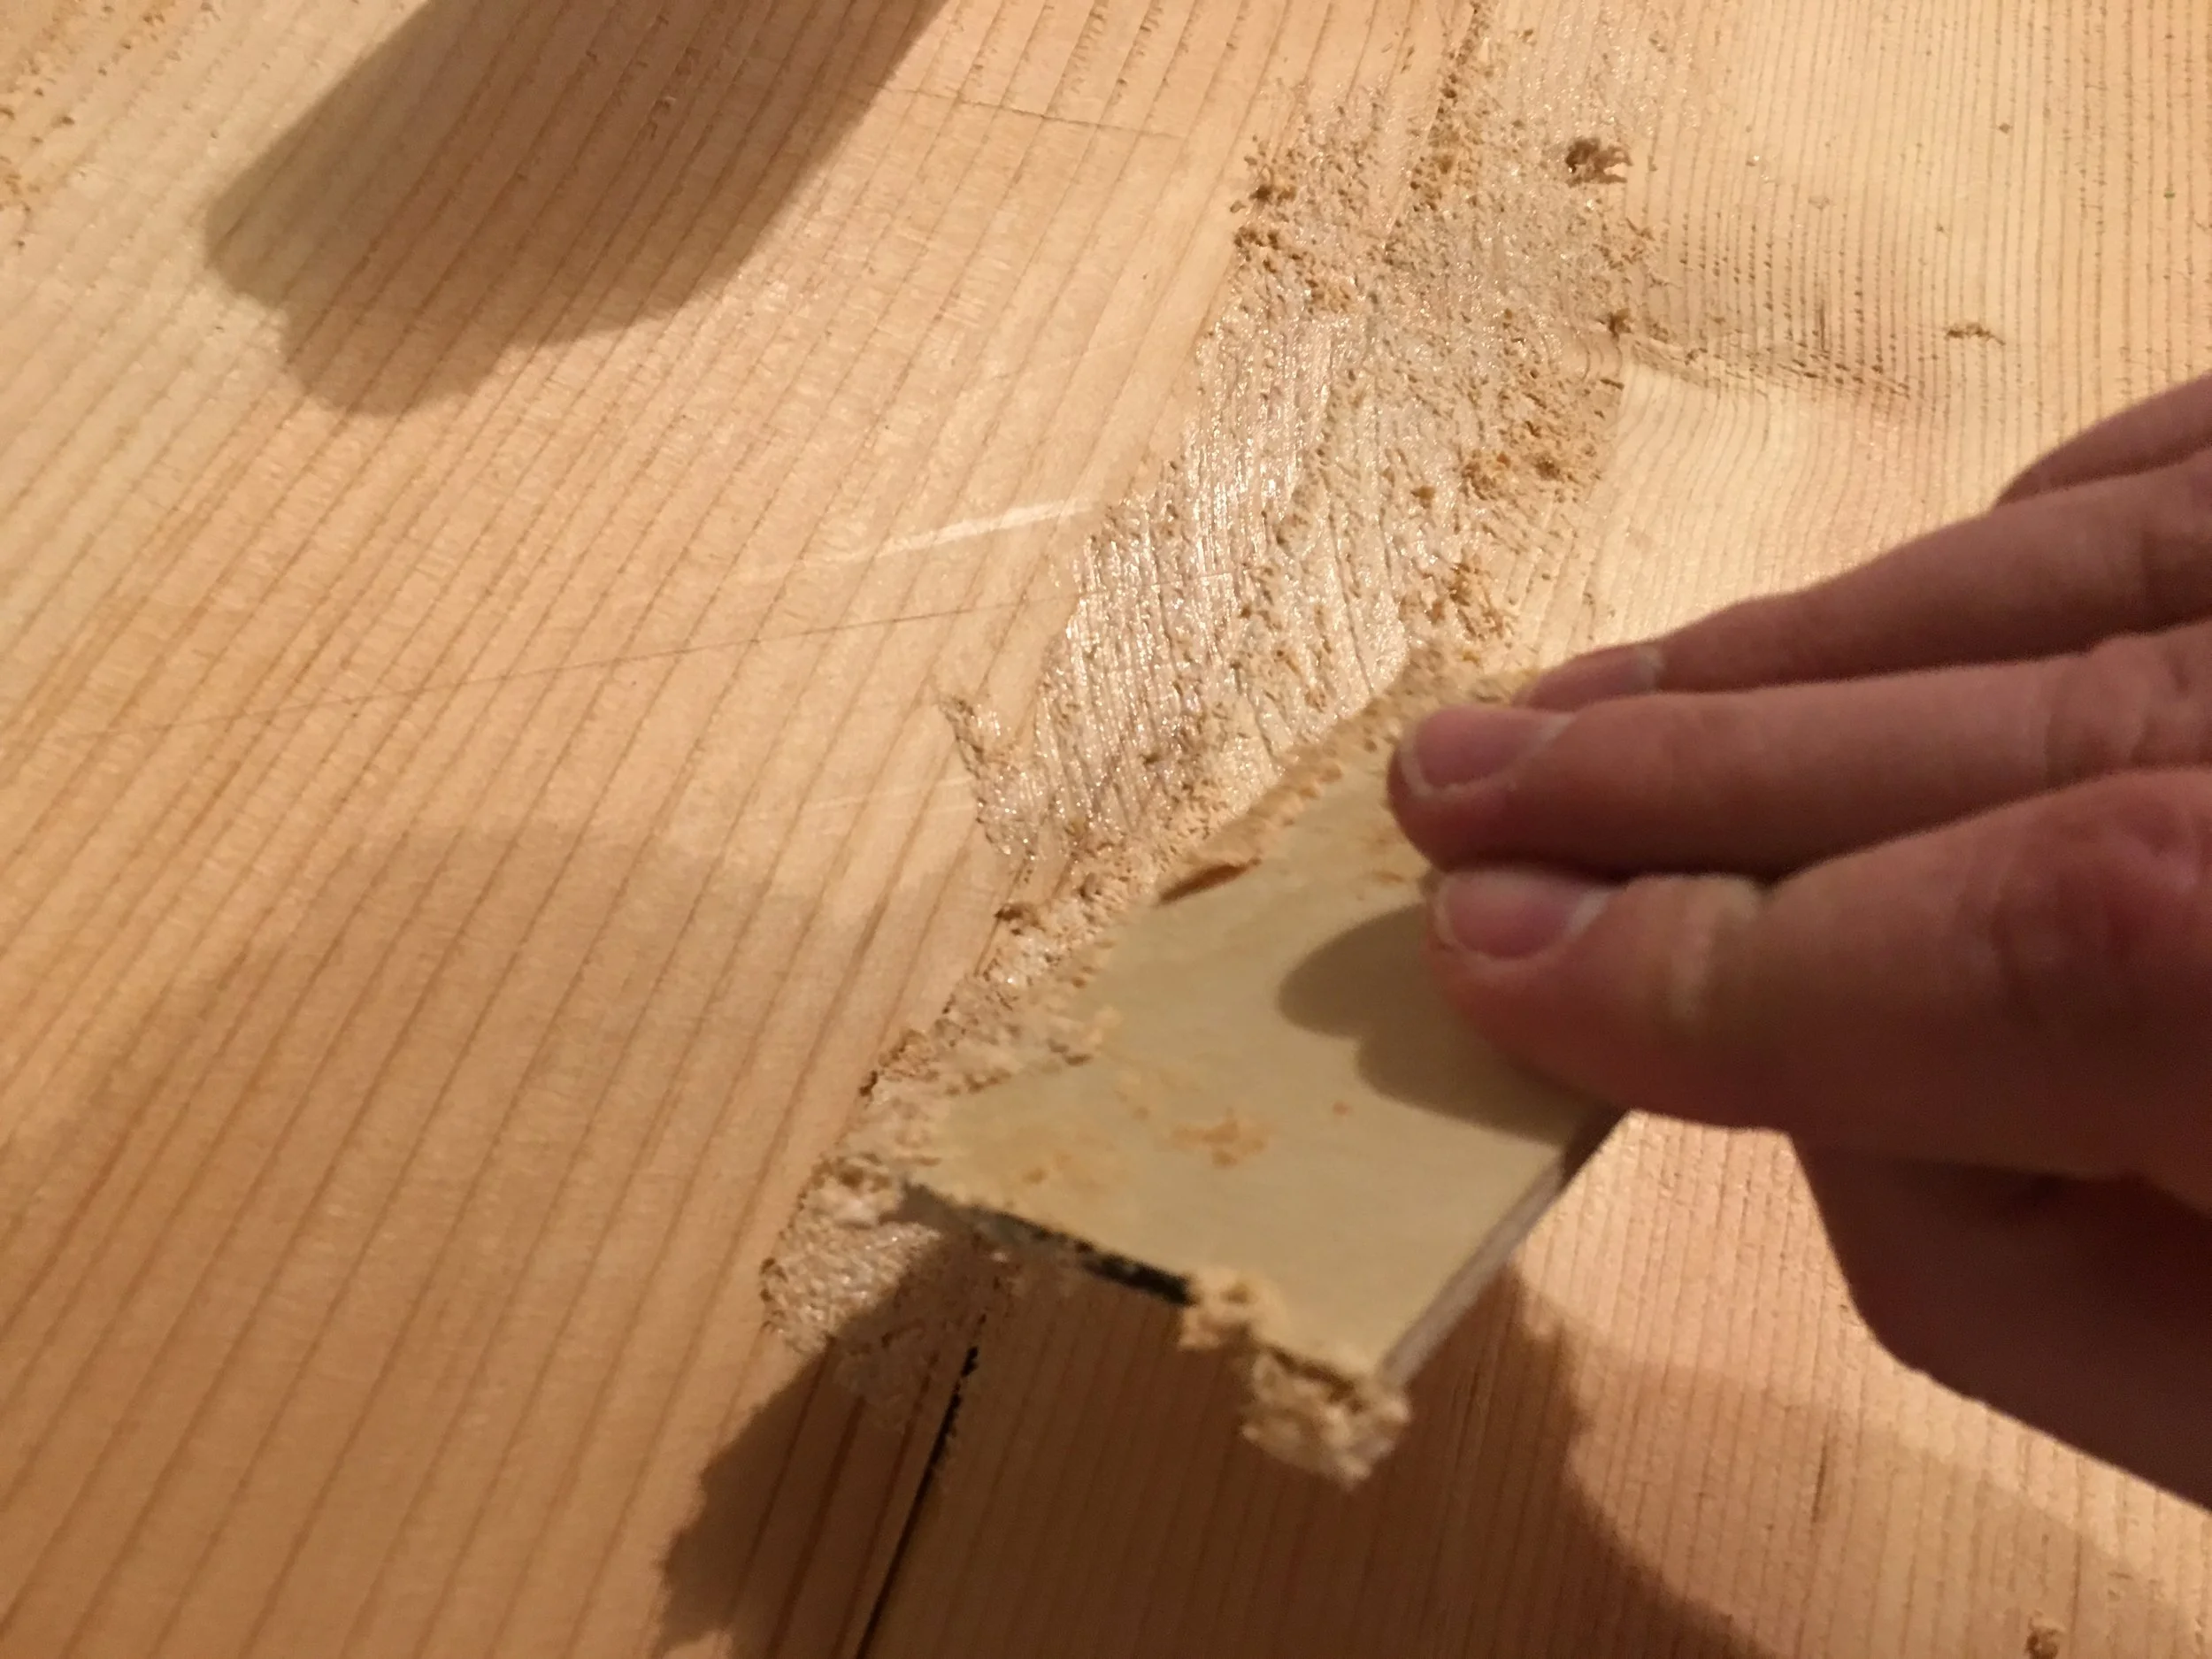
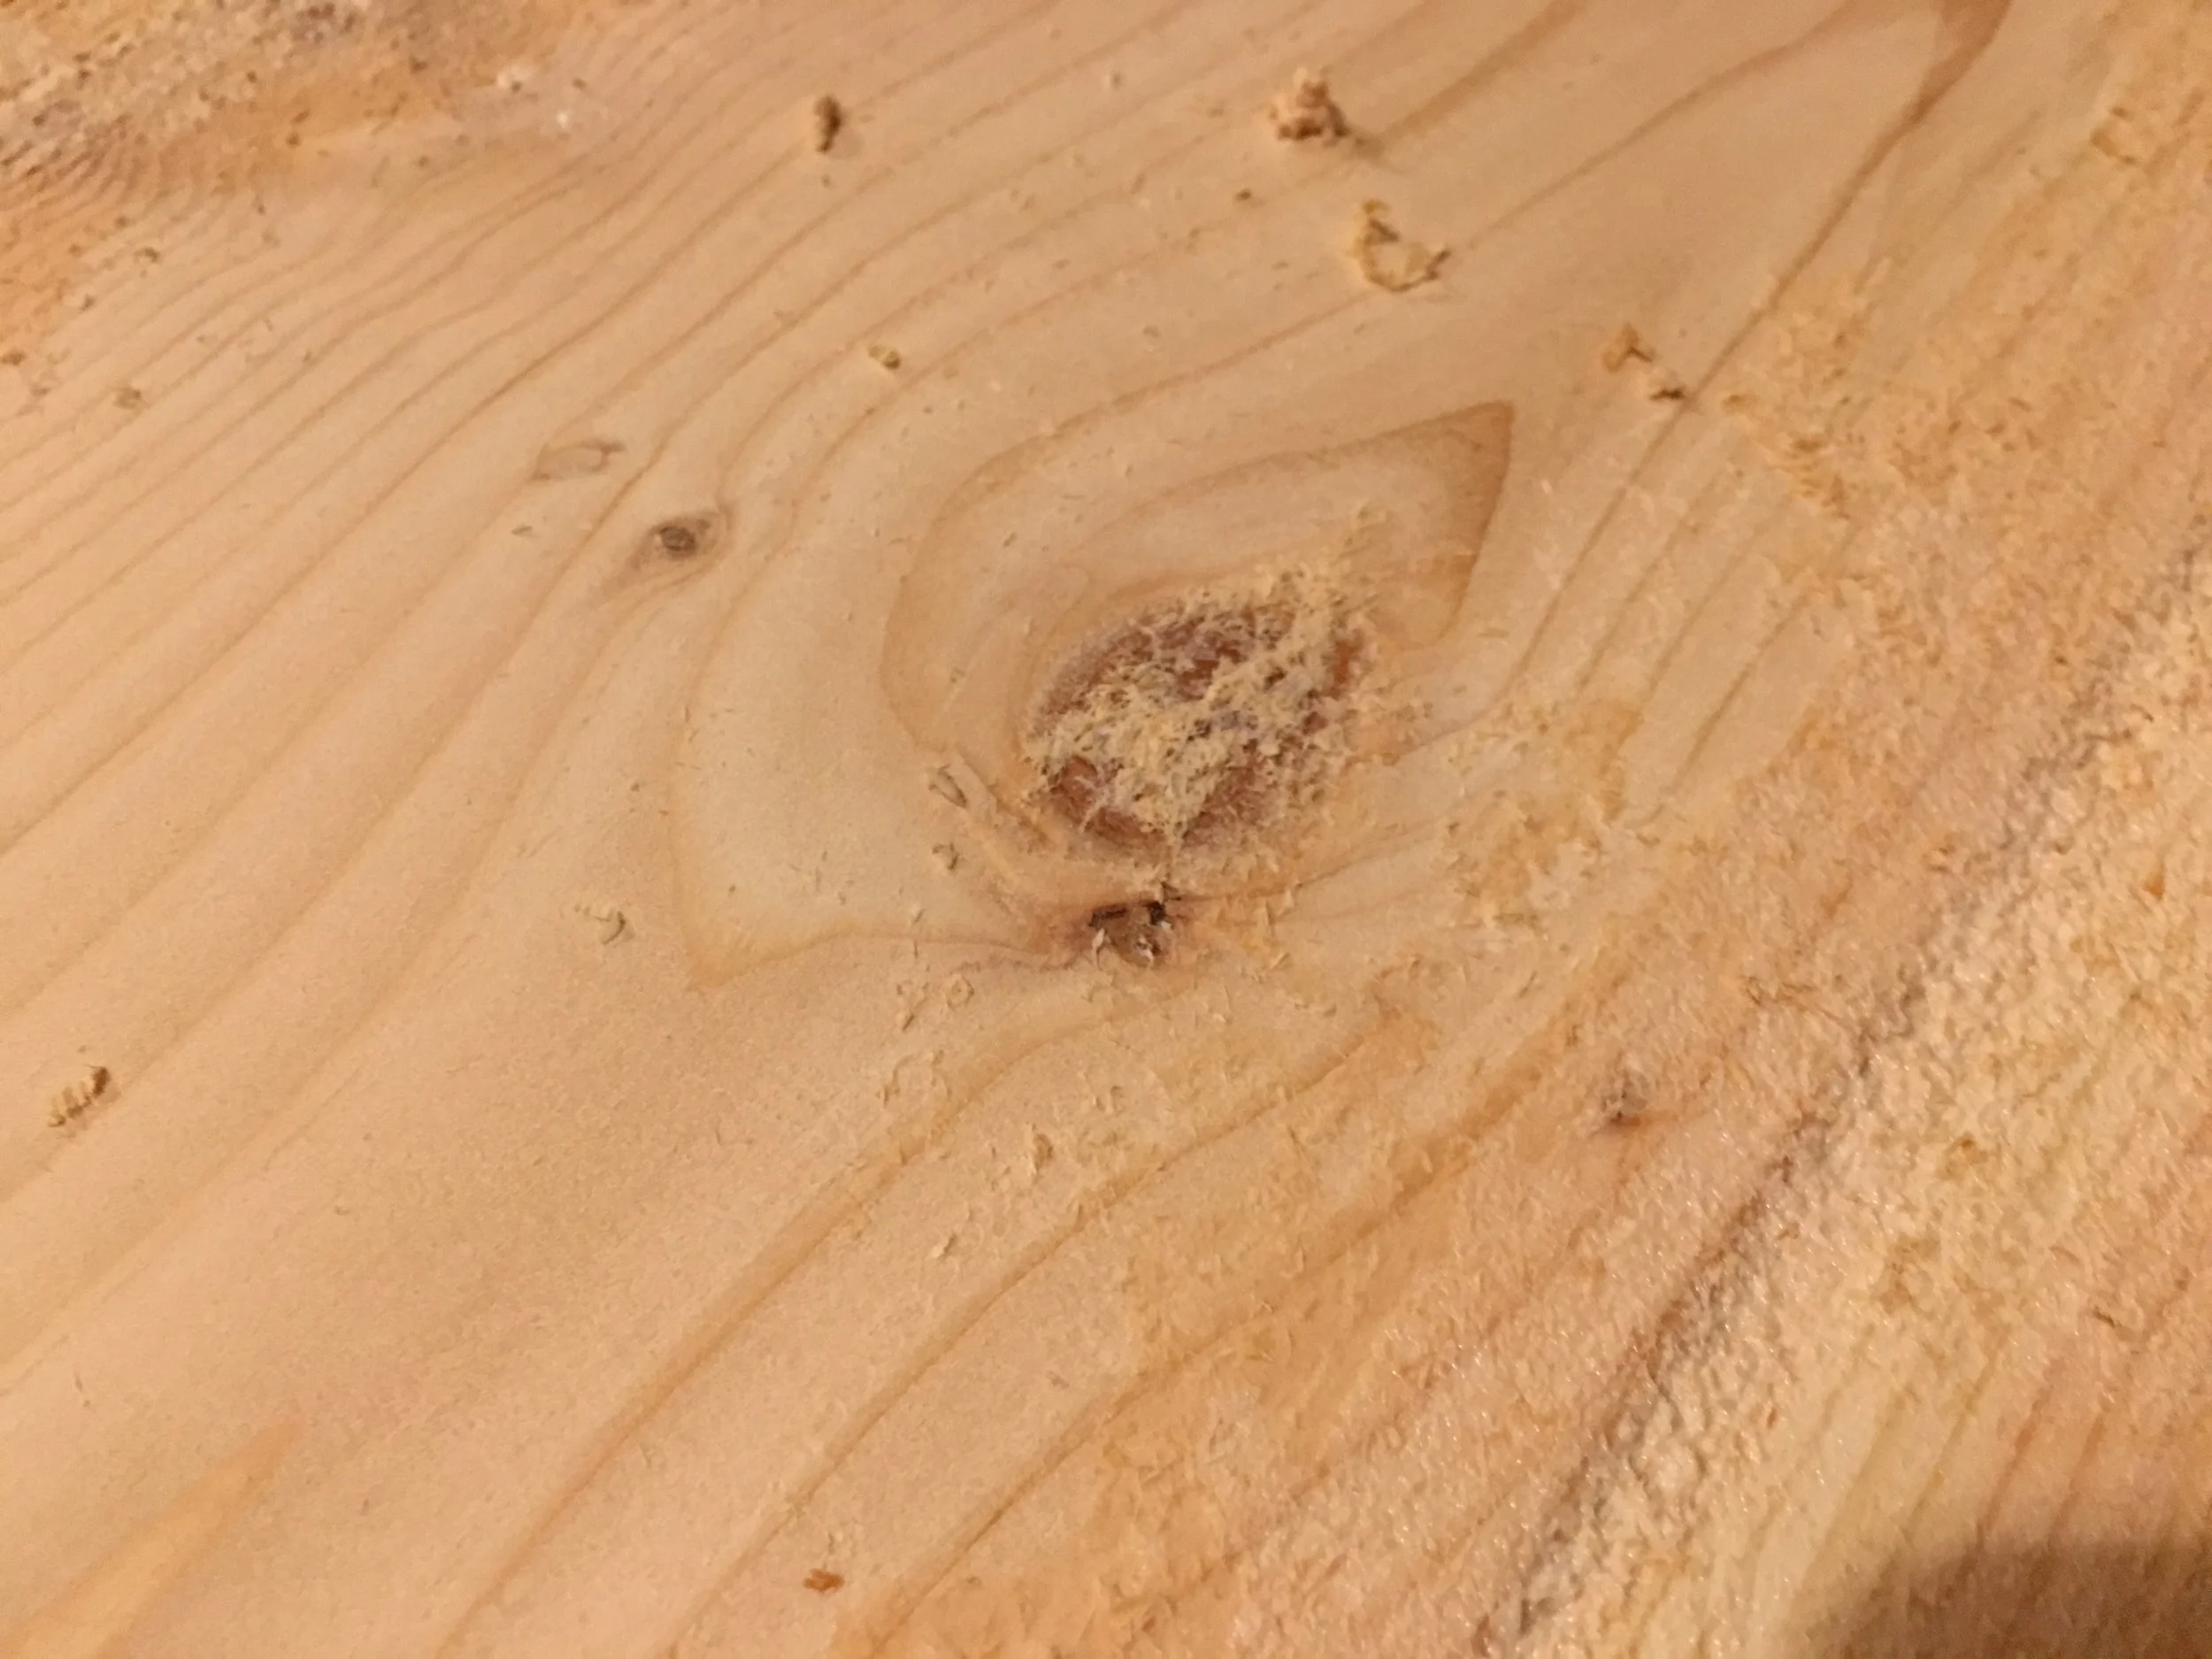
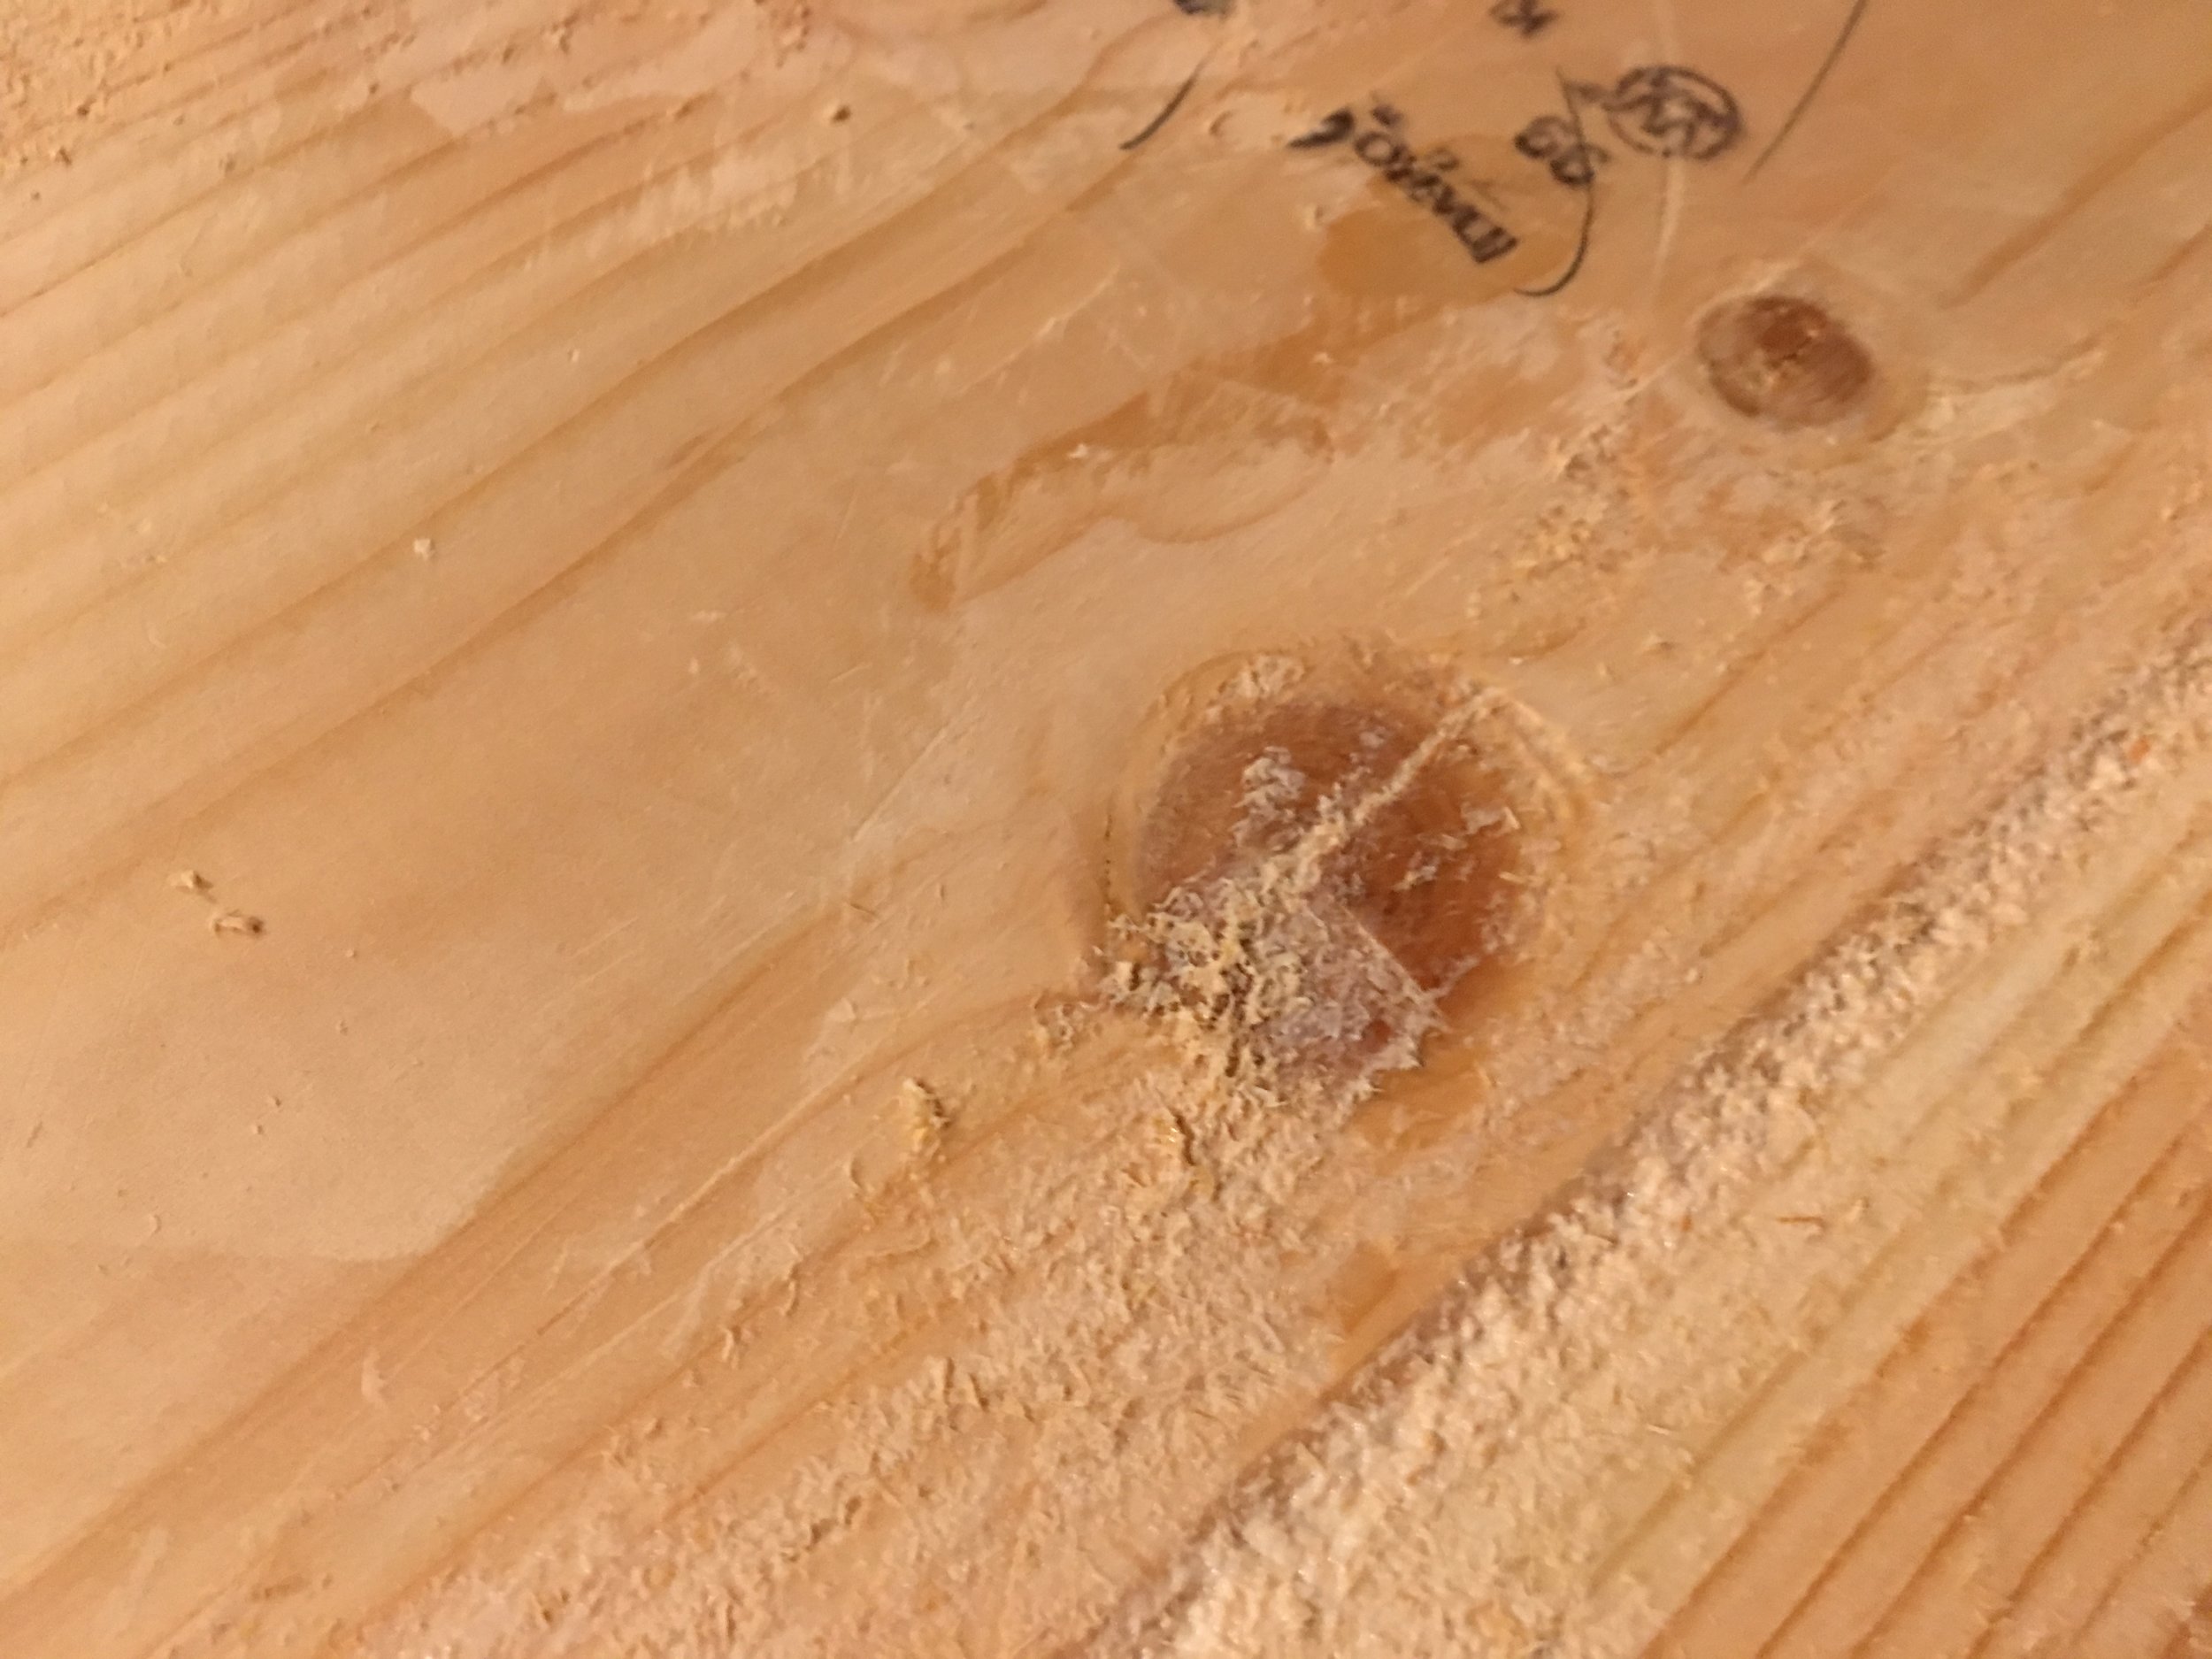
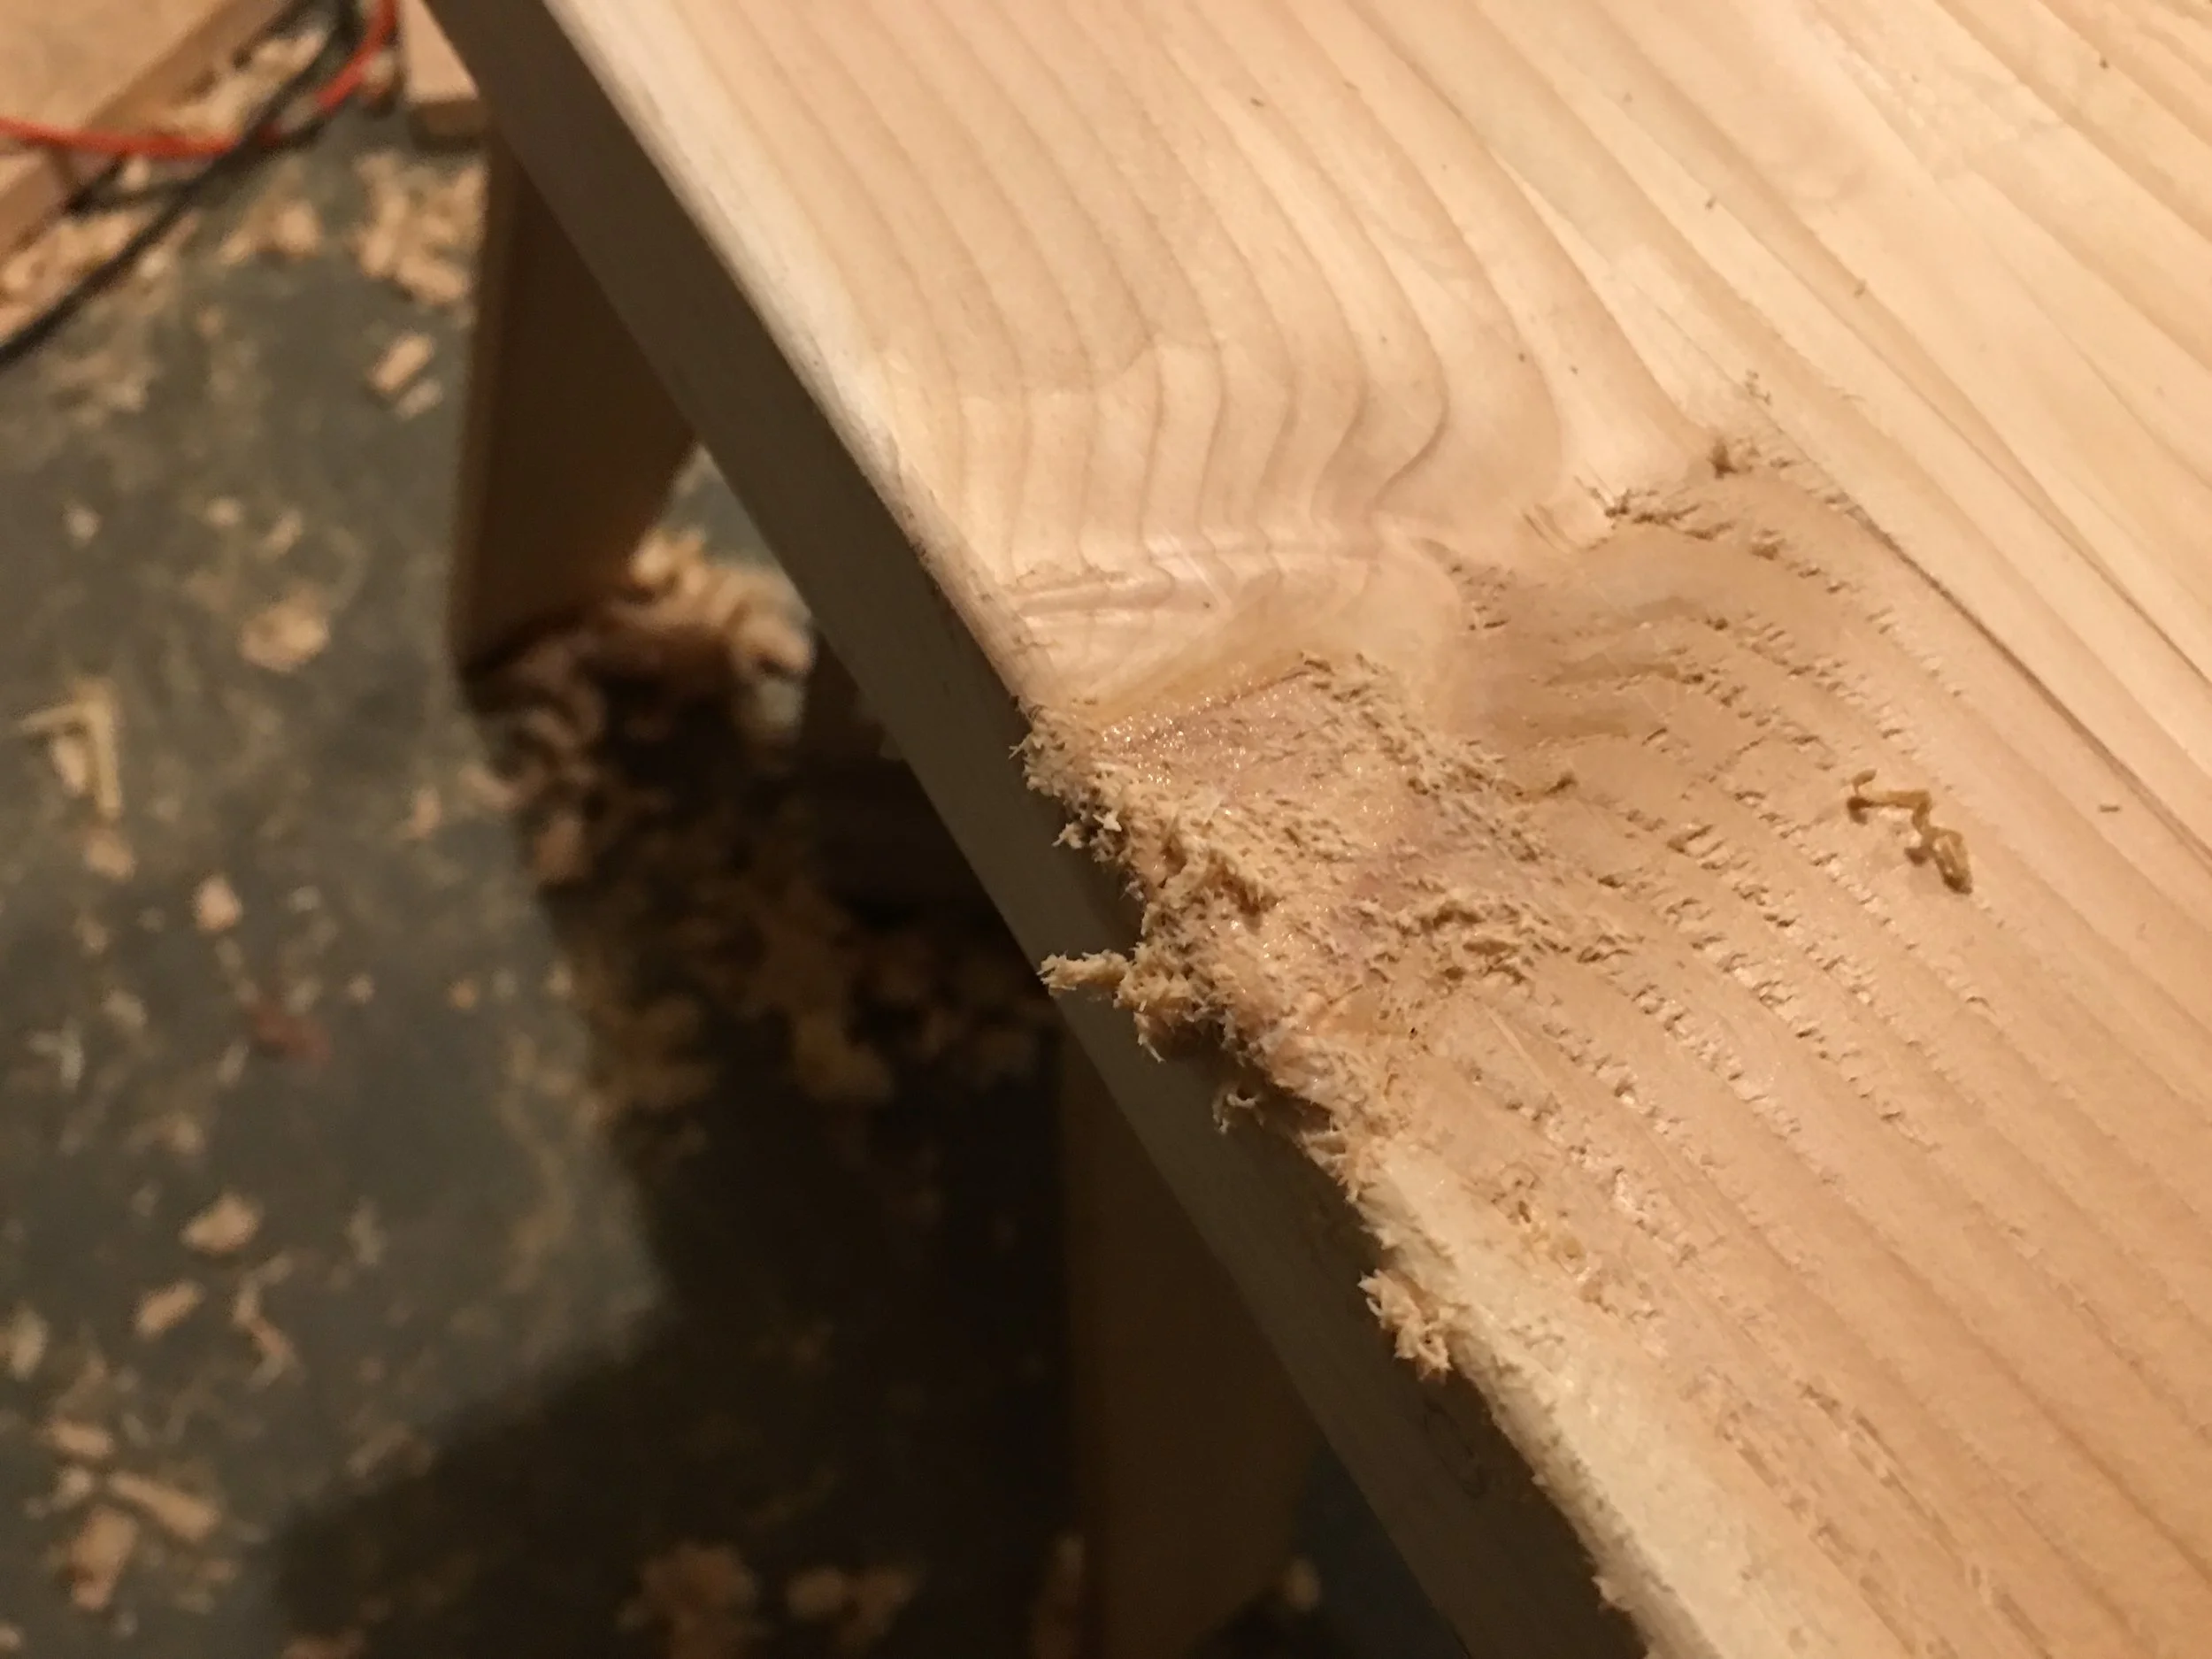
I let it dry over night and then went to town planing and sanding the table.
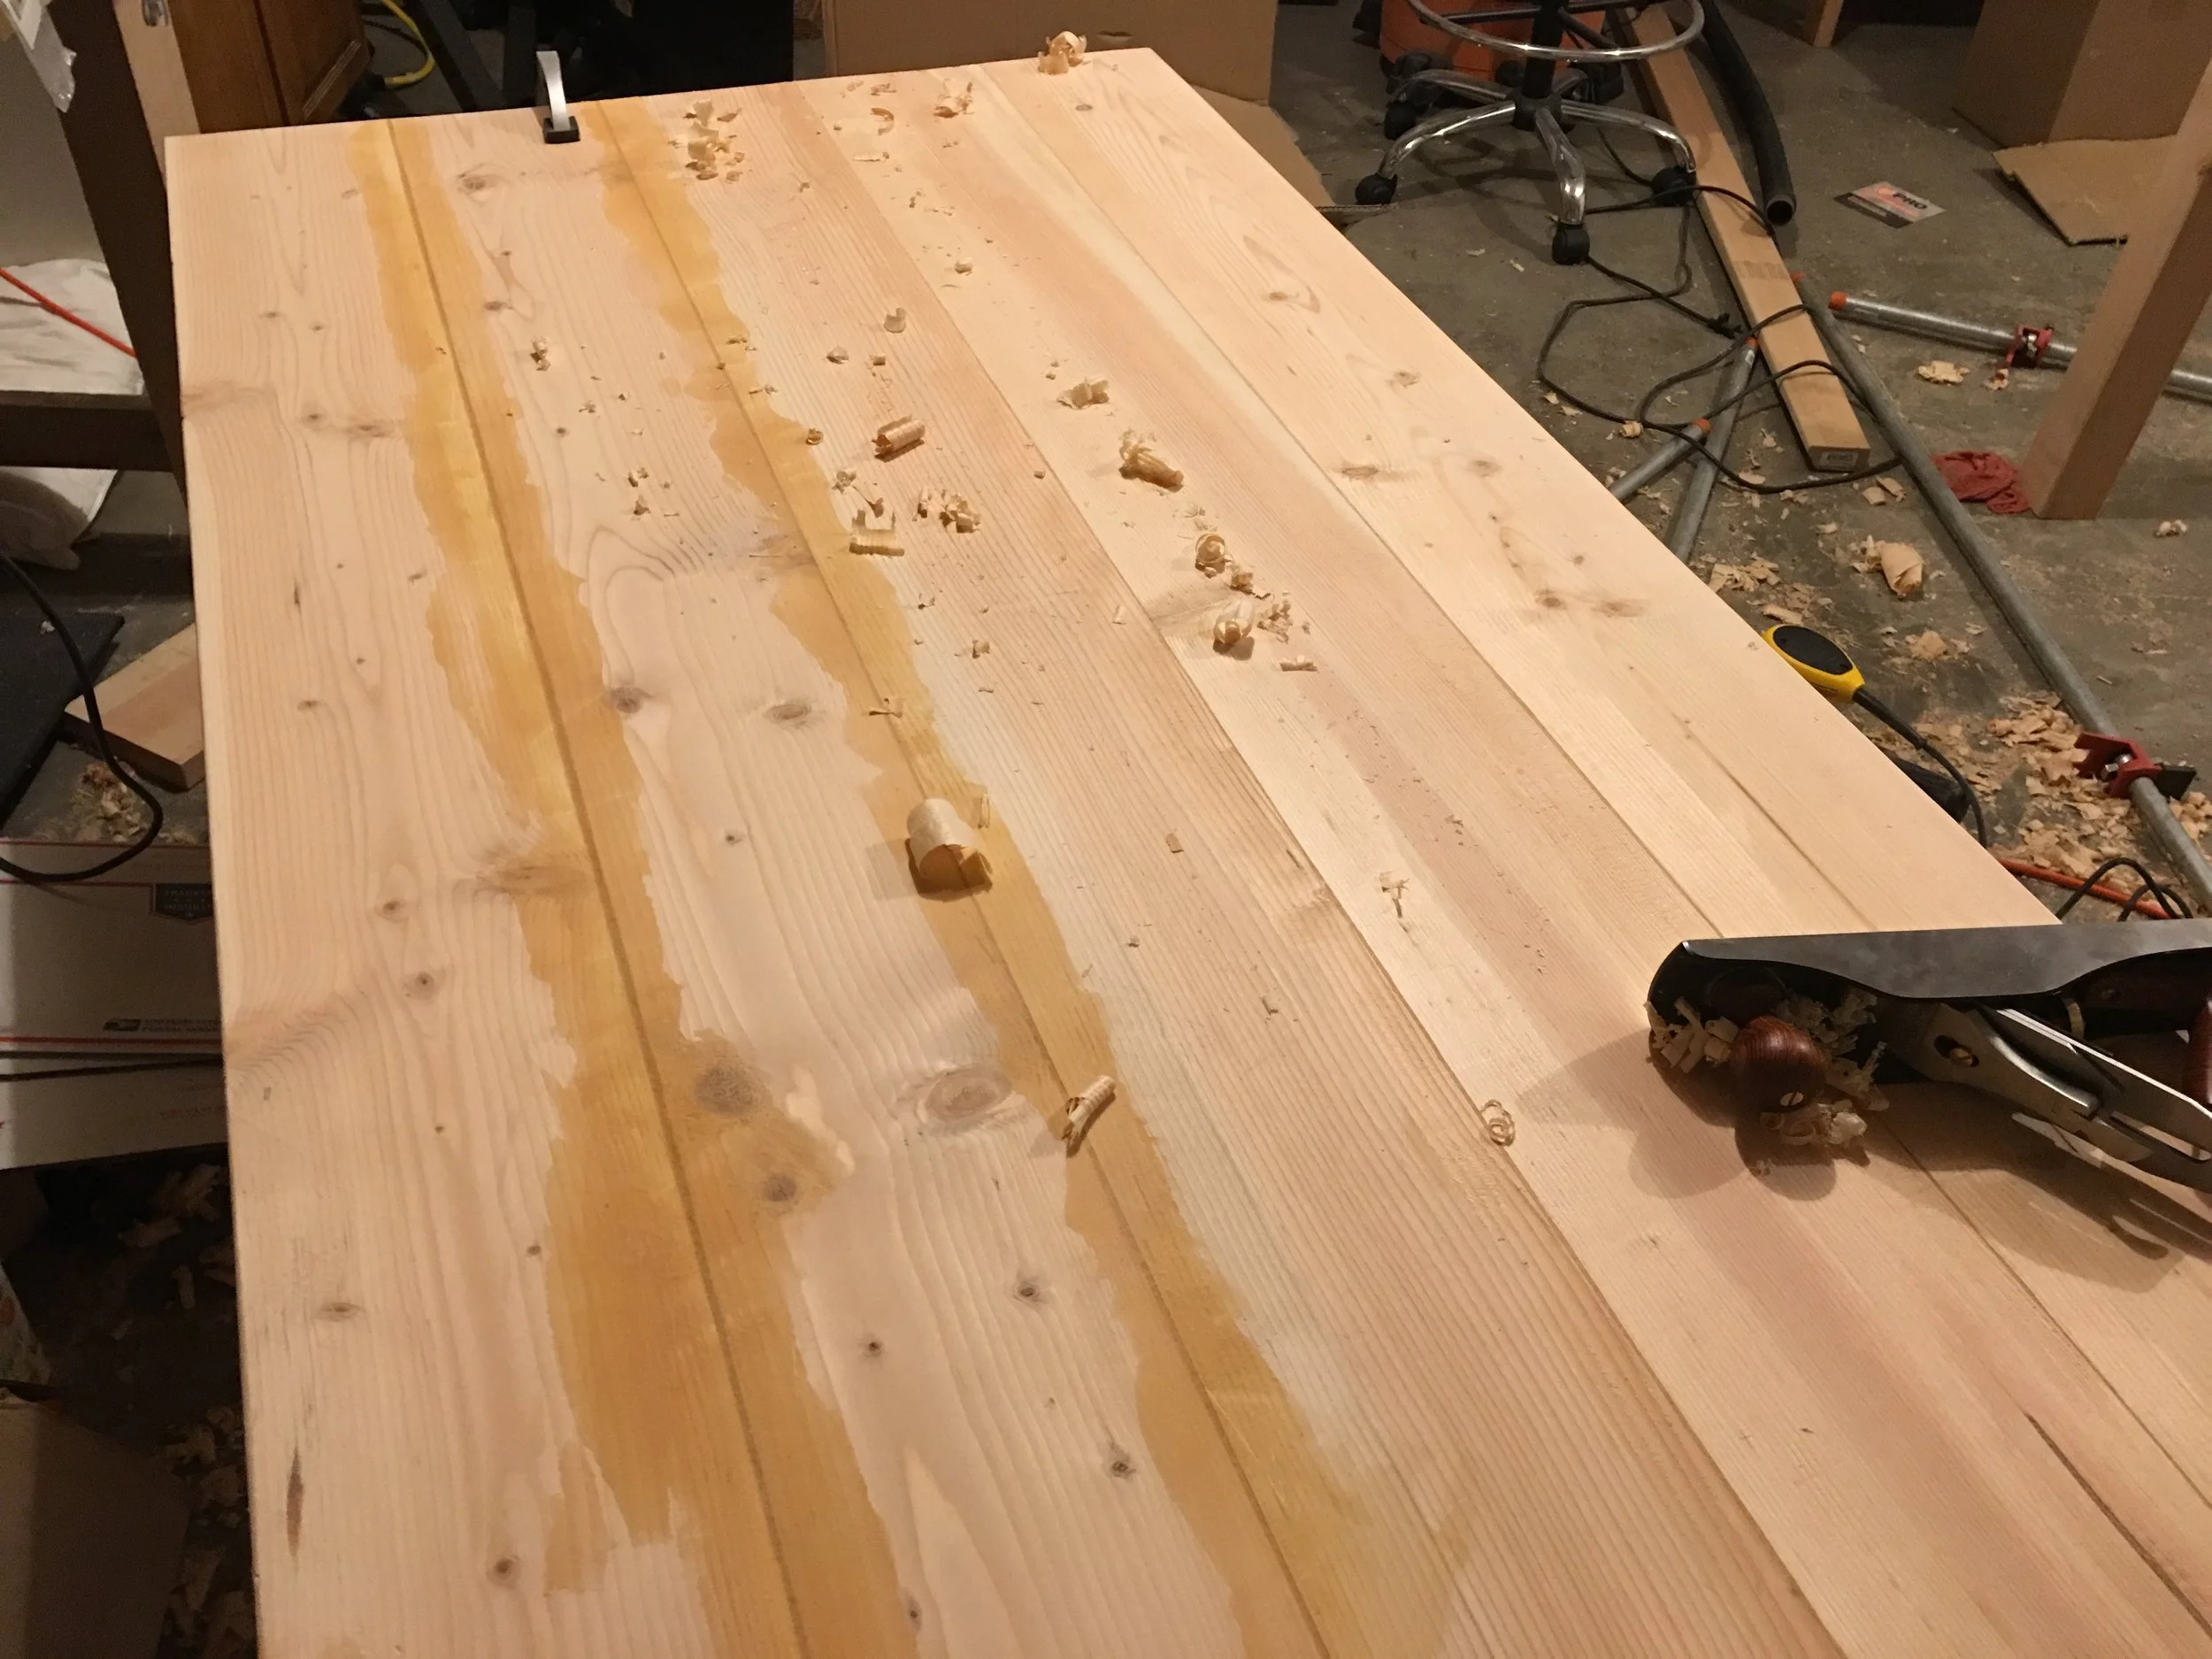
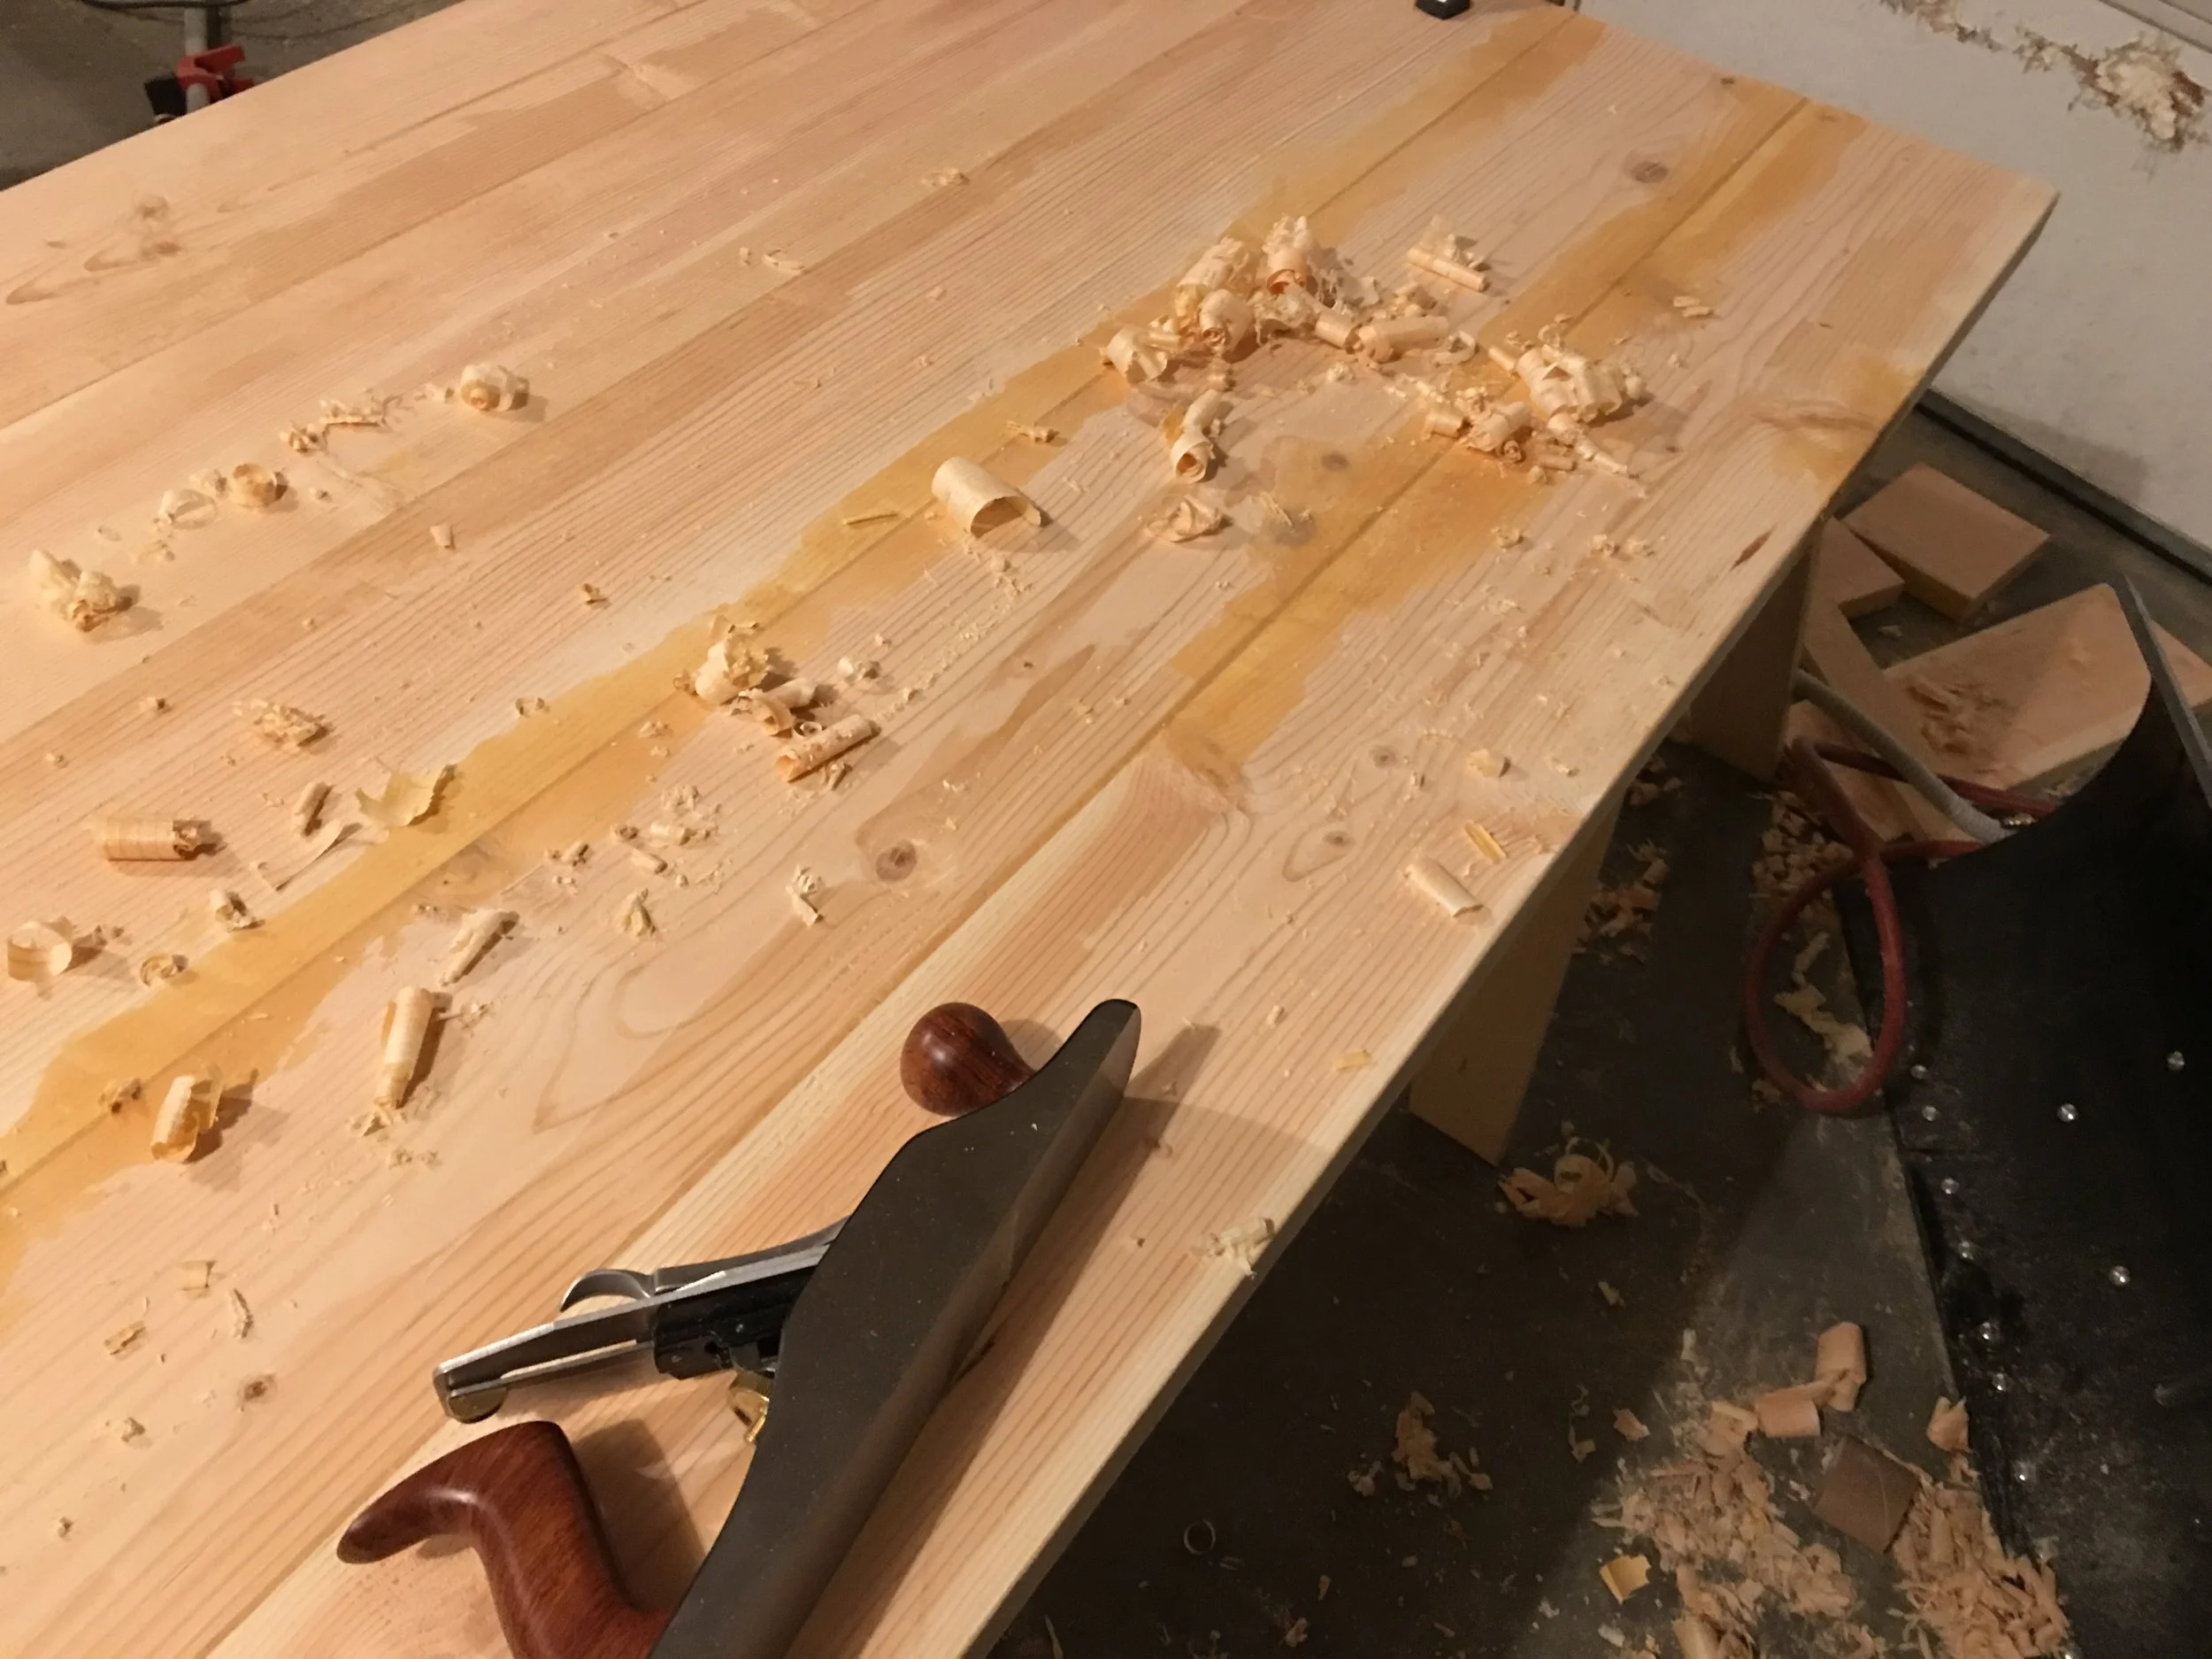
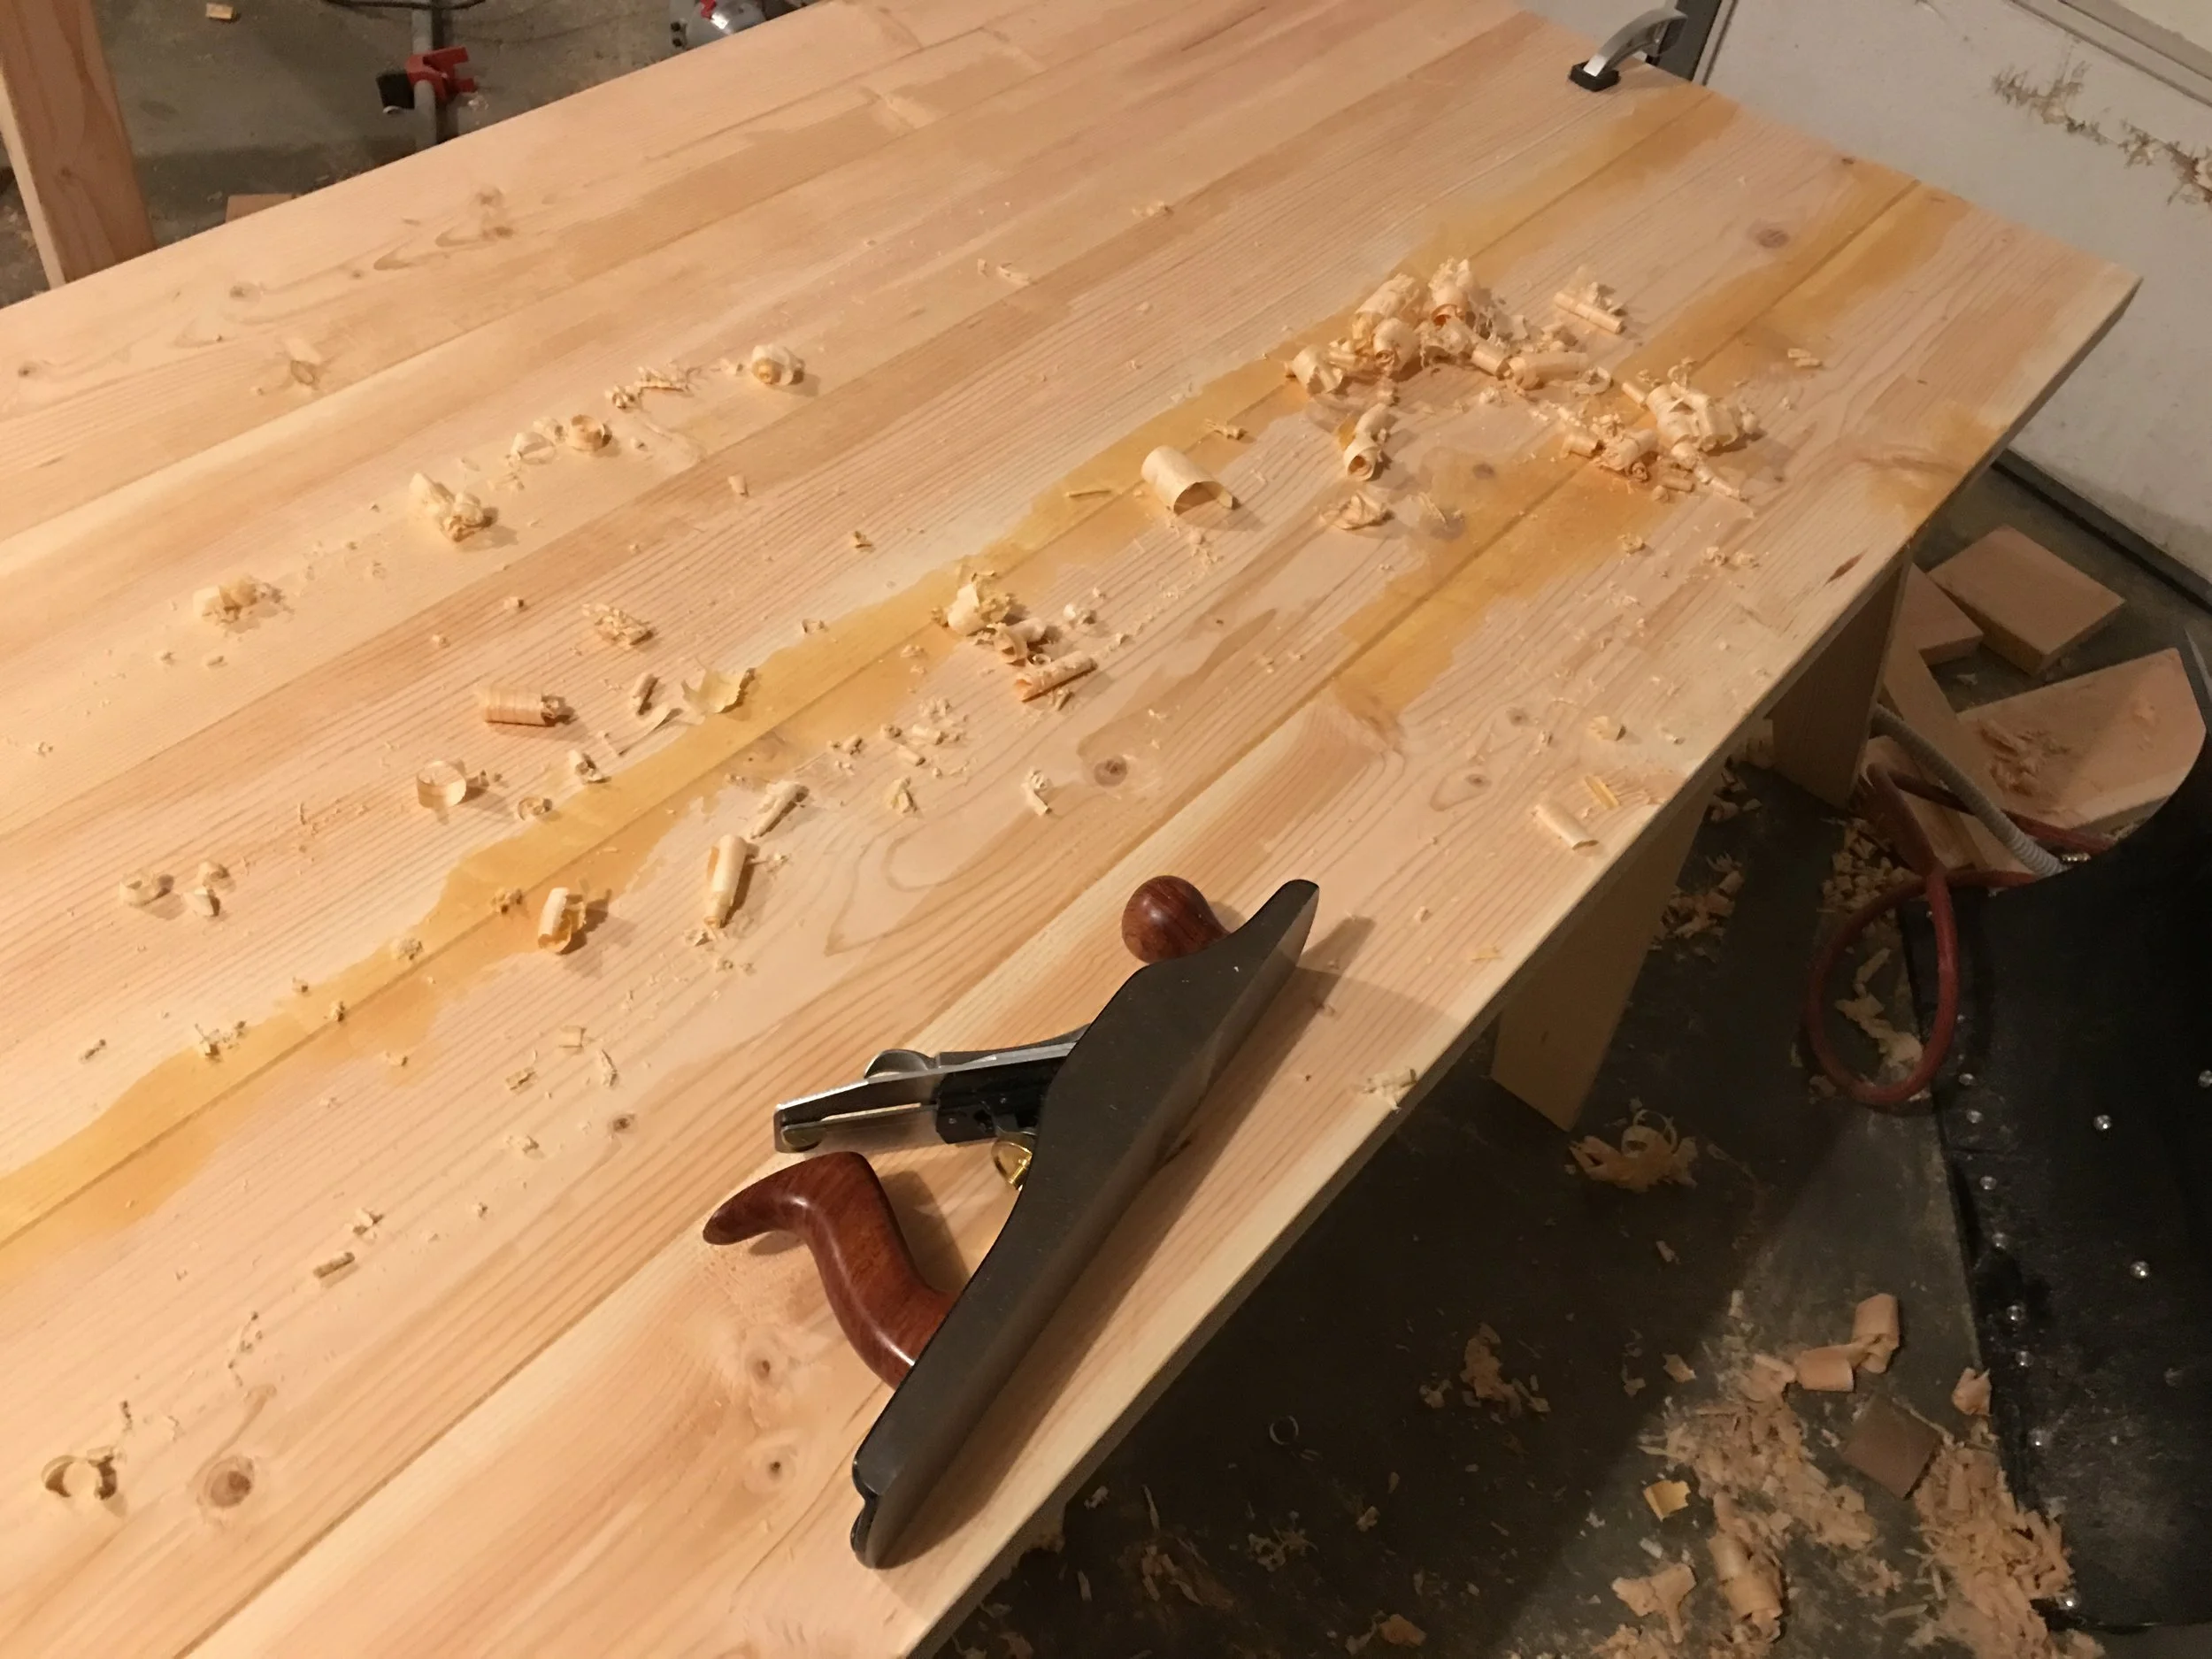
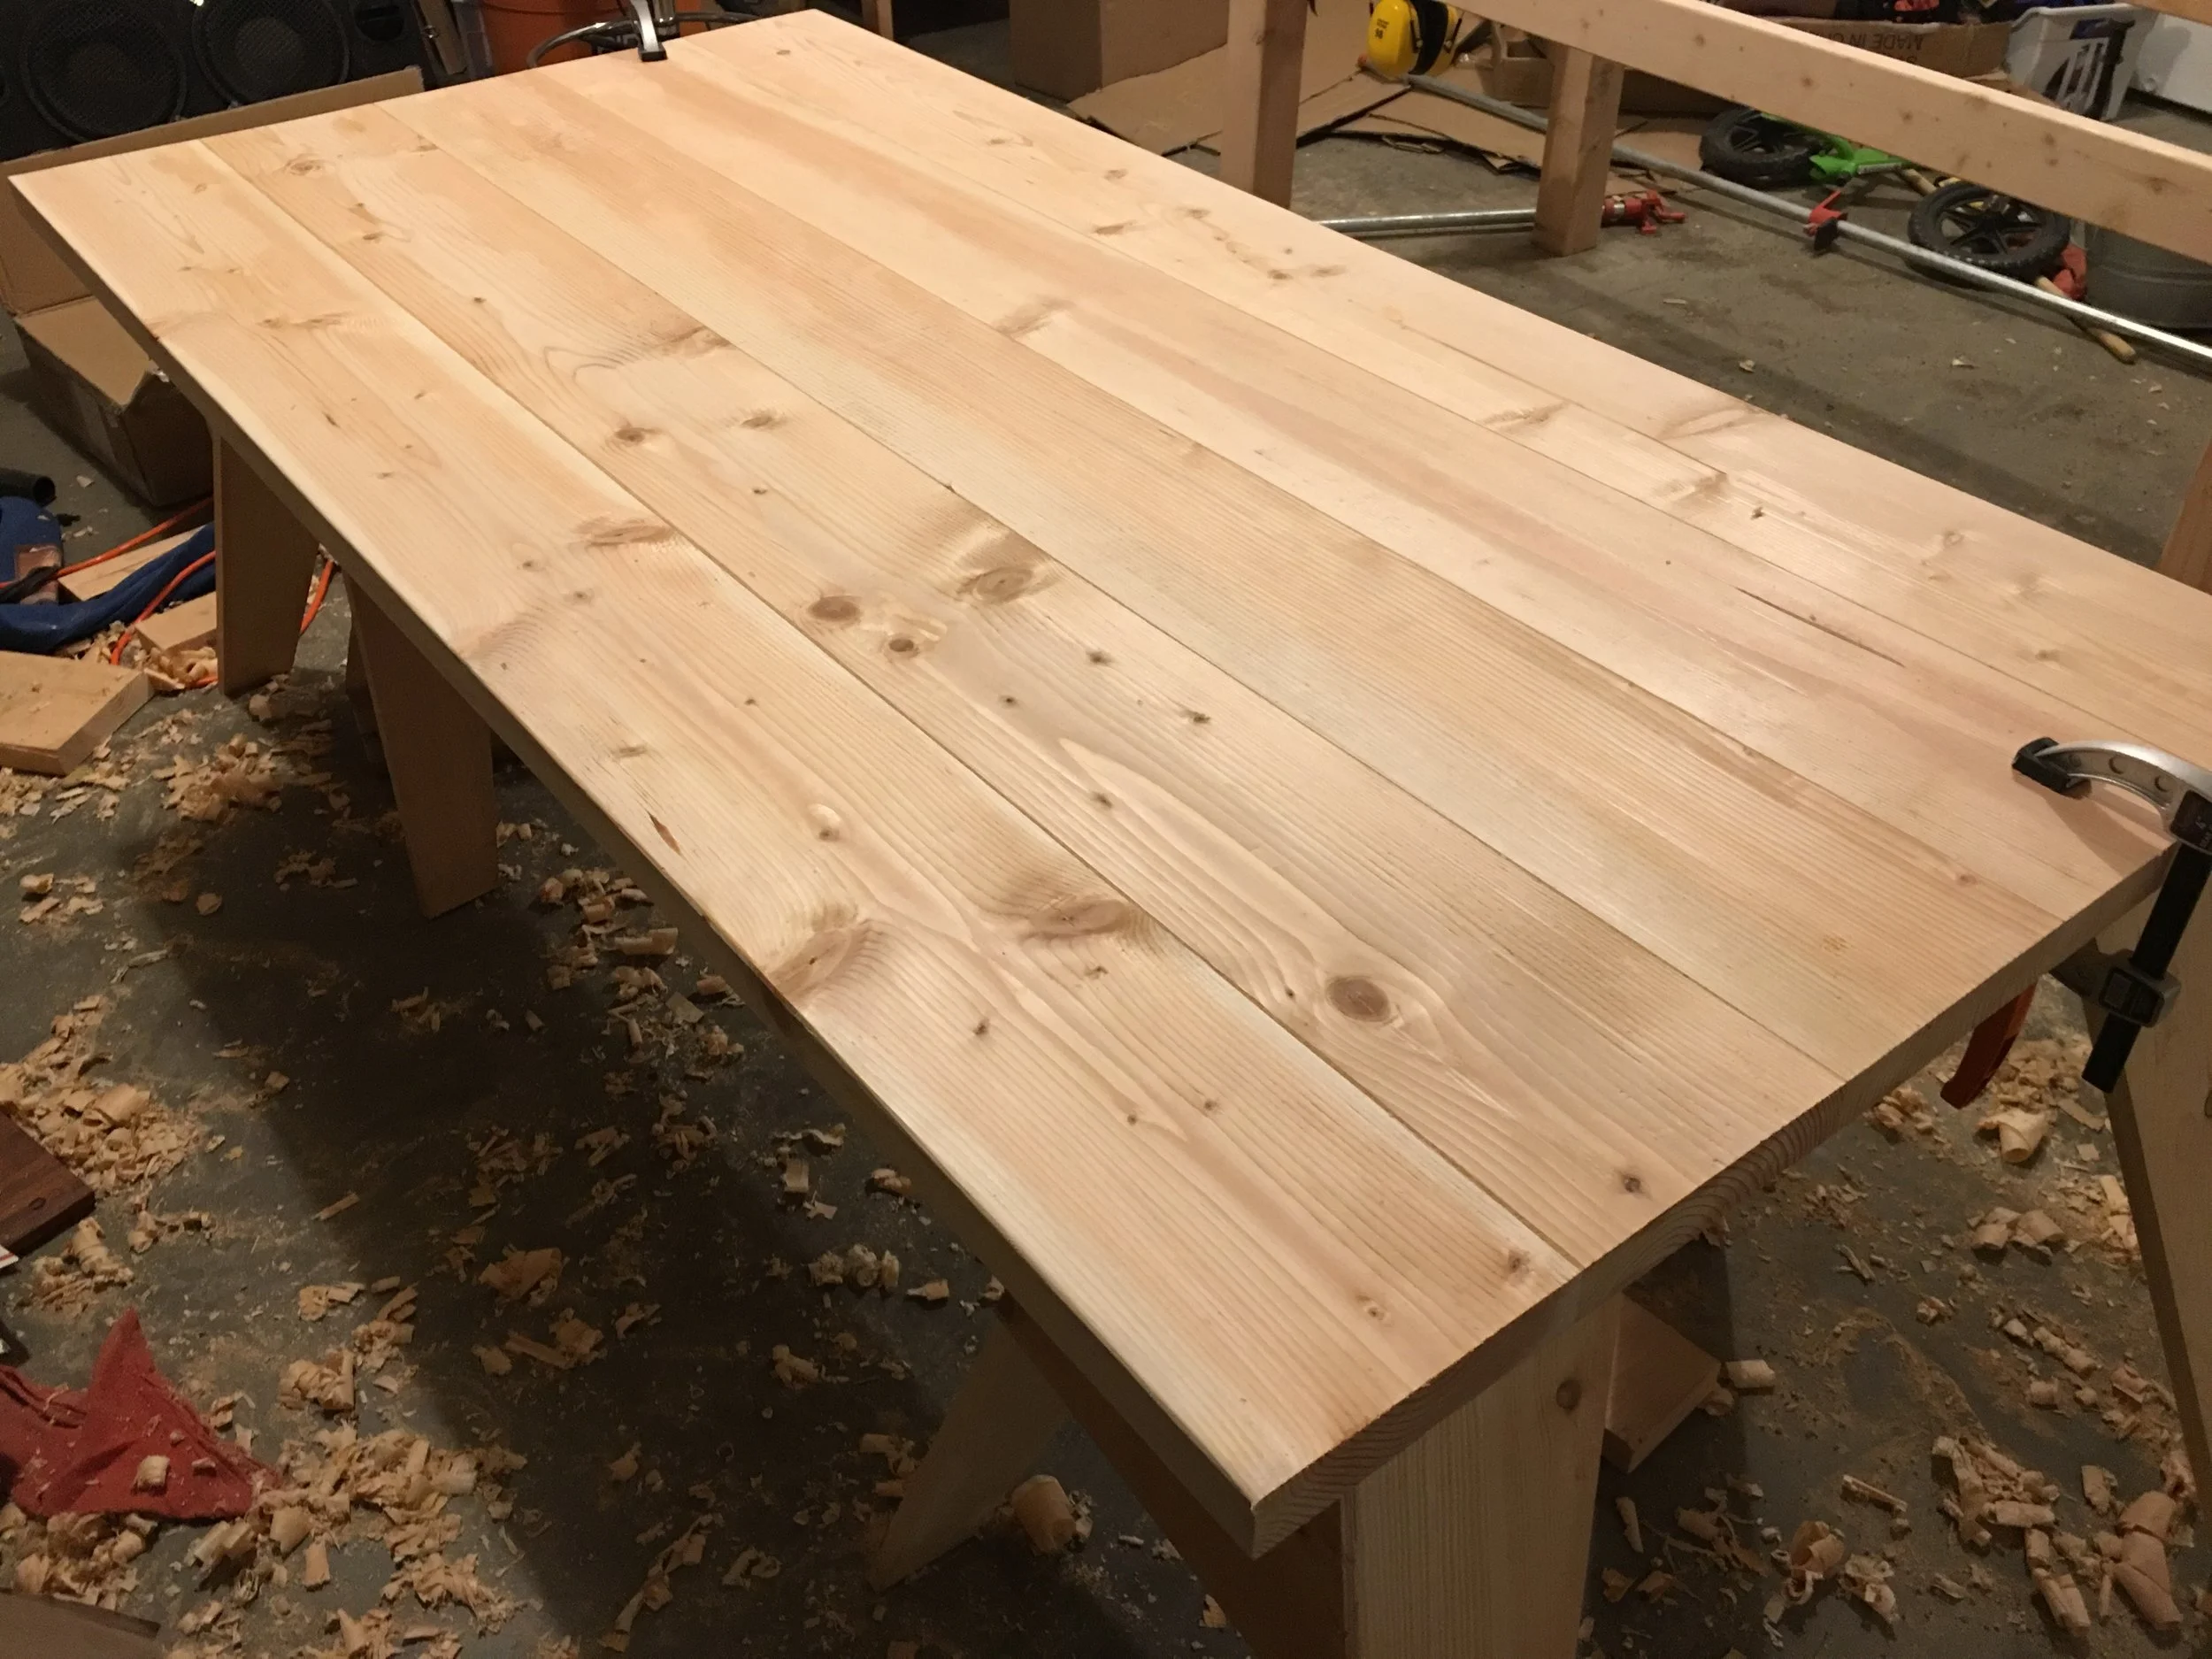
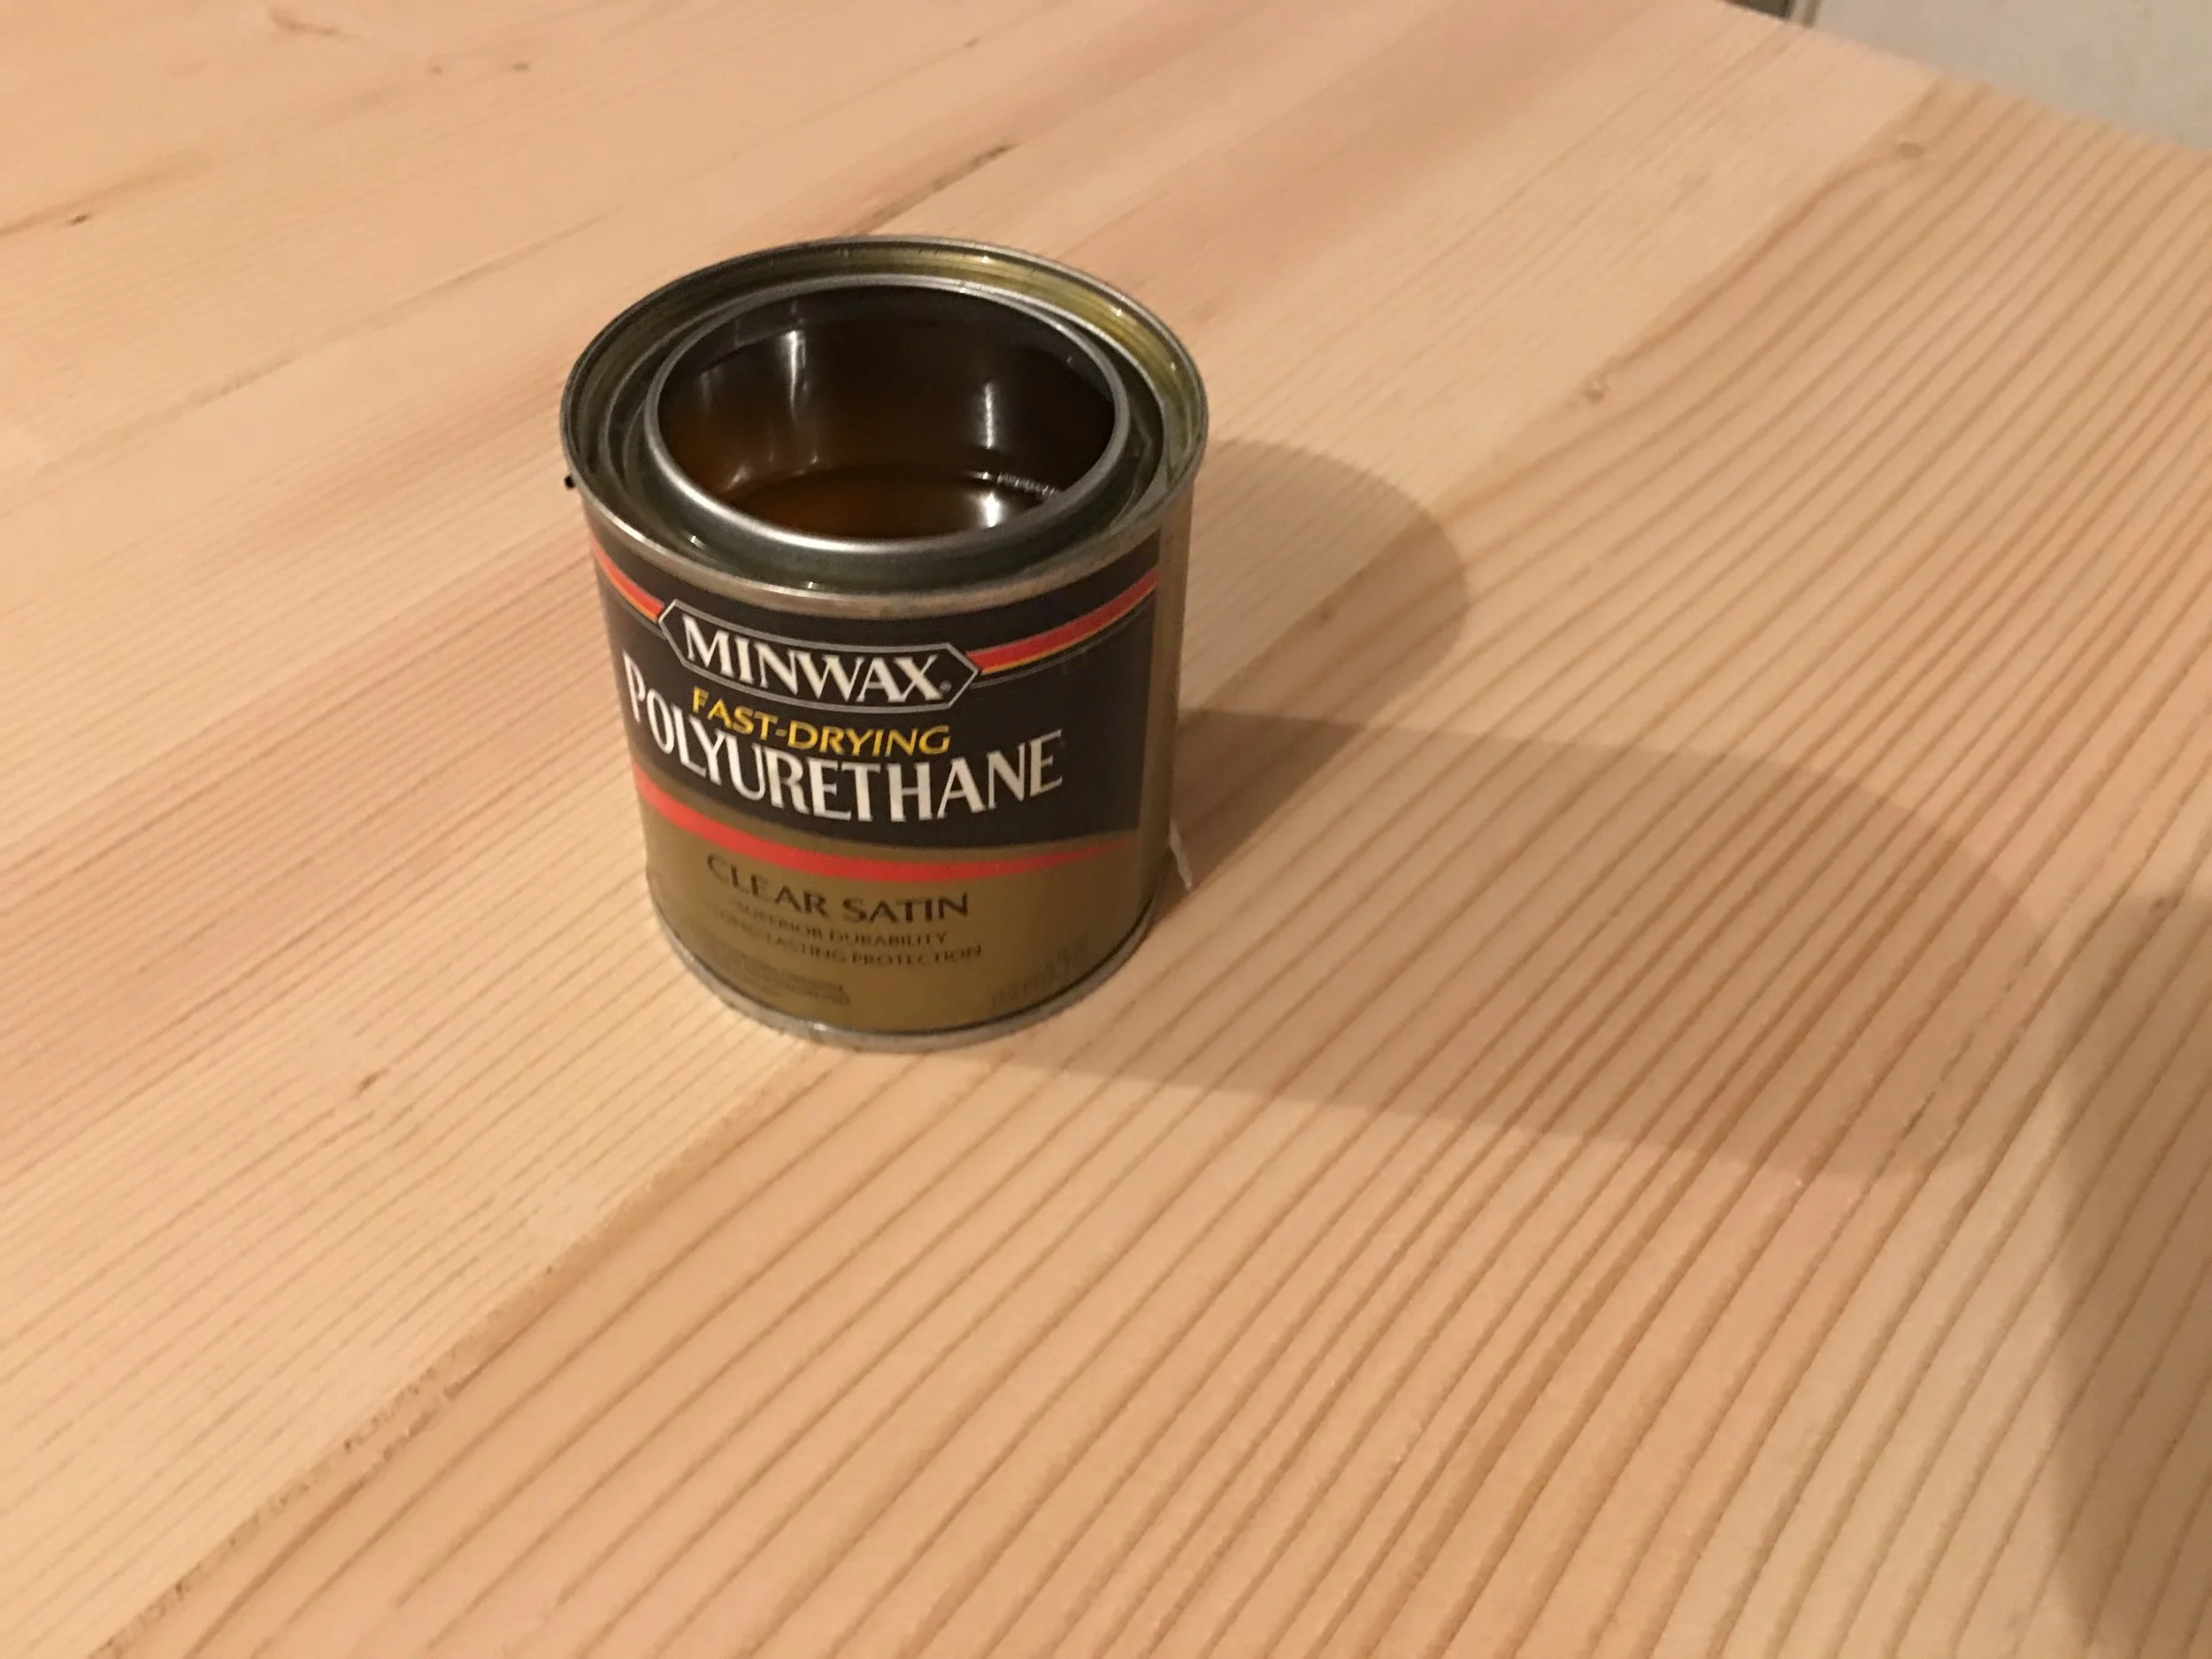
I skipped staining the table and just finished it with 3 coats of Clear Satin Polyurethane. I had a small container of it from a smaller project. It was a stretch to get one coat out of it. Get the bigger container. Make sure you cover the apron and legs, too. Between each coat, let it dry for several hours (I always waited over night) then lightly sand it with 220 grit sandpaper and clean off the dust using a rag or pressurized air (I used my air compressor). Make sure you wear your respirator!
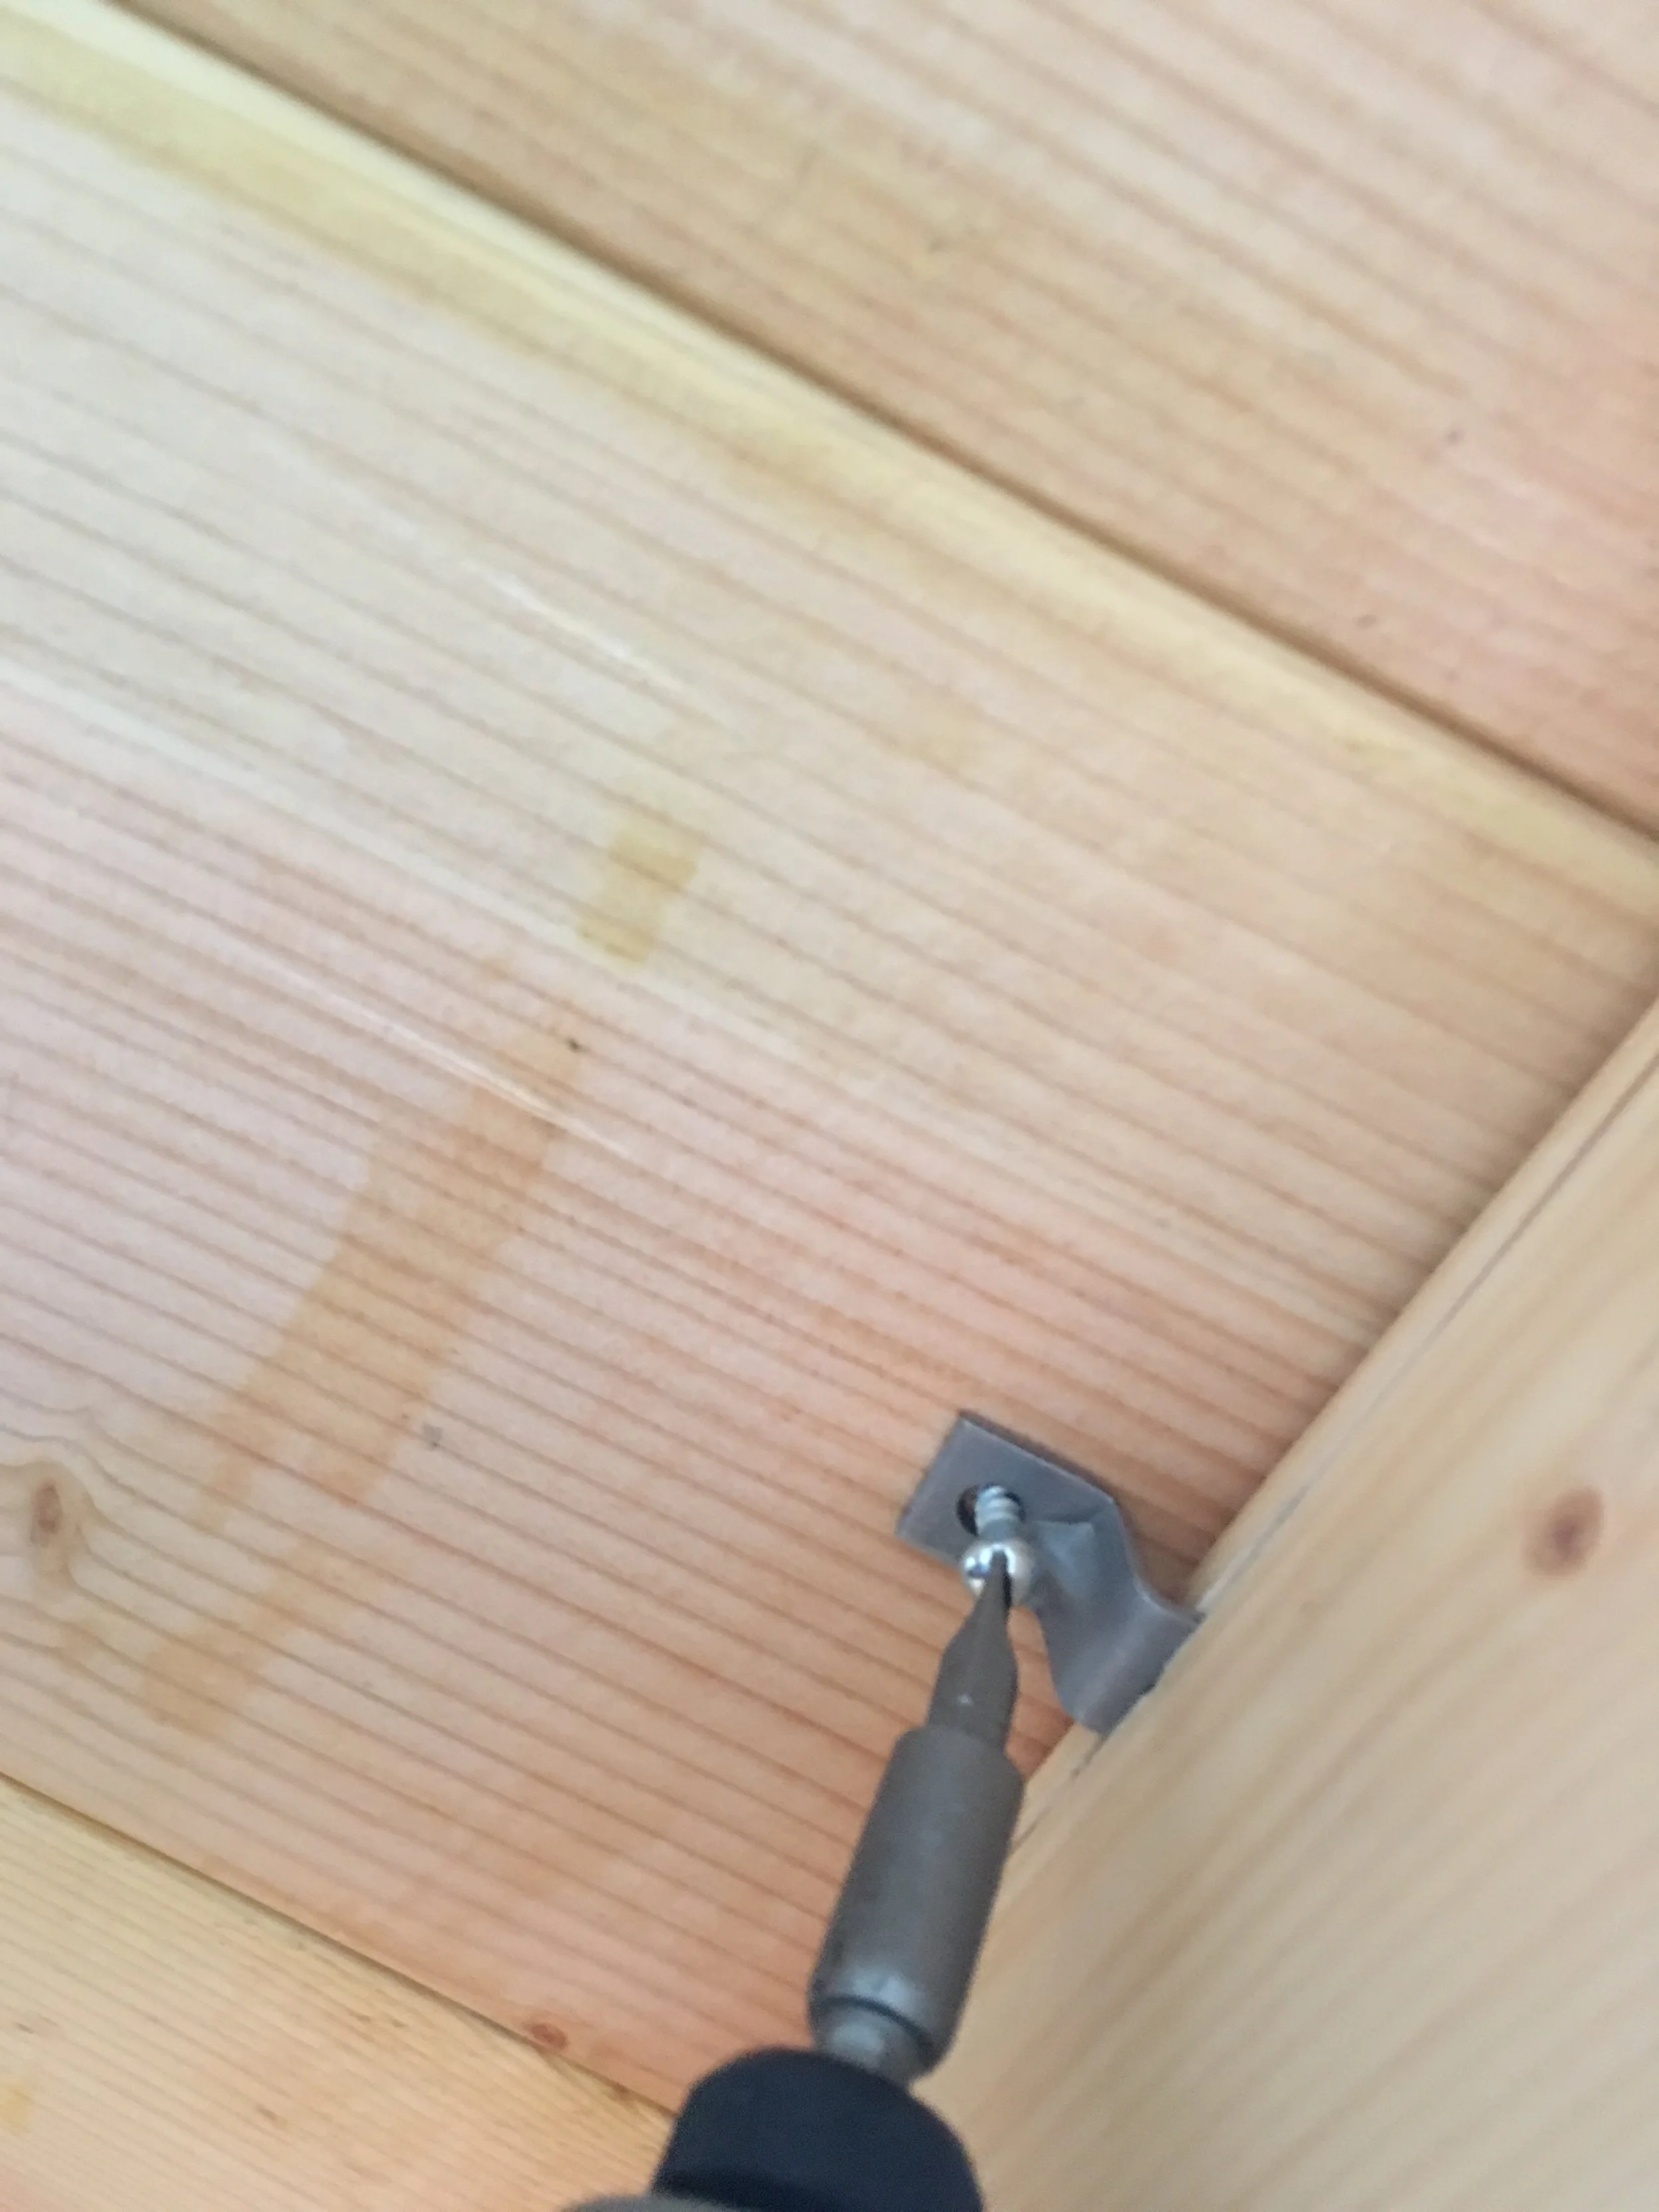
The last step is to attach the table top to the apron using metal clips which fit into the slot you cut on the apron. I used 3 per side. The metal clips allow for movement of the wood when it expands or contracts due to changing temperature and humidity. If you were to attach the table with screws it would likely crack over time. Just fit the clips into the slot and attach the clip to the table top with the provided screws.
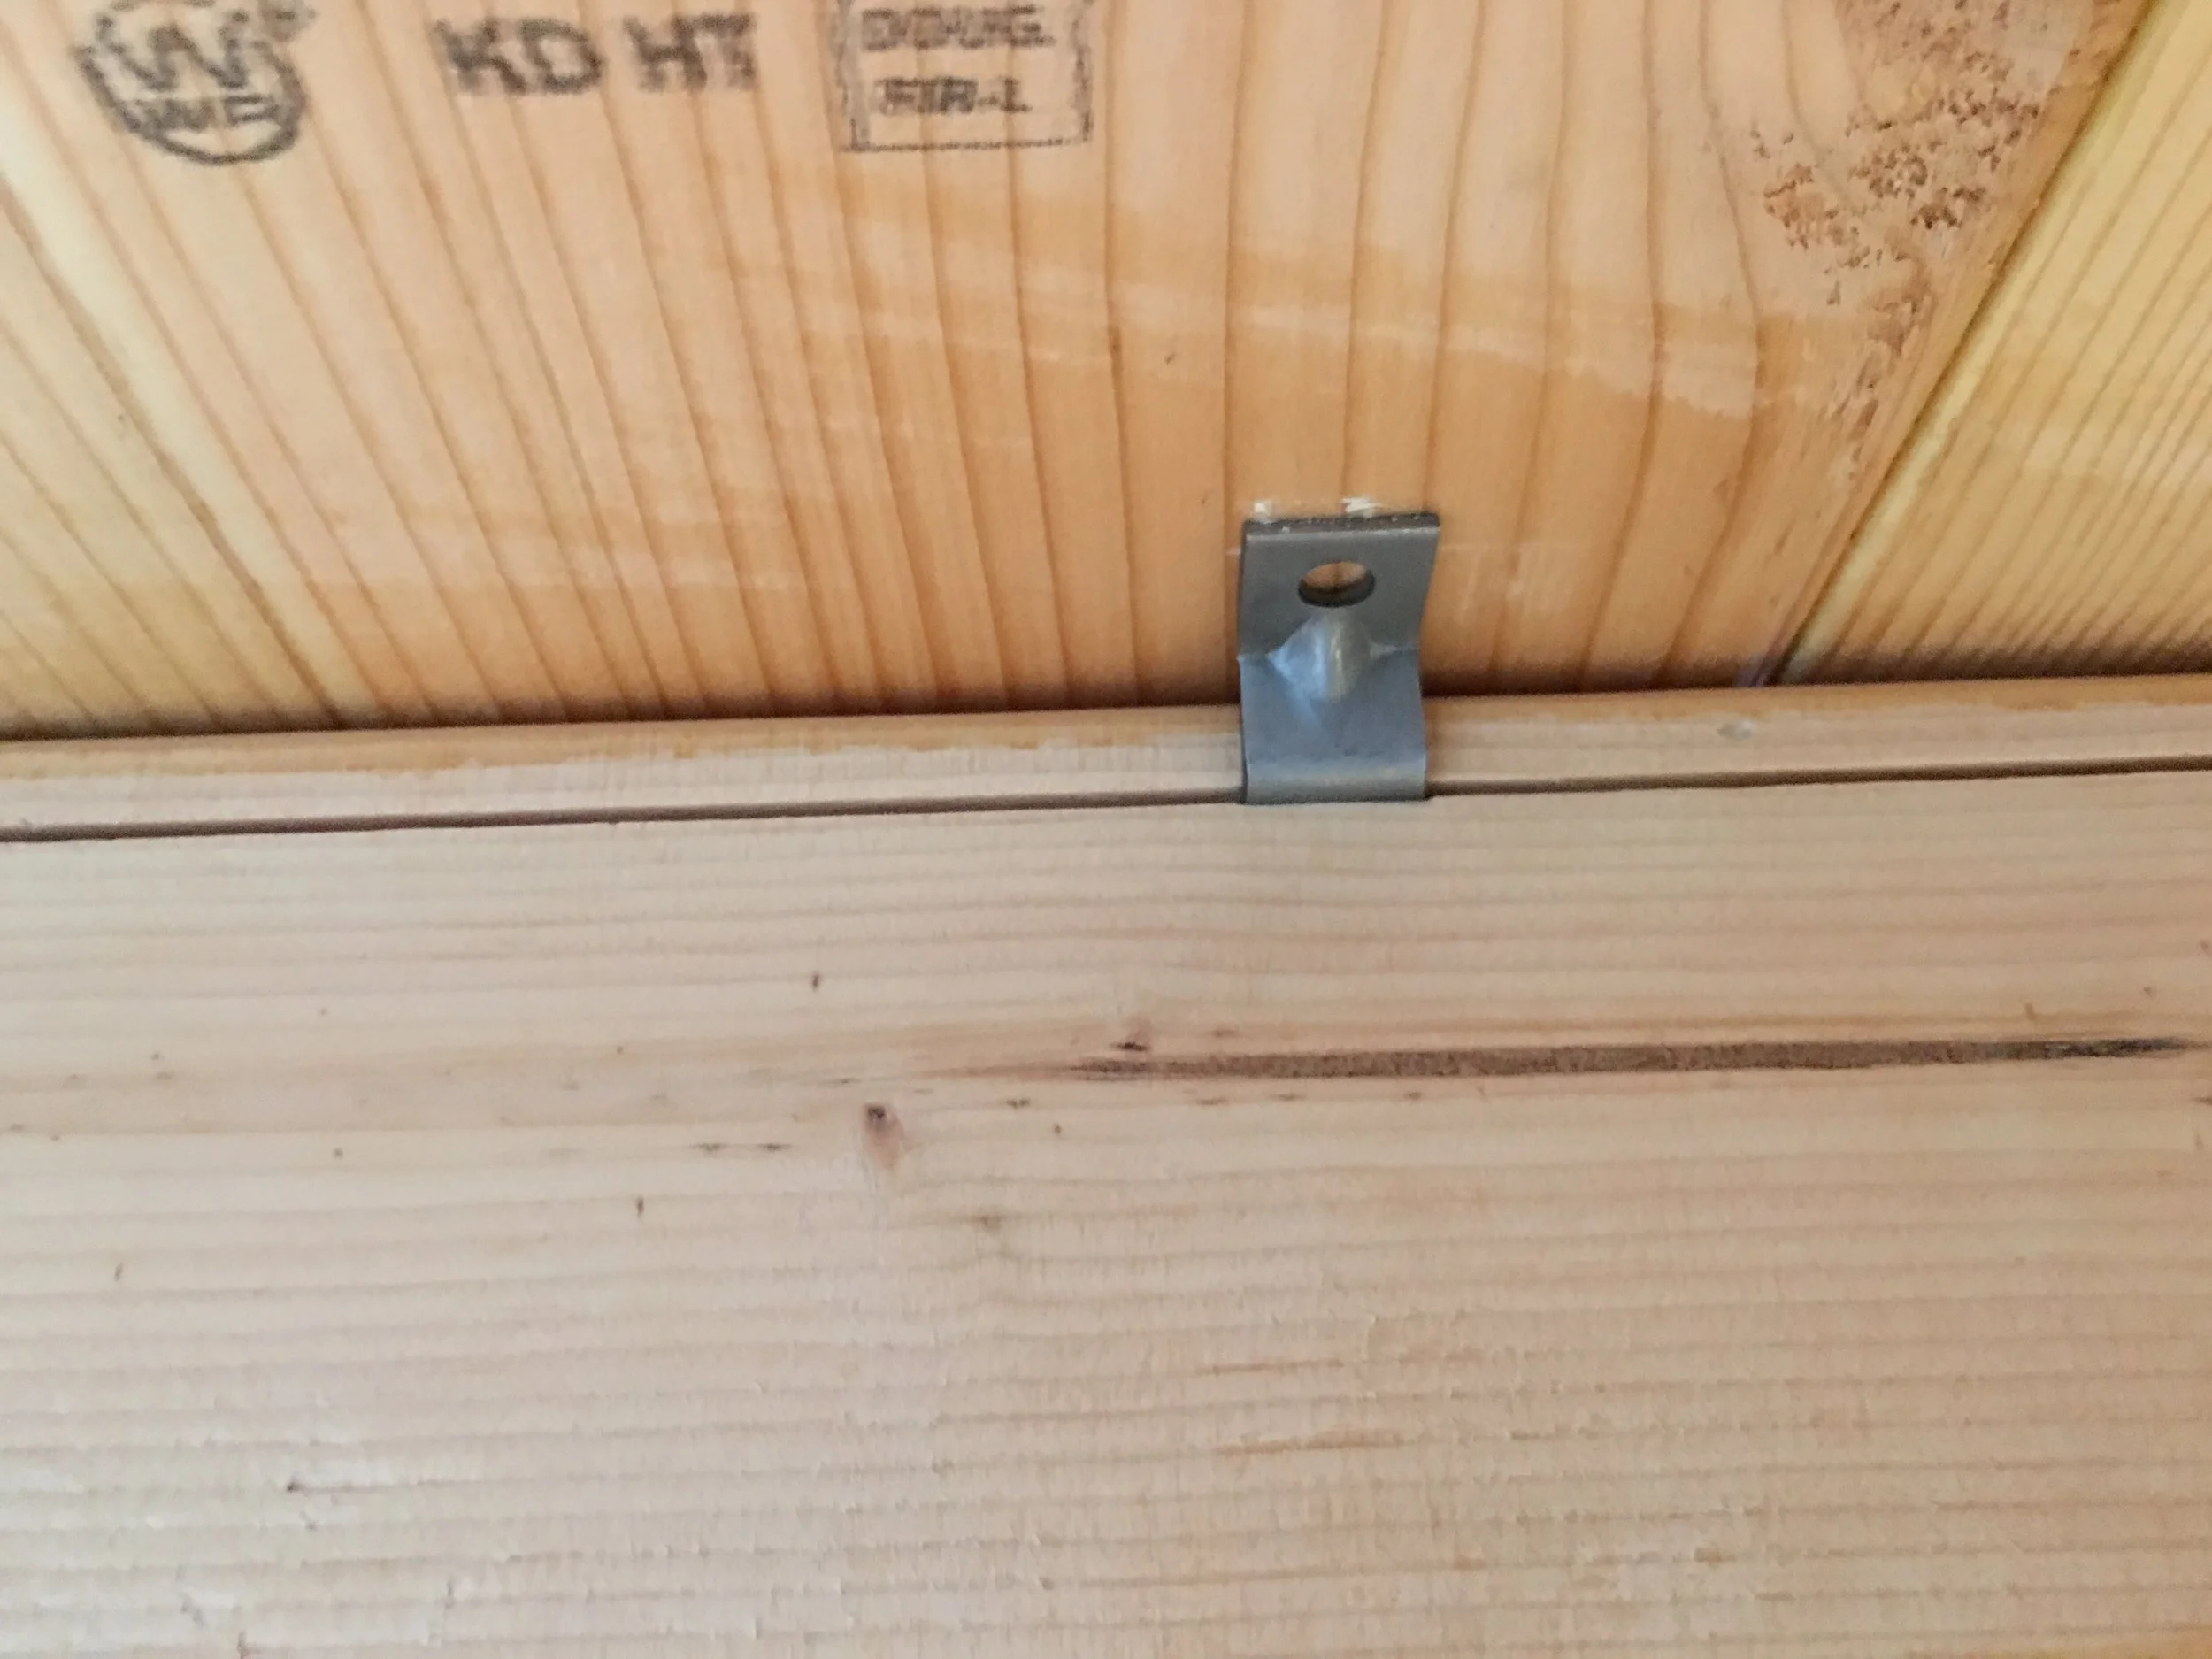
Now you're done!


